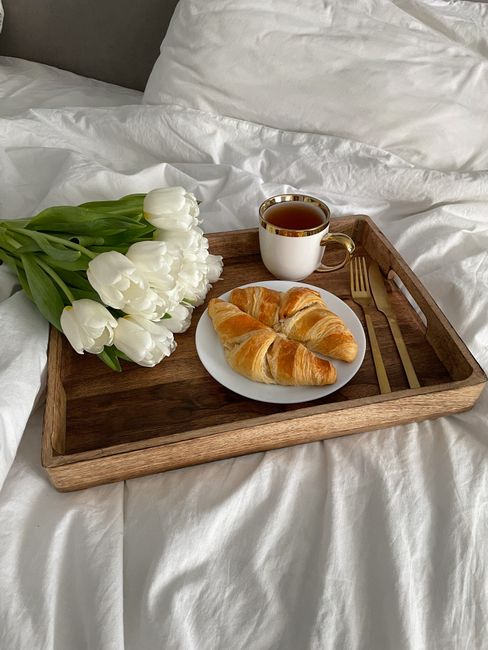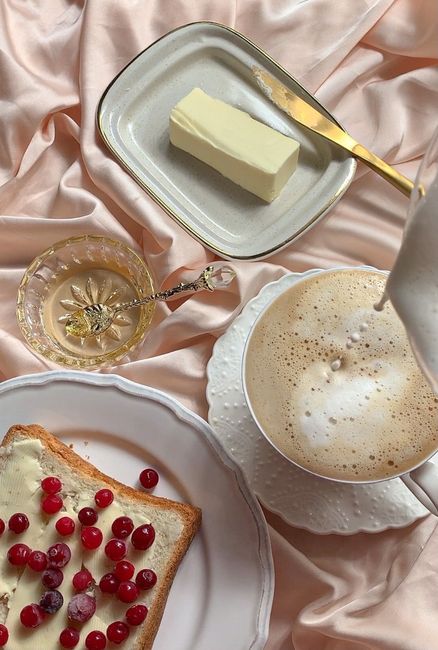
Capturing Visual Flavors Through Aesthetic Food Photography
We eat with our eyes long before a fork ever touches the plate. In today’s visual culinary landscape, mastering aesthetic food photography isn’t just about documenting what you cooked for dinner; it’s about telling a mood-driven narrative that evokes warmth, depth, and immediate appetite appeal. Whether you’re a food blogger aiming to grow your audience, a home chef building an online portfolio, or someone who loves creating art in the kitchen, elevating your photos requires understanding how light, contrast, texture, and composition work together.
To put these creative principles into practice, you need a recipe that naturally demands the spotlight. Enter our Rustic Blood Orange and Rosemary Tart. With its rich, crimson citrus jewels set against a golden, tender shortbread crust and accented by specks of green herbs, this tart is built for the camera. Throughout this comprehensive article, you’ll discover how to bake this showstopping dessert while learning step-by-step styling strategies that will turn your everyday dishes into editorial-worthy photographs.
Key Takeaways
- Natural Side Lighting: Positioning your set near a large window with diffused side-lighting creates soft shadows that highlight ingredient textures without harsh glares.
- Color Story and Contrast: Deep jewel tones—like the vivid ruby hue of blood oranges—stand out best against matte, neutral backdrops such as weathered wood, stone, or muted linen.
- Compositional Framing: Utilize the rule of thirds, dynamic diagonals, and intentional negative space to lead the viewer’s eye through the frame naturally.
- Freshness in Styling: Reserve fresh, uncooked garnishes and raw fruit slices to place onto the dish right before taking the shot to keep colors vibrant.
- Chilling the Dough is Non-Negotiable: Double-chilling tart pastry ensures clean geometric edges, preventing shrinkage and keeping your photographic subject crisp and uniform.
Recipe Overview: The Art of the Rustic Blood Orange Tart
A successful culinary photograph starts with a dish that offers textural contrast and dynamic color. The Rustic Blood Orange Tart delivers on every front. The base is a classic French pâte sablée—a sweet, buttery shortbread crust that provides a pale, golden frame. The filling is a silky, baked citrus curd infused with subtle herbal notes of fresh rosemary, balancing rich creaminess with bright acidity.
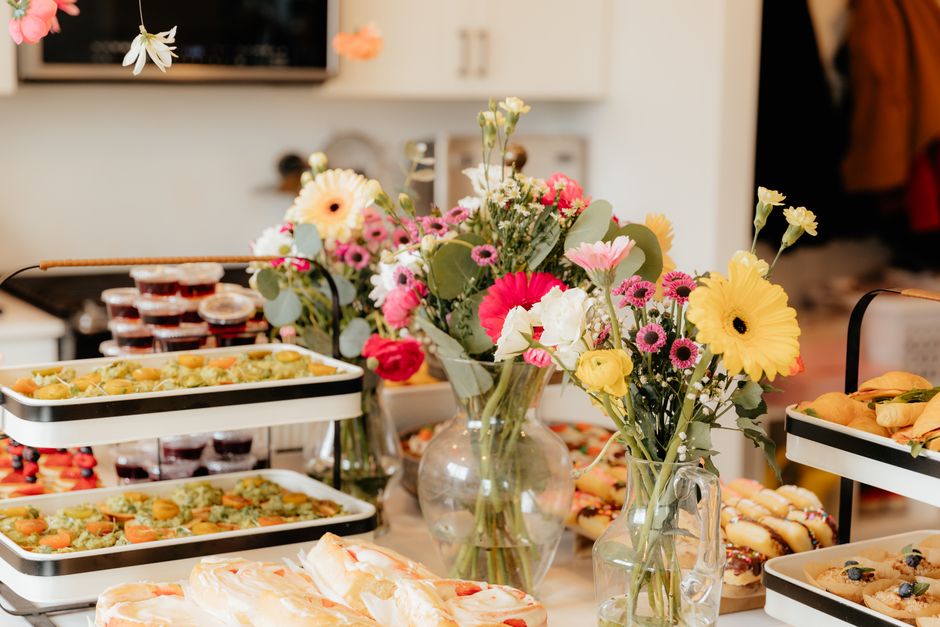
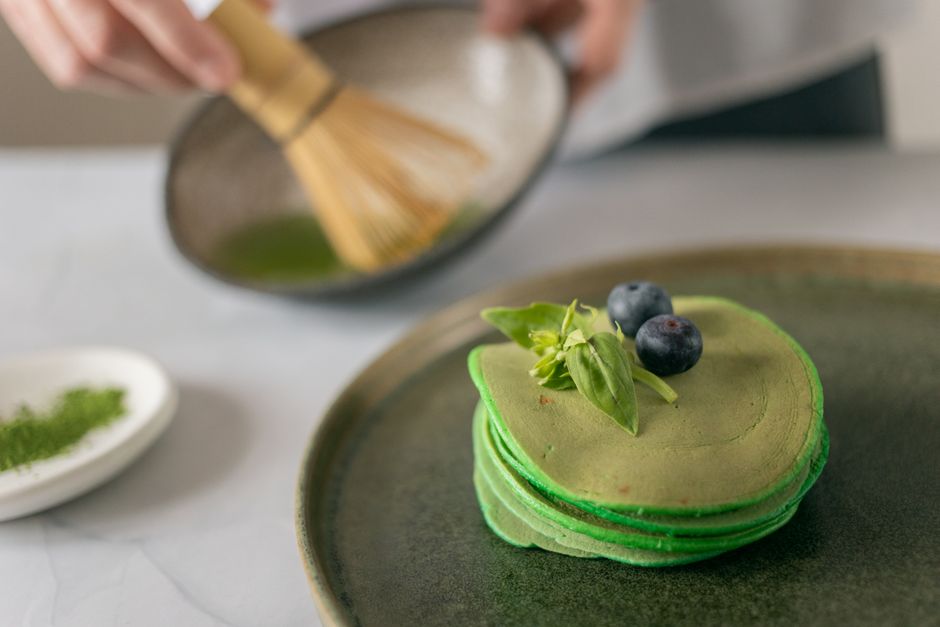
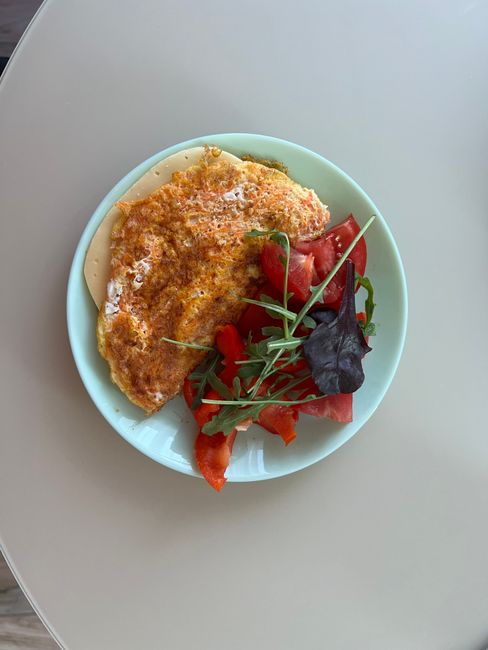
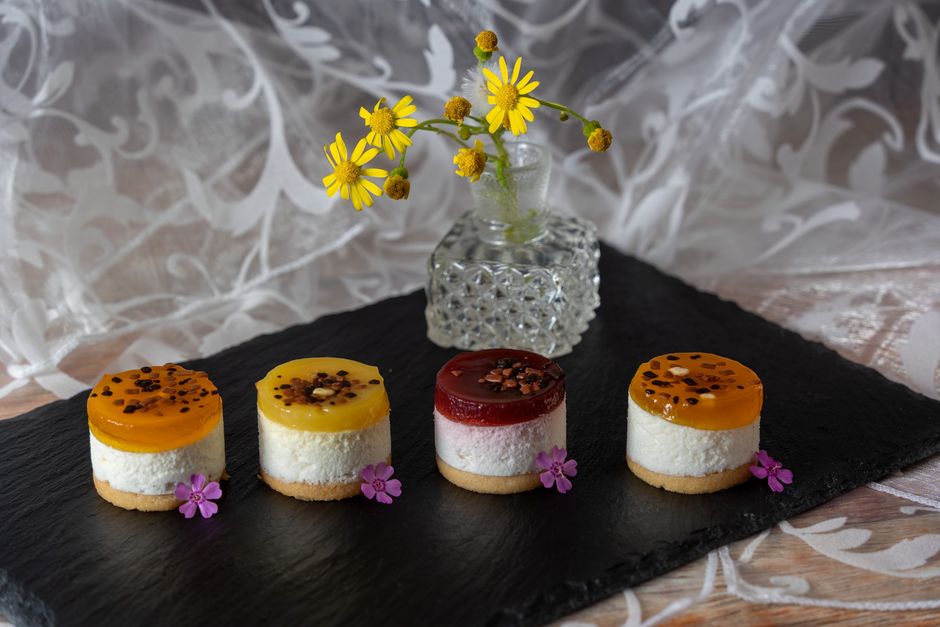
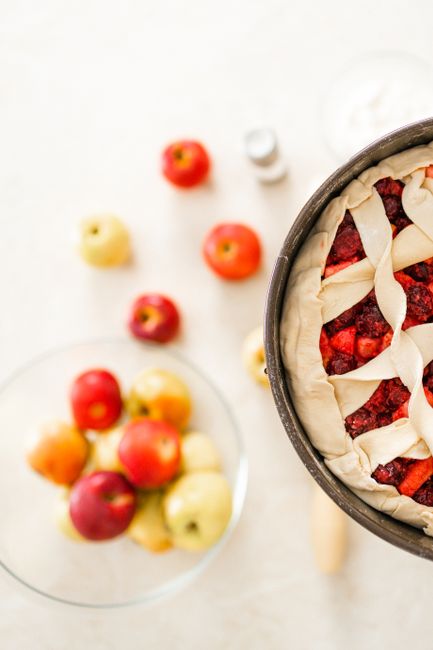
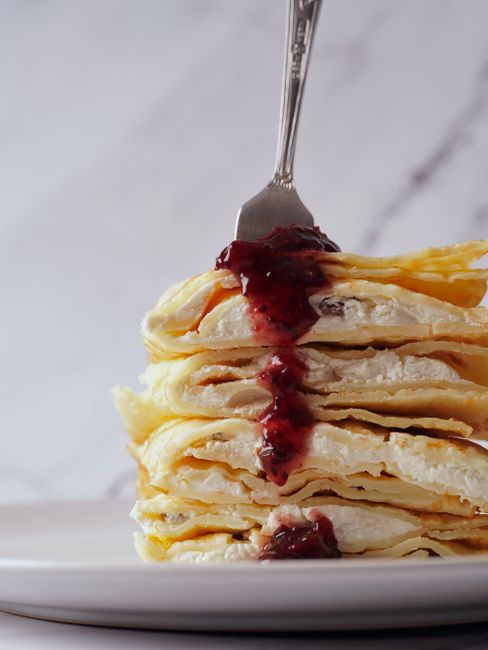
From a culinary perspective, this dessert balances sweet and tart flavors with a delicate aromatic finish. From a photography perspective, the contrast between the pale crust, the ruby-red curd, and the fresh citrus slices gives you endless framing options. You don’t need expensive studio lights or high-end equipment to capture stunning images; you simply need fresh ingredients, accurate baking technique, and intentional light placement.
| Photography Element | Recommended Setup | Target Visual Effect | Styling Benefit |
|---|---|---|---|
| Lighting Angle | Side-lighting (45 to 90 degrees) | Enhances surface depth and glossy shine | Prevents flat, lifeless imagery |
| Background Material | Matte slate, raw wood, or muted linen | Absorbs excess bounce light | Makes rich crimson fruits pop visually |
| Prop Styling | Vintage server, antique fork, loose herbs | Establishes a cozy, homemade story | Adds organic, relatable texture |
| Focal Distance | Shallow depth of field (f/2.8 – f/4.0) | Softly blurs the background set | Keeps complete focus on the main hero slice |
Ingredients and Culinary Notes
For the Sweet Shortbread Crust (Pâte Sablée):
- 1 1/2 cups all-purpose flour: Provides structural stability. Spoon and level your flour so the dough doesn’t turn out dry or crumbly.
- 1/2 cup unsalted butter (cold and cubed): High-quality butter adds richness and flakiness. Keep it thoroughly chilled until the moment it enters the bowl.
- 1/4 cup powdered sugar: Dissolves more smoothly into the dough than granulated sugar, producing a tender, melt-in-your-mouth crumb.
- 1/4 tsp fine sea salt: Enhances the buttery notes in the pastry.
- 1 large egg yolk: Binds the dough while adding color and rich texture.
- 2 tbsp ice water: Used sparingly to bring the dough together without overdeveloping gluten.
For the Blood Orange and Rosemary Filling:
- 4 medium blood oranges: You’ll need zest and fresh juice from three oranges for the custard, plus one extra orange thinly sliced for garnish and photo styling.
- 3 large eggs: Provides structure and a smooth, sliceable set for the curd.
- 1/2 cup granulated sugar: Sweetens the tart citrus juice without overpowering its natural flavor.
- 1/2 cup heavy cream: Adds a velvety sheen and smooth mouthfeel to the curd.
- 1 tbsp fresh rosemary (finely chopped): Infuses an earthy, herbaceous aroma that elevates the citrus profile.
- 2 tbsp apricot jam: Melted with a splash of water to brush over fresh orange slices for an appetizing photo-ready glaze.
Step-by-Step Baking and Styling Instructions
Step 1: Prepare the Shortbread Crust
In a food processor, pulse the all-purpose flour, powdered sugar, and sea salt until combined. Add the cold, cubed unsalted butter. Pulse in short bursts until the mixture resembles coarse meal with pea-sized pieces of butter throughout. Add the egg yolk and one tablespoon of ice water. Pulse just until the dough begins to clump together. If it feels too dry, add the remaining tablespoon of ice water.
Turn the dough out onto a lightly floured surface and gently press it into a smooth disk. Wrap tight in plastic wrap and refrigerate for at least 45 minutes. Chilling allows the flour to hydrate fully and relaxes the gluten, preventing the crust from shrinking in the oven.
Step 2: Roll and Blind Bake the Tart Shell
Preheat your oven to 375°F (190°C). Lightly grease a 9-inch tart pan with a removable bottom. On a floured work surface, roll the chilled dough into an 11-inch circle roughly 1/8-inch thick. Carefully transfer the dough into your tart pan, pressing it gently into the bottom and up the fluted sides. Trim excess dough flush with the top edge using a rolling pin or knife.
Prick the bottom of the dough all over with a fork to prevent air bubbles. Place the lined tart pan in the freezer for 15 minutes. Once firm, line the dough with parchment paper and fill with pie weights or dried beans. Bake for 15 minutes. Carefully remove the parchment and weights, then bake for an additional 7 to 9 minutes until the crust looks light golden brown and set. Remove from the oven and lower the temperature to 325°F (165°C).
Step 3: Whisk the Citrus Herb Filling
While the crust cools slightly, zest two of the blood oranges to yield about 1 tablespoon of zest. Juice three of the blood oranges to yield 1/2 cup of fresh juice. In a medium mixing bowl, whisk together the eggs and granulated sugar until pale and slightly bubbly. Whisk in the fresh blood orange juice, zest, heavy cream, and finely chopped fresh rosemary until fully incorporated.
Step 4: Bake the Tart
Place the partially baked tart shell on a rimmed baking sheet (this makes transferring it to the oven easy without spilling). Pour the blood orange mixture carefully into the shell. Bake at 325°F (165°C) for 22 to 25 minutes, or until the center is just set with a slight jiggle when gently shaken. Remove the tart from the oven and set it on a wire cooling rack to reach room temperature completely.
Step 5: Garnish, Glaze, and Style for Photography
Thinly slice the remaining blood orange into delicate rounds. Pat the slices gently with a paper towel to remove surface moisture, which keeps the visual presentation clean. Lay the slices artfully across the top of the cooled tart. Warm the apricot jam with a teaspoon of water in the microwave for 10 seconds, then lightly brush the fruit slices to create a sparkling, reflective glaze. Garnish with tiny sprigs of fresh rosemary before setting up your camera angle.
When capturing aesthetic food photography, think of your frame as a canvas where negative space speaks as loudly as the dish itself. Oversaturating a shot with props distracts from the culinary story, whereas natural shadows and organic imperfect crumbs create an authentic, inviting atmosphere.
Essential Photography Tips and Common Mistakes
Achieving breathtaking **aesthetic food photography** requires balancing your culinary presentation with thoughtful camera technique. Below are practical styling habits to adopt and frequent mistakes to avoid when photographing baked goods like tarts and pastries.
Styling and Lighting Tips
- Use Back-Lighting for Glazes: Position your light source behind or slightly to the side of the tart. Light passing through thin blood orange slices creates a vibrant translucent glow that highlights juicy textures.
- Embrace Organic Imperfection: Don’t try to make every element perfectly symmetrical. Scatter a few stray rosemary leaves or place a dusty dusting of powdered sugar on your backdrop to make the scene feel authentic and freshly prepared.
- Build Story Depth with Props: Include props that hint at the baking process. A antique brass sifter, a wooden rolling pin in the background blur, or a half-sliced orange helps tell the story of how the dish came to life.
- Watch Your White Balance: Natural daylight changes throughout the day. Set your camera’s white balance manually or shoot in RAW format so you can adjust color warmth later, ensuring your shortbread looks golden rather than dull yellow or cold blue.
Common Baking and Styling Mistakes to Avoid
- Styling Warm Food Too Early: Pouring cold glazes or garnishing hot baked goods causes wilting and melting. Always let your tart cool completely before adding fresh fruit or delicate herbal sprigs.
- Overcrowded Compositions: Filling every inch of the frame with plates, napkins, and utensils creates visual chaos. Leave open space around your hero dish to let the eyes rest comfortably on the main subject.
- Shooting Straight Down Flatly: While 90-degree overhead shots work well for flat lays, dynamic pastries with fluted crusts and glistening toppings look far more dramatic at a 30 to 45-degree angle.
- Over-Baking the Filling: Overcooked egg custard cracks and forms an uneven surface, which is difficult to style nicely. Pull the tart out as soon as the center gently wiggles.
Ingredient Substitutions and Creative Variations
Adapt this recipe based on seasonal availability or dietary preferences while preserving both delicious flavor and stunning visual appeal for your photos.
- Citrus Swap: If blood oranges aren’t in season, substitute Cara Cara pink oranges or Meyer lemons. Cara Cara oranges yield a lovely salmon-pink shade, while Meyer lemons produce a bright, sunshiny yellow curd.
- Herbal Notes: Swap fresh rosemary for fresh lemon thyme or culinary lavender. Lavender pairs beautifully with dark citrus, adding delicate floral undertones.
- Gluten-Free Crust: Replace the all-purpose flour with a 1:1 gluten-free baking flour blend containing xanthan gum. The dough remains easy to handle and bakes up into a delightfully crisp pastry shell.
- Mini Tartlets: Instead of one large 9-inch tart, divide the dough into six individual 4-inch tartlet pans. Individual portions look incredibly charming in close-up food photography compositions.
Serving Suggestions for Maximum Visual Appeal
When presenting this tart to guests or prepping it for a final lifestyle shoot, presentation makes all the difference. Slice the tart using a long, sharp chef’s knife dipped in warm water and wiped clean between every single cut. This step ensures crisp, clean edges without dragging filling across the golden crust.
Serve each slice alongside a dollop of unsweetened crème fraîche or loosely whipped heavy cream. The clean white cream offers a striking color contrast against the ruby-red citrus curd. Pair the dessert with freshly brewed espresso or a floral Earl Grey tea served in vintage porcelain cups to complete the cozy afternoon setup.
Storage and Reheating Guidelines
Because this tart features a fresh fruit layer and rich egg-based custard, proper storage keeps it fresh and photogenic over multiple days.
- Refrigeration: Cover the tart loosely with foil or store sliced pieces in an airtight container in the refrigerator for up to 3 days. To keep the crust crisp, place a small piece of parchment paper underneath the base.
- Freezing: Freezing is not recommended for this specific tart. Freezing alters the texture of baked citrus curd, causing it to release moisture upon thawing, which ruins both taste and appearance.
- Serving Temperature: For optimal flavor and texture, remove the tart from the fridge 20 to 30 minutes before serving. Enjoying it slightly chilled or at cool room temperature lets the butter crust melt cleanly on the palate.
Nutrition Information
The following nutritional values are estimated approximations calculated per individual serving (based on 8 total slices per tart). Exact values will vary based on specific ingredient brands used.
| Nutritional Component | Amount Per Serving |
|---|---|
| Calories | Approx. 320 kcal |
| Total Fat | 18 g |
| Saturated Fat | 11 g |
| Cholesterol | 115 mg |
| Sodium | 110 mg |
| Total Carbohydrates | 36 g |
| Dietary Fiber | 2 g |
| Sugars | 20 g |
| Protein | 5 g |
Frequently Asked Questions
What is the best camera angle for aesthetic food photography?
The best angle depends entirely on the dish’s height and surface texture. For flat items with detailed surfaces like tarts, pizzas, and pies, a 30 to 45-degree angle works best. This position captures both the top details—like glistening citrus slices—and the side profile showing the crisp, fluted crust depth.
How do I keep blood orange slices from bleeding into the tart filling?
To stop wet fruit juices from leaking into your baked curd, pat the sliced oranges thoroughly with clean paper towels to remove surface liquid before placing them on the tart. Additionally, brushing the slices lightly with an apricot jam glaze seals in their natural juices while creating a glowing surface.
Can I practice aesthetic food photography using just a smartphone?
Yes, absolutely. Modern smartphones feature excellent sensors capable of capturing high-resolution imagery. Turn off your phone’s direct flash, position your setup near a window with indirect light, and lower your exposure slightly to preserve highlighted textures. Use the portrait mode settings gently to achieve a soft background blur.
What kind of props work best for rustic food styling?
Neutral, non-reflective props work best because they don’t draw attention away from the food. Choose matte ceramic plates, antique silver cutlery, washed linen napkins, and raw wood cutting boards. Avoiding high-gloss plates prevents unwanted bright glare spots in your final photos.
Why did my tart crust shrink down the sides during baking?
Tart crust shrinks when the gluten in the dough is overworked or when the butter melts before the dough sets its structure in the oven. To fix this, avoid over-kneading your pastry dough, and always chill the rolled tart shell in the freezer for 15 minutes right before blind baking.
How do I avoid harsh glares on liquid or glossy food surfaces?
Harsh reflections happen when direct light hits wet or shiny surfaces. To eliminate glares, diffuse your incoming light source using a translucent white curtain or a collapsible light diffuser screen. Positioning your light at an angle rather than directly overhead also scatters reflections softly across the frame.
Conclusion
Creating memorable **aesthetic food photography** is an art form that merges thoughtful culinary prep with visual storytelling. By carefully considering how lighting, composition, and surface textures interact, you can transform simple ingredients into captivating images that capture your audience’s imagination. Baking a vibrant dish like our Rustic Blood Orange Tart offers the ideal opportunity to practice these skills, yielding a dessert that looks every bit as spectacular as it tastes.
Gather your fresh ingredients, set up your styling board near a bright window, and take your time capturing every detail of the process. Whether you are sharing your creative journey online or serving this tart at your next gathering, enjoying the harmonious blend of rich shortbread, tangy citrus, and visual beauty makes every step worthwhile. Happy baking and capturing!