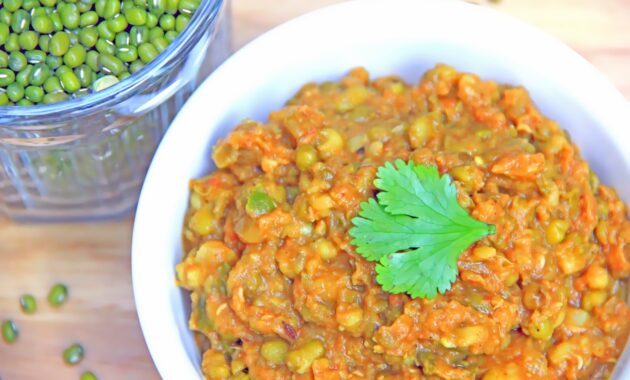
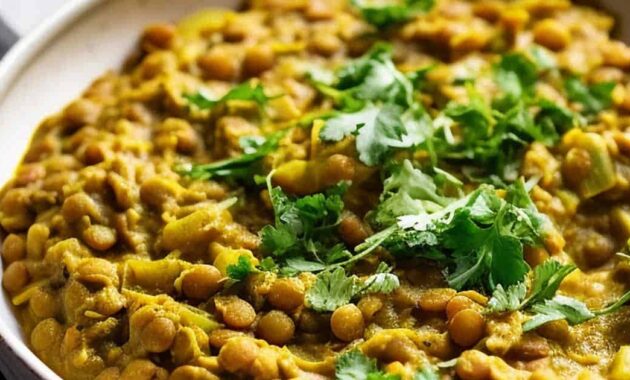
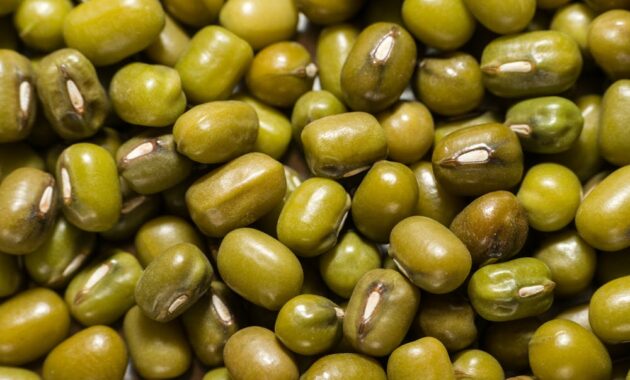
Dive into the world of wholesome and delicious vegetarian cuisine with our exceptional Mung Bean Curry recipe! This dish is a powerhouse of nutrients, packed with protein, fiber, and essential vitamins, making it a perfect addition to your healthy eating routine. Mung beans, also known as green gram, are small, round legumes that are incredibly versatile and easy to cook. They have a mild, slightly sweet flavor that readily absorbs the spices and flavors they are cooked with, resulting in a truly satisfying culinary experience. This Mung Bean Curry is not only incredibly tasty but also incredibly easy to make, perfect for a quick weeknight dinner or a comforting weekend meal. With simple ingredients and straightforward steps, you’ll be enjoying a bowl of this flavorful curry in no time. Whether you’re a seasoned vegetarian or simply looking to incorporate more plant-based meals into your diet, this Mung Bean Curry is sure to become a new favorite.
(Image Placeholder: Insert a mouth-watering image of the Mung Bean Curry here)
Before we dive into the step-by-step instructions, let’s take a look at the recipe overview:
| Category | Value |
|---|---|
| Preparation Time | 20 minutes |
| Cooking Time | 45 minutes |
| Servings | 4 servings |
| Difficulty | Easy |
Nutritional Information (per serving, approximate):
| Nutrient | Amount |
|---|---|
| Calories | Approximately 350-400 kcal |
| Protein | 20-25 grams |
| Fat | 10-15 grams |
| Carbohydrates | 40-45 grams |
| Fiber | 15-20 grams |
Note: These values are approximate and can vary depending on the specific ingredients used.
Ingredients for Mung Bean Curry:
| Ingredient | Quantity |
|---|---|
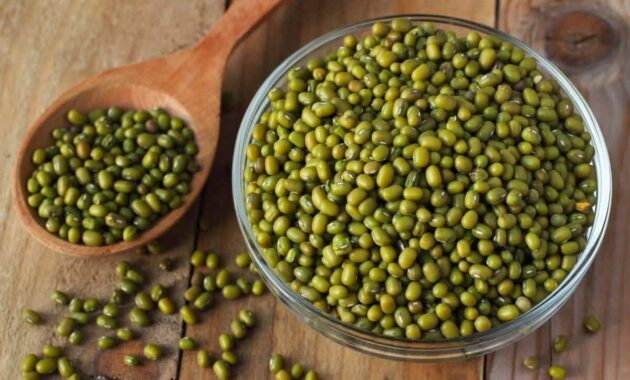
| Mung Beans (Green Gram) | 1 cup |
| Water | 4 cups (for soaking and cooking) |
| Vegetable Oil (or Ghee) | 2 tablespoons |
| Onion, finely chopped | 1 medium |
| Garlic, minced | 2 cloves |
| Ginger, grated | 1 teaspoon |
| Green Chilies, finely chopped (adjust to taste) | 1-2 |
| Tomato, finely chopped | 1 medium |
| Turmeric Powder | 1/2 teaspoon |
| Cumin Powder | 1 teaspoon |
| Coriander Powder | 1 teaspoon |
| Garam Masala | 1/2 teaspoon |
| Salt, to taste | To taste |
| Fresh Cilantro, chopped (for garnish) | 2 tablespoons |
| Lemon Juice (optional) | 1 tablespoon |
Cooking Instructions
- Soak the Mung Beans: Rinse the mung beans thoroughly under cold water. Place them in a bowl and cover with 4 cups of fresh water. Soak for at least 30 minutes, or preferably 1-2 hours. Soaking helps to reduce the cooking time and makes the beans easier to digest.
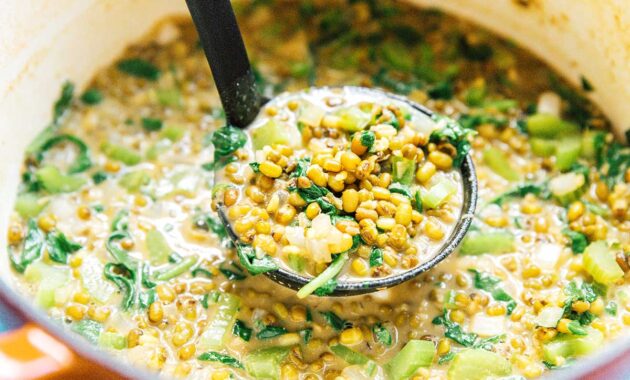
- Cook the Mung Beans: Drain the soaked mung beans and transfer them to a pot. Add 3 cups of fresh water and bring to a boil over medium-high heat. Once boiling, reduce the heat to low, cover the pot, and simmer for about 25-30 minutes, or until the beans are soft and easily mashed with a fork. If using a pressure cooker or Instant Pot, cook for 8-10 minutes at high pressure, followed by a natural pressure release.
- Prepare the Aromatics: While the mung beans are cooking, heat the vegetable oil (or ghee) in a large pan or pot over medium heat. Add the chopped onion and sauté until golden brown, about 5-7 minutes. This step is crucial for developing the flavor of the curry, so don’t rush it.
- Add Garlic, Ginger, and Green Chilies: Add the minced garlic, grated ginger, and chopped green chilies to the pan. Sauté for another minute until fragrant. Be careful not to burn the garlic.
- Sauté the Tomatoes: Add the chopped tomato to the pan and cook until softened and pulpy, about 5-7 minutes. Stir occasionally to prevent sticking.
- Add the Spices: Stir in the turmeric powder, cumin powder, coriander powder, and garam masala. Cook for another minute, stirring constantly, until the spices are fragrant and well combined. This process, known as blooming the spices, releases their essential oils and enhances their flavor.
- Combine Mung Beans and Spices: Once the mung beans are cooked, gently mash a few of them with the back of a spoon. This helps to thicken the curry. Pour the cooked mung beans (with the cooking water) into the pan with the spices. Stir well to combine.
- Simmer the Curry: Bring the curry to a simmer and cook for another 10-15 minutes, allowing the flavors to meld together. Stir occasionally to prevent sticking. If the curry becomes too thick, add a little more water to achieve your desired consistency.
- Season with Salt: Add salt to taste. Remember that the salt will enhance all the other flavors in the curry, so add it gradually and taste as you go.
- Garnish and Serve: Garnish the Mung Bean Curry with fresh cilantro. Squeeze a little lemon juice over the top for a bright, tangy finish (optional). Serve hot with rice, roti, naan, or any other bread of your choice.
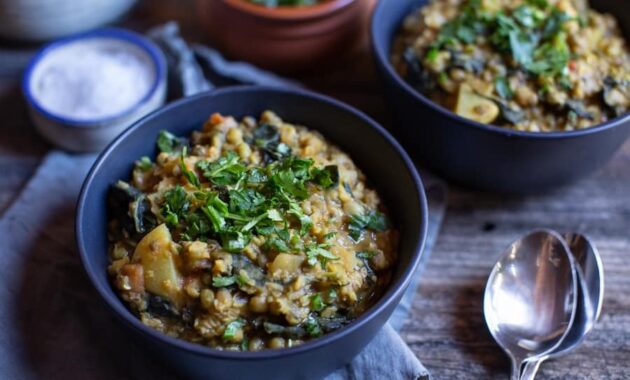
This Mung Bean Curry is a delightful and nourishing meal that is sure to please your taste buds and nourish your body. It’s a great source of plant-based protein and fiber, making it a healthy and satisfying option for vegetarians and meat-eaters alike. The dish is also incredibly versatile. You can customize it by adding other vegetables, such as spinach, cauliflower, or potatoes, or by adjusting the spice level to your liking. Feel free to experiment and make it your own!
Serving Suggestions:
- With Rice: Serve the Mung Bean Curry over a bed of fluffy basmati rice or brown rice for a complete and satisfying meal.
- With Roti or Naan: Enjoy the curry with warm roti or naan bread for dipping and scooping up every last bit of flavor.
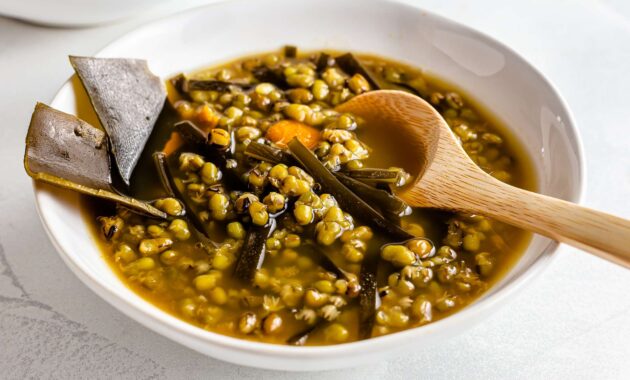
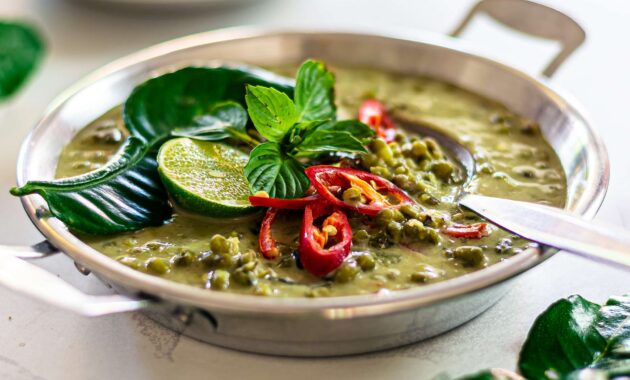
- As a Soup: Add more water to the curry to create a flavorful and comforting soup.
- With Yogurt: Serve with a dollop of plain yogurt to add a creamy and cooling element to the dish.
- With a Side Salad: Pair the curry with a simple side salad of cucumber, tomato, and onion for a refreshing contrast.
Tips and Variations:
- For a smoother curry: Use a hand blender or immersion blender to partially blend the curry for a smoother texture.
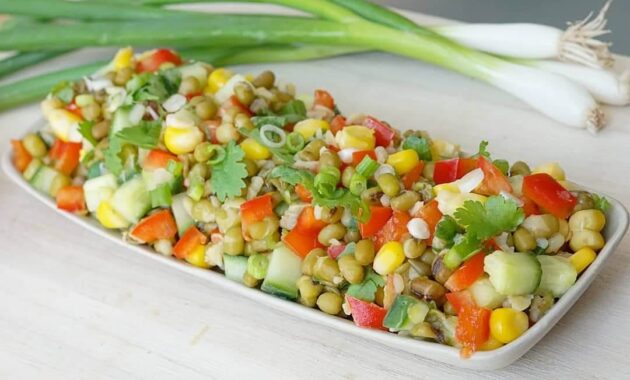
- Add vegetables: Add spinach, cauliflower, potatoes, or any other vegetables you like to the curry.
- Adjust the spice level: Adjust the amount of green chilies to control the spice level of the curry. You can also add a pinch of red chili powder for extra heat.
- Use coconut milk: For a richer and creamier curry, substitute some of the water with coconut milk.
- Make it vegan: Ensure you’re using vegetable oil instead of ghee to keep this recipe vegan.
- Sprouting the Mung Beans: Sprouting the mung beans before cooking can increase their nutritional value and make them even easier to digest. To sprout them, soak the beans for 8-12 hours, then drain and rinse them thoroughly. Spread them out in a single layer on a damp cloth or paper towel, and cover with another damp cloth or paper towel. Keep them in a cool, dark place, rinsing them every 8-12 hours, until they sprout (usually 1-3 days).
- Tempering (Tadka/Chonk): For an extra layer of flavor, you can add a tempering (also known as tadka or chonk) to the curry at the end. Heat 1-2 tablespoons of oil or ghee in a small pan. Add mustard seeds and let them splutter. Then add cumin seeds, dried red chilies, and a pinch of asafoetida (hing). Pour the tempering over the curry and stir.
Remember to adjust the ingredients and spices to your personal preferences. Cooking is all about experimentation and having fun in the kitchen! This Mung Bean Curry recipe is a great starting point, and we encourage you to make it your own by adding your favorite ingredients and flavors. Enjoy the process, and savor the delicious results!
The beauty of this Mung Bean Curry lies not only in its taste but also in its versatility. It’s a canvas for your culinary creativity, allowing you to explore different flavors and textures to create a dish that is uniquely yours. Whether you’re a seasoned cook or a beginner, this recipe is easy to follow and guaranteed to impress. And because mung beans are so readily available and affordable, this curry is a budget-friendly way to enjoy a healthy and delicious meal.
So, gather your ingredients, put on your apron, and get ready to embark on a culinary adventure. This Mung Bean Curry is more than just a recipe; it’s an invitation to explore the world of vegetarian cuisine and discover the joys of cooking with wholesome, flavorful ingredients. We hope you enjoy this recipe as much as we do! Bon appétit!