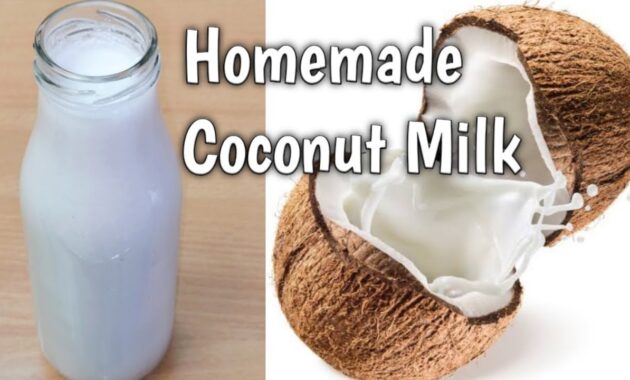
Unlock the secrets of creating luscious, homemade coconut milk, a kitchen staple that elevates both sweet and savory dishes. Forget store-bought versions packed with additives – with this simple recipe, you can enjoy the purest, most flavorful coconut milk imaginable. This guide will walk you through every step, ensuring a creamy, dreamy result every time. Learn how to make coconut milk with a detailed, easy-to-follow recipe.
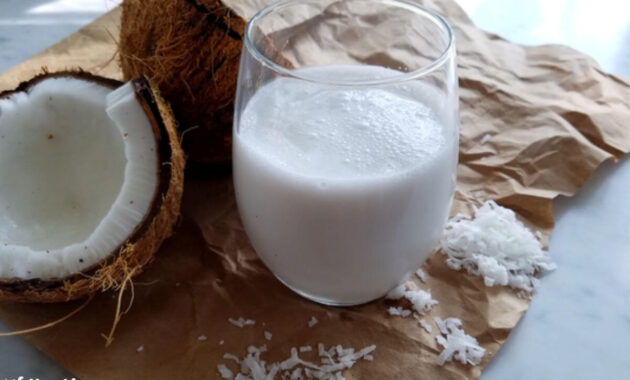
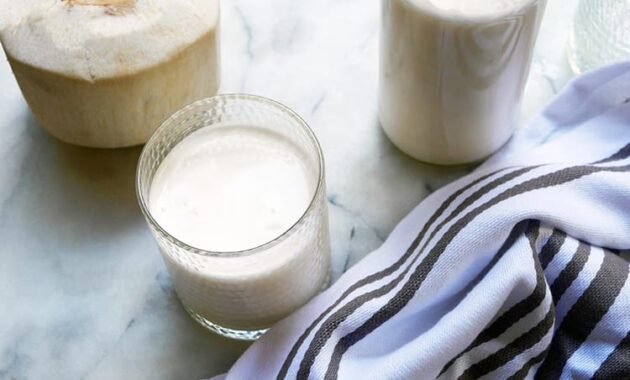
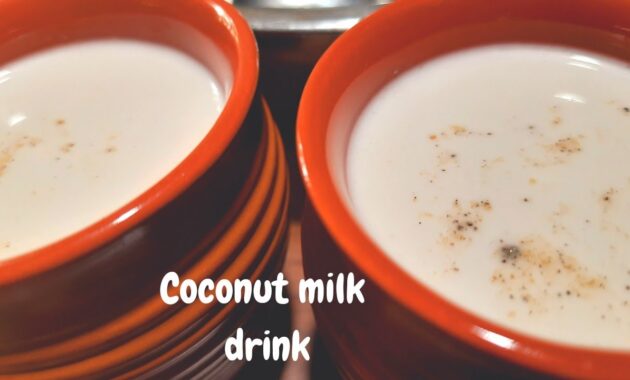
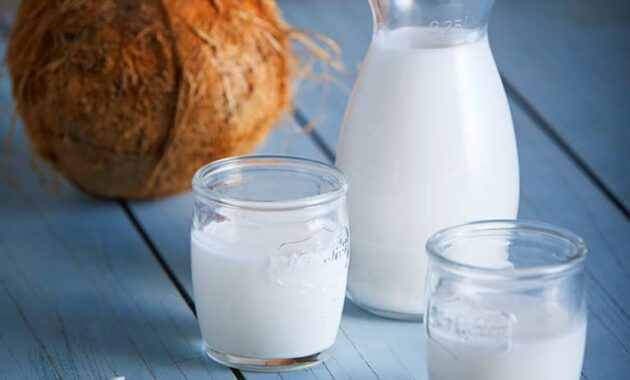
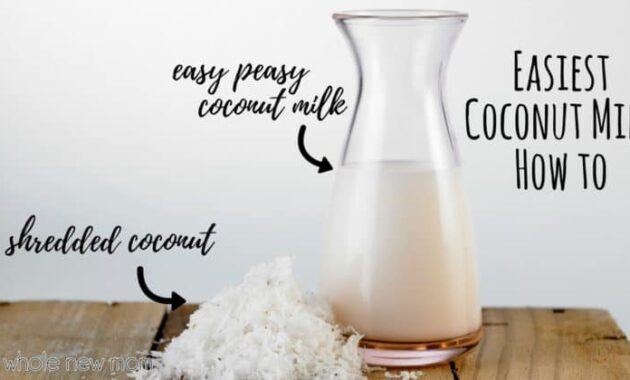
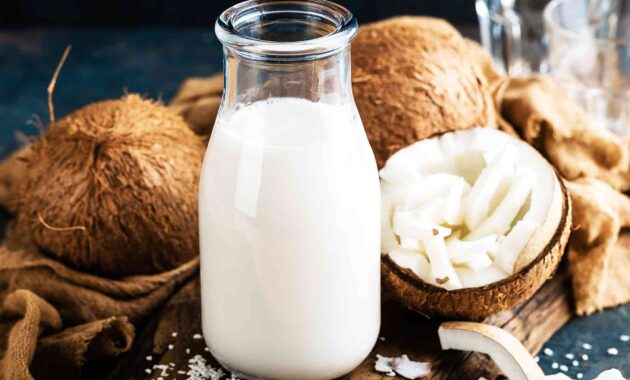
[Placeholder Image of Fresh Coconut and Homemade Coconut Milk]
Making your own coconut milk is not only incredibly rewarding but also allows you to control the ingredients and consistency. Whether you’re a seasoned cook or a kitchen newbie, this recipe is designed for success. Let’s dive into the wonderful world of homemade coconut milk!

Recipe Overview
Here’s a quick snapshot of what you’ll need to know before getting started:
| Category | Value |
|---|---|
| Preparation Time | 15 minutes |
| Cooking Time | 5 minutes (plus soaking time) |
| Servings | Approximately 4 cups |
| Difficulty | Easy |
Nutrition per serving (approximate)
The nutritional content of homemade coconut milk can vary based on the fat content of the coconut used. However, here’s a general estimate per 1 cup (240ml) serving:
| Nutrient | Amount |
|---|---|
| Calories | ~550 calories |
| Total Fat | ~55 grams |
| Saturated Fat | ~50 grams |
| Cholesterol | 0 mg |
| Sodium | ~30 mg |
| Total Carbohydrate | ~10 grams |
| Fiber | ~5 grams |
| Sugar | ~5 grams |
| Protein | ~5 grams |
Ingredients
Here’s what you’ll need to make your own batch of fresh coconut milk:
| Ingredient | Quantity | Notes |
|---|---|---|
| Shredded Coconut (unsweetened) | 4 cups | Fresh or dried, unsweetened is best |
| Hot Water (filtered) | 4 cups | Hot, but not boiling |
| Optional: Pinch of Salt | To taste | Enhances the flavor |
Cooking Instructions
Follow these simple steps to create your own homemade coconut milk:
- Soak the Coconut: In a large bowl, combine the shredded coconut and hot water. Ensure the coconut is fully submerged. Let it soak for at least 30 minutes. This step softens the coconut and allows it to release its flavor and oils more easily. For a richer, creamier milk, soak for up to 2 hours.
- Blend the Mixture: Transfer the soaked coconut and water to a high-powered blender. Blend on high speed for 2-3 minutes, or until the coconut is finely ground and the mixture appears milky. If you don’t have a high-powered blender, you may need to blend in batches and blend for a slightly longer time.
- Strain the Coconut Milk: Place a nut milk bag, cheesecloth-lined sieve, or a clean kitchen towel over a large bowl. Pour the blended coconut mixture into the bag or sieve.
- Squeeze Out the Milk: Gently squeeze the bag or press down on the coconut pulp with a spoon to extract as much liquid as possible. The more you squeeze, the more milk you’ll get. Be careful not to squeeze too hard, as this can release some of the coconut pulp into the milk.
- Repeat (Optional): For a thinner milk, you can repeat the blending and straining process with the leftover coconut pulp. Simply add the pulp back to the blender with 2 cups of fresh water, blend, and strain again. This second pressing will yield a less concentrated coconut milk, perfect for lighter dishes or beverages.
- Season (Optional): If desired, add a pinch of salt to the coconut milk and stir well. This helps to enhance the natural sweetness of the coconut.
- Chill and Store: Transfer the homemade coconut milk to an airtight container and refrigerate for at least 2 hours before using. This allows the flavors to meld and the milk to thicken slightly. Stored properly, homemade coconut milk will last in the refrigerator for up to 3-4 days.
Serving Suggestions
Homemade coconut milk is incredibly versatile and can be used in a wide variety of dishes. Here are just a few ideas to get you started:
- Smoothies: Add coconut milk to your favorite smoothie recipes for a creamy, tropical twist. It pairs particularly well with fruits like mango, pineapple, and banana.
- Curries: Coconut milk is a key ingredient in many Southeast Asian curries. Use it to create rich, flavorful sauces for chicken, vegetables, or seafood.
- Soups: Add coconut milk to soups for a creamy, dairy-free alternative. It works well in both savory and sweet soups, such as pumpkin soup or tom kha gai.
- Desserts: Use coconut milk to make puddings, ice cream, or other desserts. Its creamy texture and subtle sweetness make it a perfect base for a variety of treats.
- Coffee and Tea: Stir coconut milk into your coffee or tea for a dairy-free creamer. It adds a subtle coconut flavor and a creamy texture.
- Baking: Substitute coconut milk for regular milk in your favorite baking recipes. It can add moisture and a subtle coconut flavor to cakes, muffins, and other baked goods.
- Overnight Oats: Combine coconut milk with oats, chia seeds, and your favorite toppings for a healthy and delicious breakfast.
Experiment with different flavors and spices to create your own unique coconut milk recipes. The possibilities are endless!
Tips and Notes for Perfect Coconut Milk
Here are some helpful tips to ensure your coconut milk turns out perfectly every time:
- Use High-Quality Coconut: The quality of your coconut will directly impact the flavor of your coconut milk. Choose unsweetened shredded coconut that is fresh and has a pleasant aroma. Avoid coconut that looks dry or has a stale smell.
- Adjust the Water Ratio: The ratio of coconut to water will determine the thickness of your coconut milk. For a richer, creamier milk, use less water. For a thinner milk, use more water. Experiment to find the perfect ratio for your taste preferences.
- Strain Thoroughly: Be sure to strain the coconut milk thoroughly to remove any remaining coconut pulp. This will result in a smoother, creamier milk. You can use a nut milk bag, cheesecloth-lined sieve, or a clean kitchen towel.
- Store Properly: Homemade coconut milk will last in the refrigerator for up to 3-4 days. Be sure to store it in an airtight container to prevent it from spoiling.
- Cream Separation: It’s normal for the cream to separate from the water in homemade coconut milk. Simply shake or stir well before using.
- Don’t Discard the Pulp: The leftover coconut pulp can be used in a variety of ways. You can dry it in a low oven to make coconut flour, add it to smoothies or oatmeal, or use it as a topping for yogurt or ice cream.
- Adjust Sweetness: While this recipe uses unsweetened coconut, you can add a touch of sweetener, such as maple syrup or agave nectar, to the coconut milk if desired. Start with a small amount and add more to taste.
- Experiment with Flavors: Get creative with your coconut milk by adding different flavors and spices. Try adding a vanilla bean, a cinnamon stick, or a few cardamom pods to the coconut milk while it’s soaking. You can also add a pinch of nutmeg or ginger for a warm, spicy flavor.
Making homemade coconut milk is a simple and rewarding way to enjoy the pure, delicious flavor of coconut. With just a few ingredients and a little bit of time, you can create a versatile ingredient that will elevate your cooking and baking. So, ditch the store-bought stuff and give this recipe a try. You’ll be amazed at the difference in taste and quality.
Now that you know how to make coconut milk, you can explore a whole new world of culinary possibilities. From creamy curries and decadent desserts to refreshing smoothies and flavorful coffee, homemade coconut milk is a versatile ingredient that will enhance any dish. So, get creative and experiment with different recipes to discover your own coconut milk masterpieces.
Enjoy your creamy, homemade coconut milk! Remember, the key to success is using high-quality ingredients and following the steps carefully. With a little practice, you’ll be making perfect coconut milk every time.
This homemade coconut milk recipe is not only delicious but also a healthier alternative to store-bought versions. By making your own, you can avoid added sugars, preservatives, and other unwanted ingredients. Plus, it’s a great way to reduce your environmental impact by using less packaging.
So, what are you waiting for? Gather your ingredients, grab your blender, and let’s get started! You’ll be enjoying the taste of fresh, homemade coconut milk in no time.
Remember to adjust the recipe to your own taste preferences. If you like a sweeter coconut milk, add a touch of sweetener. If you prefer a richer flavor, use more coconut. The beauty of making your own coconut milk is that you can customize it to your liking.
We hope you enjoy this recipe and find it helpful in your culinary adventures. Don’t forget to share your creations with us on social media using #HomemadeCoconutMilk. We can’t wait to see what you come up with!
Happy cooking!
Homemade coconut milk: a taste of paradise in every sip!
Discover the difference homemade coconut milk makes in all your favorite recipes.