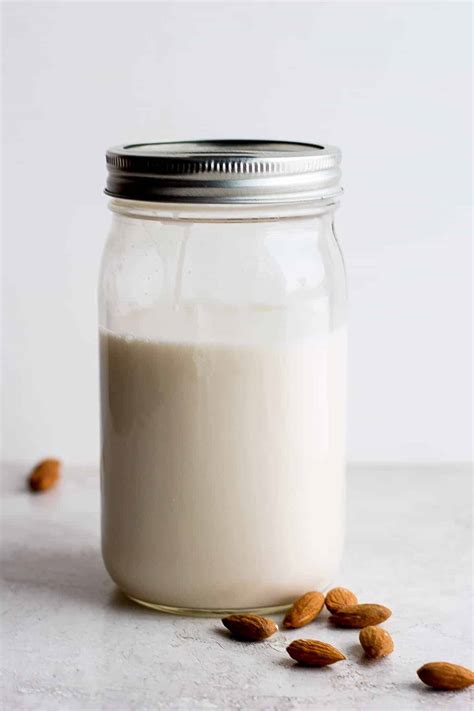
Homemade Almond Milk Recipe: A Guide to Nutty Deliciousness
Making your own almond milk is easier than you think! This comprehensive guide will walk you through the process, providing tips for achieving the perfect creamy consistency and delicious flavor. Forget the store-bought versions – let's dive into crafting your own homemade almond milk, a healthy and versatile beverage.
Why Make Homemade Almond Milk?
There are numerous benefits to making your own almond milk:
- Control over Ingredients: You choose the quality of almonds and avoid added sugars, thickeners, and preservatives often found in store-bought varieties. This means a healthier, purer product.
- Cost-Effective: Once you have the initial ingredients, making your own almond milk is significantly cheaper than consistently buying it from the store.
- Freshness: Homemade almond milk boasts unparalleled freshness, offering a superior taste and texture compared to commercially produced options.
- Customization: Experiment with flavors! Add vanilla extract, dates, cocoa powder, or other spices to create your signature almond milk.
Ingredients You'll Need:
- 1 cup raw almonds
- 4 cups filtered water
- Pinch of salt (optional, enhances flavor)
- Sweetener of choice (maple syrup, dates, etc., optional)
Step-by-Step Instructions:
Step 1: Soaking the Almonds
Soaking the almonds is crucial. This process softens them, making them easier to blend and improving their digestibility. Simply place the almonds in a bowl and cover them with at least 4 cups of filtered water. Let them soak for at least 8 hours, or preferably overnight.
Step 2: Rinsing and Blending
After soaking, thoroughly rinse the almonds under cold water. This removes any potential phytic acid and any debris. Add the rinsed almonds, fresh water, and salt (if using) to a high-speed blender. Blend until completely smooth and creamy – this may take a few minutes.
Step 3: Straining the Almond Milk
Line a fine-mesh sieve or cheesecloth over a large bowl. Pour the blended almond mixture through the sieve, pressing gently on the pulp to extract as much milk as possible. The leftover pulp can be used in baking or other recipes!
Step 4: Sweetening (Optional)
If you prefer a sweeter almond milk, now is the time to add your chosen sweetener. Taste and adjust to your liking.
Step 5: Storage
Pour the almond milk into an airtight container and store it in the refrigerator. It will last for about 3-5 days.
Tips for the Perfect Almond Milk:
- Use high-quality almonds: The better the almonds, the better the almond milk will taste.
- Don't over-blend: Over-blending can create a bitter taste.
- Experiment with flavors: Add vanilla extract, cinnamon, cardamom, or other spices to enhance the flavor.
- Consider using a nut milk bag: A nut milk bag makes straining much easier and more efficient.
Variations and Flavor Combinations:
- Chocolate Almond Milk: Add cocoa powder or unsweetened chocolate to the blender.
- Vanilla Almond Milk: Add a teaspoon of vanilla extract.
- Spiced Almond Milk: Add cinnamon, nutmeg, and cardamom.
- Maple Almond Milk: Add maple syrup to taste.
Making your own almond milk is a rewarding experience that allows you to enjoy a delicious, healthy beverage while controlling the ingredients and avoiding unnecessary additives. So, give this recipe a try and savor the creamy goodness of homemade almond milk!
