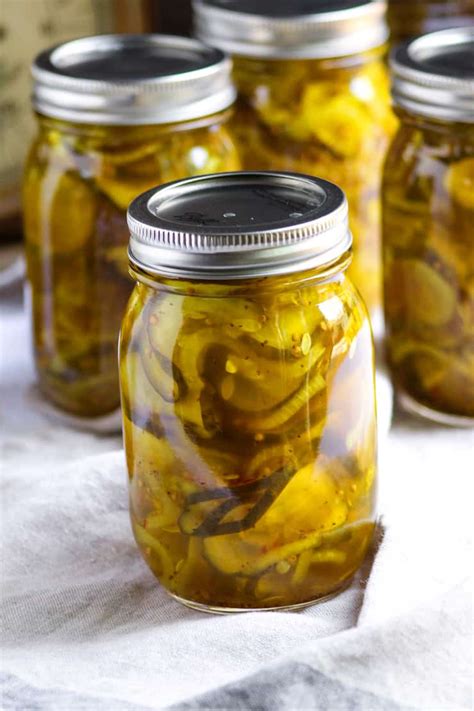
Bread and Butter Pickles: A Canning Recipe for Delicious Homemade Goodness
Are you ready to experience the tangy, sweet, and crunchy delight of homemade bread and butter pickles? This comprehensive guide will walk you through a foolproof canning recipe, ensuring you enjoy these delightful pickles all year round. We'll cover everything from selecting the perfect ingredients to safely preserving your harvest, guaranteeing a batch you'll be proud of.
Why Make Your Own Bread and Butter Pickles?
Store-bought pickles are convenient, but nothing beats the fresh, vibrant flavor of homemade bread and butter pickles. Canning your pickles allows you to control the ingredients, ensuring no artificial colors, flavors, or preservatives. Plus, the satisfaction of creating something delicious from scratch is unparalleled! You'll be amazed at the difference in taste and texture.
Ingredients You'll Need:
This recipe yields approximately 7 pints of pickles. Adjust quantities as needed.
- Pickles: 4 pounds pickling cucumbers, small to medium size (about 1 inch diameter)
- Onions: 2 medium yellow onions, thinly sliced
- Vinegar: 5 cups white vinegar (5% acidity) Crucial for safe canning!
- Sugar: 4 cups granulated sugar
- Salt: 1/2 cup canning or pickling salt (not table salt) Essential for safety and flavor!
- Spices:
- 2 tablespoons celery seed
- 1 tablespoon turmeric
- 1 tablespoon mustard seed
- 1 teaspoon ground ginger
- 1 teaspoon red pepper flakes (optional, for a little heat)
Equipment You'll Need:
- 7 pint canning jars and lids
- Large stockpot for boiling
- Jar lifter
- Canning funnel
- Bubble remover tool
- Water bath canner
Step-by-Step Canning Instructions:
Step 1: Prepare the Cucumbers and Onions
Wash the cucumbers thoroughly and slice them into 1/4-inch thick rounds. Thinly slice the onions. Proper slicing ensures even cooking and pickling.
Step 2: Prepare the Brine
In a large stockpot, combine the vinegar, sugar, salt, celery seed, turmeric, mustard seed, ginger, and red pepper flakes (if using). Bring the mixture to a rolling boil, stirring until the sugar and salt are completely dissolved. A well-mixed brine is key for consistent flavor.
Step 3: Pack the Jars
Tightly pack the sliced cucumbers and onions into the sterilized pint jars, leaving about 1/2 inch headspace at the top. Proper headspace is essential for safe canning.
Step 4: Pour the Brine
Carefully pour the boiling brine over the cucumbers and onions, leaving that 1/2 inch headspace. Use a bubble remover tool to remove any air pockets. Removing air bubbles prevents spoilage.
Step 5: Process in a Water Bath Canner
Wipe the jar rims clean, place the lids and rings on the jars, and tighten fingertip tight. Lower the jars into a boiling water bath canner, ensuring they're completely submerged by at least an inch. Process the jars for 10 minutes (at altitudes below 1,000 feet). Adjust processing time according to your altitude. Accurate processing time is crucial for food safety.
Step 6: Cool and Check
Remove the jars from the canner and let them cool completely. You should hear a satisfying "pop" sound as the jars seal. Check the seals by pressing down on the center of each lid – if it doesn't flex, the jar is sealed. Proper sealing guarantees long-term preservation.
Storage and Enjoyment!
Store your sealed jars in a cool, dark, and dry place. Your homemade bread and butter pickles will be ready to enjoy in a few weeks, but they'll only get better with age!
Tips for Success:
- Use high-quality ingredients for the best flavor.
- Sterilize your jars and lids properly before canning.
- Follow the canning instructions carefully for safe preservation.
- Always check your seals after processing.
Enjoy your delicious homemade bread and butter pickles! This recipe will become a cherished family tradition. Remember to always prioritize safety when canning. If you have any doubts, consult a reliable canning guide.
