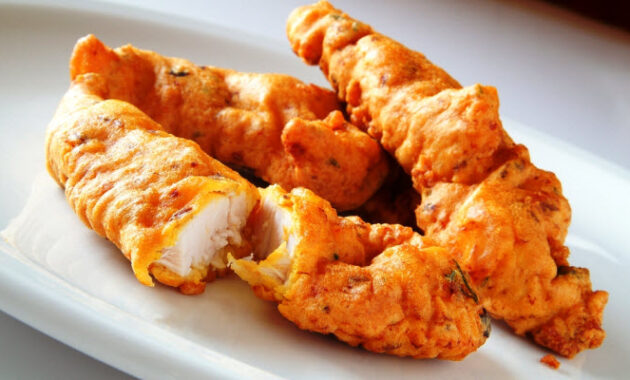
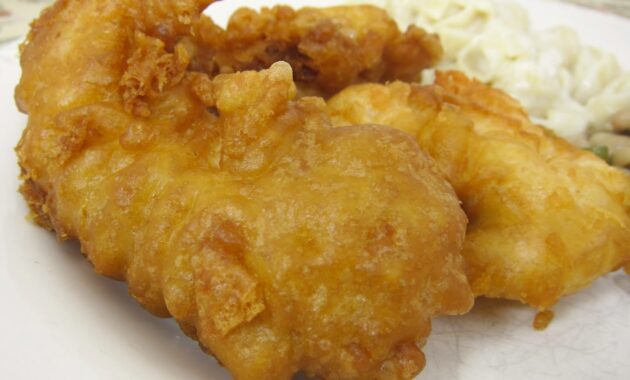
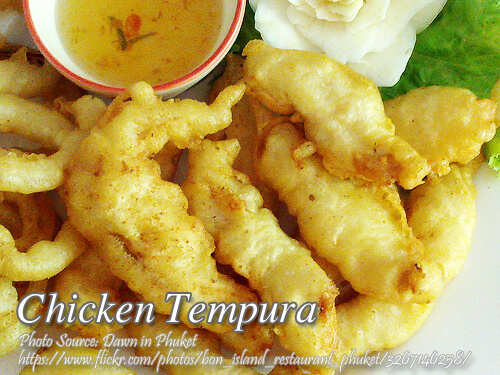
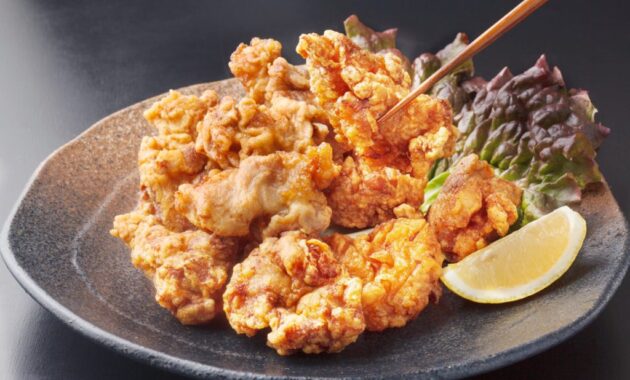
Craving something crispy, light, and utterly irresistible? Look no further than Chicken Tempura! This Japanese delicacy, known for its delicate batter and perfectly cooked chicken, is surprisingly easy to make at home. Forget takeout – with this step-by-step guide, you’ll be serving up restaurant-quality Chicken Tempura in no time. We’ll walk you through everything from preparing the chicken to mastering the tempura batter, ensuring a golden, crispy coating every single time. Get ready to impress your family and friends with this delightful and surprisingly simple recipe!

Before we dive into the details, let’s take a quick look at the recipe overview:

| Category | Value |
|---|---|
| Preparation Time | 20 minutes |
| Cooking Time | 15 minutes |
| Servings | 4 servings |
| Difficulty | Easy |
Nutritional Information (Per Serving – Approximate)
Please note that these values are approximate and can vary based on specific ingredients and portion sizes.
| Nutrient | Amount |
|---|---|
| Calories | Approximately 350-400 kcal |
| Protein | 30-35g |
| Fat | 20-25g |
| Carbohydrates | 15-20g |
Ingredients for Perfect Chicken Tempura
Here’s a breakdown of what you’ll need to create this amazing dish. Quality ingredients make all the difference, especially when it comes to the delicate flavor of Chicken Tempura.
| Ingredient | Quantity |
|---|---|
| Chicken Breast | 1 lb, boneless, skinless, cut into bite-sized pieces |
| All-Purpose Flour | 1/2 cup |
| Cornstarch | 1/4 cup |
| Baking Powder | 1/2 teaspoon |
| Salt | 1/4 teaspoon |
| Egg | 1 large, lightly beaten |
| Ice Water | 1/2 cup (or more, as needed) |
| Vegetable Oil | For frying |
| Dipping Sauce | Soy sauce, grated ginger, daikon radish (optional) |
Cooking Instructions
Now for the fun part! Follow these simple steps to create perfect Chicken Tempura at home. Remember, the key is to keep everything cold and work quickly to maintain that light and crispy texture.
- Prepare the Chicken: Cut the chicken breast into bite-sized pieces, about 1-inch thick. Pat them dry with paper towels. This helps the batter adhere better and prevents the oil from splattering.
- Make the Tempura Batter: In a large bowl, whisk together the flour, cornstarch, baking powder, and salt. The cornstarch helps create a lighter, crispier texture.
- Combine Wet and Dry Ingredients: In a separate bowl, lightly beat the egg. Gradually whisk in the ice water. The ice water is crucial for keeping the batter cold, which prevents gluten development and results in a lighter tempura.
- Combine Gently: Gently pour the wet ingredients into the dry ingredients. Use chopsticks or a fork to lightly mix them together. Do not overmix! Lumps are okay; in fact, they’re desirable. Overmixing develops gluten, leading to a tough tempura.
- Heat the Oil: Pour enough vegetable oil into a deep pot or deep fryer to reach a depth of about 2-3 inches. Heat the oil to 350-375°F (175-190°C). Use a thermometer to ensure accurate temperature control.
- Dip and Fry: Dip each piece of chicken into the tempura batter, making sure it’s evenly coated. Immediately and carefully lower the battered chicken into the hot oil. Avoid overcrowding the pot, as this will lower the oil temperature.
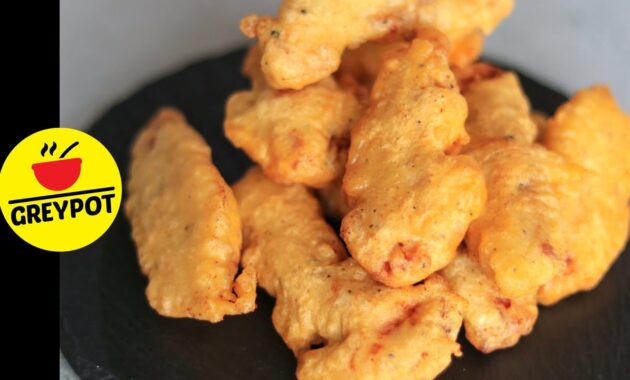
- Fry Until Golden: Fry the Chicken Tempura for 2-3 minutes, or until golden brown and cooked through. Turn the pieces occasionally to ensure even cooking.
- Remove and Drain: Remove the fried Chicken Tempura from the oil using a slotted spoon or tongs and place them on a wire rack lined with paper towels to drain excess oil. This helps keep them crispy.
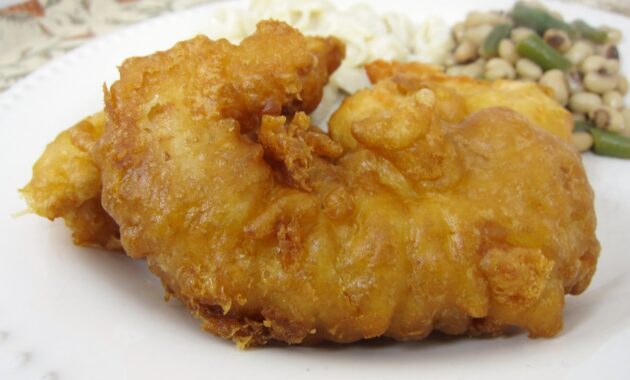
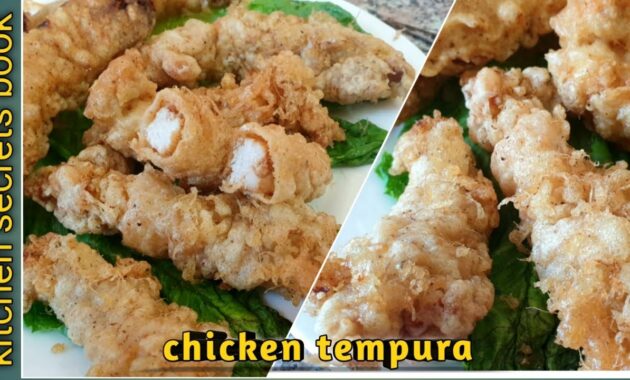
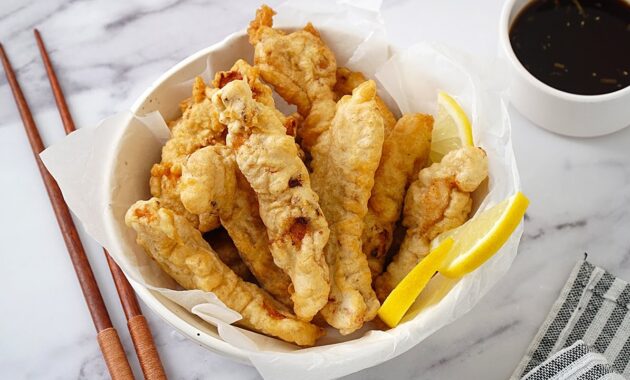
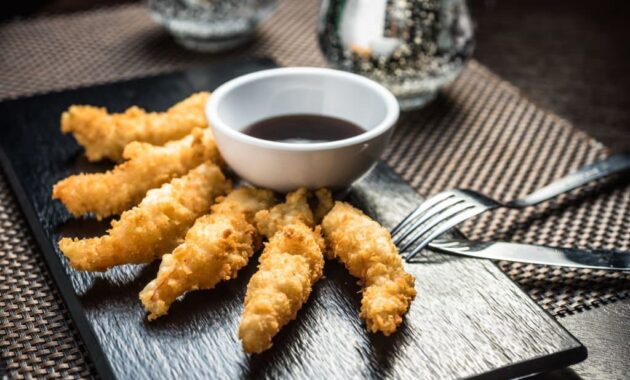
- Serve Immediately: Serve the Chicken Tempura immediately while it’s hot and crispy. It’s best enjoyed fresh!
Serving Suggestions for Chicken Tempura
Chicken Tempura is incredibly versatile and pairs well with a variety of sides and sauces. Here are a few suggestions to elevate your dining experience:
- Dipping Sauce: The classic accompaniment is a simple dipping sauce made with soy sauce, grated ginger, and grated daikon radish. You can also add a touch of mirin for sweetness.
- Tempura Sauce (Tentsuyu): A more elaborate dipping sauce made with dashi broth, soy sauce, mirin, and sugar.
- Rice: Serve Chicken Tempura with a bowl of steamed white rice for a satisfying and complete meal.
- Vegetables: Accompany your tempura with a side of stir-fried vegetables or a simple salad.
- Noodles: Chicken Tempura can also be served with udon or soba noodles in a flavorful broth.
- Lemon Wedges: A squeeze of fresh lemon juice can brighten up the flavors and cut through the richness of the fried chicken.
- Wasabi: For those who enjoy a bit of heat, a small dollop of wasabi can add a pleasant kick.
Tips and Tricks for Perfect Chicken Tempura
Making Chicken Tempura is relatively straightforward, but here are a few extra tips to ensure success:

- Keep Everything Cold: This is the most important tip! Cold ingredients prevent gluten development and result in a lighter, crispier tempura. Use ice water, and even chill your flour and bowl if possible.
- Don’t Overmix the Batter: Lumps are okay! Overmixing develops gluten, leading to a tough tempura.
- Use a Thermometer: Maintaining the correct oil temperature is crucial. Use a thermometer to ensure the oil is between 350-375°F (175-190°C).
- Don’t Overcrowd the Pot: Frying too many pieces at once will lower the oil temperature and result in soggy tempura.
- Work Quickly: Once the batter is made, work quickly to dip and fry the chicken. The longer the batter sits, the more gluten will develop.
- Use Fresh Oil: Clean, fresh oil is essential for achieving a golden-brown color and preventing off-flavors.
- Pat the Chicken Dry: Excess moisture will cause the oil to splatter and prevent the batter from adhering properly.
- Double Fry (Optional): For extra crispiness, you can double fry the Chicken Tempura. Fry it once for 1-2 minutes, remove it from the oil, let it rest for a few minutes, and then fry it again for another minute or two until golden brown.
- Experiment with Vegetables: Tempura isn’t just for chicken! Try using this recipe to make vegetable tempura with broccoli, zucchini, sweet potatoes, or onions.
Chicken Tempura is a delightful dish that’s perfect for a special occasion or a weeknight treat. With its crispy coating and flavorful chicken, it’s sure to be a hit with everyone. Don’t be intimidated by the process – with a little practice, you’ll be making restaurant-quality Chicken Tempura in your own kitchen in no time. Remember the key is cold ingredients and minimal mixing for the perfect light and airy batter, turning simple chicken into a truly extraordinary dish of Chicken Tempura!
This Chicken Tempura recipe can be customized with different seasonings and spices. Feel free to add a pinch of garlic powder, onion powder, or paprika to the batter for extra flavor. You can also experiment with different dipping sauces to find your favorite combination. Enjoy your homemade Chicken Tempura!
Making authentic Chicken Tempura at home allows you to control the ingredients and freshness, surpassing the experience of many restaurants. Enjoy the satisfaction of creating this exquisite dish from scratch. The light, airy batter combined with perfectly cooked chicken makes this Chicken Tempura recipe a guaranteed winner.
By following these steps and tips, you’ll be well on your way to mastering the art of Chicken Tempura. Whether you’re a seasoned cook or a beginner, this recipe is designed to be easy to follow and produce delicious results. Gather your ingredients, prepare your workspace, and get ready to enjoy some incredible Chicken Tempura!
So, what are you waiting for? Get ready to embark on a culinary adventure and create your own batch of crispy, golden Chicken Tempura. Your taste buds will thank you!