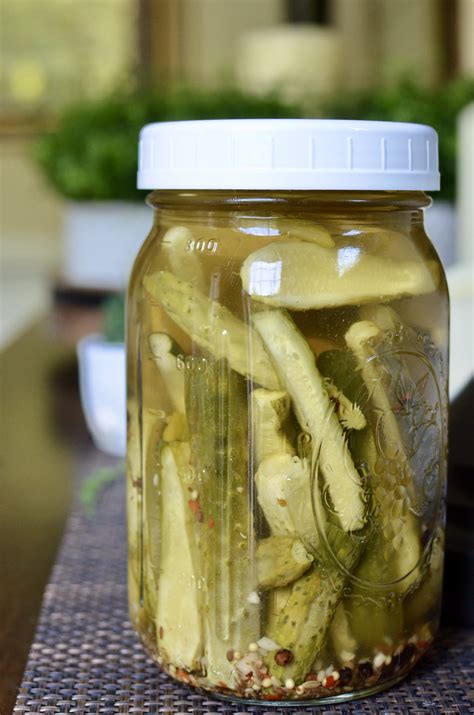
The Ultimate Dill Pickle Brine Recipe: Crisp, Tangy, and Homemade
Are you ready to experience the crunch of homemade dill pickles? Forget store-bought jars – creating your own dill pickle brine is surprisingly easy and incredibly rewarding. This recipe will guide you through making a perfectly balanced brine that will transform ordinary cucumbers into tangy, crisp, and delicious pickles. Get ready to impress your friends and family with this homemade goodness!
Ingredients for the Perfect Dill Pickle Brine
This recipe yields enough brine for approximately one quart jar of pickles. Adjust the quantities as needed for larger batches.
- 2 cups water: Use filtered or spring water for the best results.
- 1/2 cup white vinegar: Provides the acidity necessary for preserving and creating that signature tangy pickle flavor.
- 2 tablespoons canning salt: Crucial for preserving the pickles and preventing spoilage. Do not substitute table salt; canning salt is essential for its low iodine content.
- 2 tablespoons sugar: Balances the acidity of the vinegar and adds a touch of sweetness.
- 4-6 cloves garlic, smashed: Adds a pungent and savory note.
- 2-3 sprigs fresh dill: Provides the classic dill pickle flavor. You can use dill seeds as well, or a combination of both.
- 1 teaspoon black peppercorns: Adds a subtle peppery kick.
- 1-2 small red pepper flakes (optional): For a little extra heat.
- Cucumbers: Choose firm, small pickling cucumbers for the best texture and flavor.
Step-by-Step Guide to Making Dill Pickle Brine
Preparing the Cucumbers:
- Wash and scrub your cucumbers thoroughly. Remove any blemishes or imperfections.
- Pack the cucumbers tightly into a clean quart jar. Leave about 1/2 inch of headspace at the top.
Making the Brine:
- Combine water, vinegar, salt, and sugar in a saucepan. Bring the mixture to a boil over medium-high heat, stirring until the salt and sugar are completely dissolved.
- Add garlic, dill, peppercorns, and red pepper flakes (if using) to the boiling brine. Reduce the heat to a simmer and cook for 2 minutes.
- Carefully pour the hot brine over the cucumbers in the jar. Make sure to leave that 1/2-inch headspace.
- Remove any air bubbles by gently tapping the jar. You can use a non-metallic utensil to gently push down on the cucumbers to release any trapped air.
- Wipe the rim of the jar clean. This prevents mold from growing.
- Seal the jar tightly.
Processing the Pickles (for long-term storage):
For pickles that will be stored for more than a few weeks, you will need to process them in a boiling water bath. This step is crucial for ensuring safety and preventing spoilage.
- Place the filled jars in a large pot. Add enough water to cover the jars by at least an inch.
- Bring the water to a rolling boil, then process for 10 minutes.
- Remove the jars from the water and let them cool completely. You should hear a "pop" as the jars seal.
Storing and Enjoying Your Dill Pickles:
Refrigerate your pickles for at least 2-3 weeks to allow the flavors to fully develop. They'll continue to improve in flavor over time. Enjoy your delicious homemade dill pickles!
Tips and Variations for the Best Dill Pickles
- Experiment with other spices: Add mustard seeds, coriander seeds, or celery seeds for a more complex flavor profile.
- Use different types of vinegar: Apple cider vinegar will give your pickles a slightly sweeter and fruitier taste.
- Try adding other vegetables: Include carrots, onions, or cauliflower for a more diverse pickle mix.
- Adjust the spice level: Add more or fewer red pepper flakes to control the heat.
With a little time and effort, you can create incredibly flavorful and crisp dill pickles that will far surpass anything you can buy in the store. So, gather your ingredients and get ready to experience the joy of homemade pickling!
