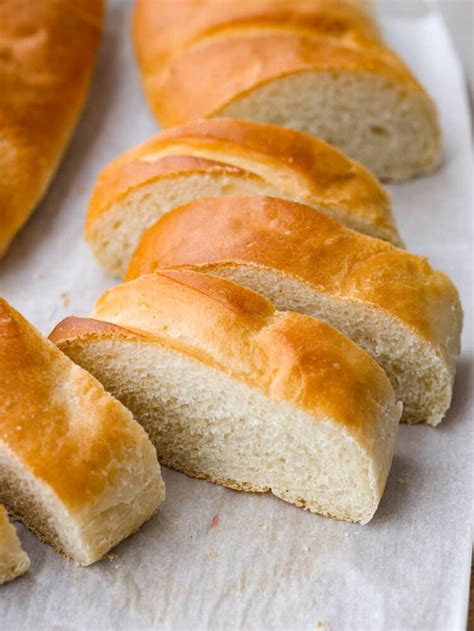
The Ultimate Guide to Making Authentic French Bread at Home
Are you dreaming of that crispy crust and airy interior of a perfect baguette? Stop dreaming and start baking! This comprehensive guide will walk you through making authentic French bread at home, revealing the secrets to achieving that coveted professional-level result. Forget those bland supermarket loaves – get ready to experience the true taste of France in your kitchen!
Understanding the Ingredients: Key to French Bread Success
The beauty of French bread lies in its simplicity. The ingredient list is short, but the quality and precision of each component are paramount.
Flour Power: The Foundation of Your Loaf
- Bread Flour: This high-protein flour is crucial. Its high gluten content provides the structure and elasticity needed for that signature airy crumb. Don't substitute all-purpose flour; the results will be significantly different.
The Importance of Water: Hydration is Key
- Water Temperature: The temperature of your water influences gluten development. Aim for lukewarm water – around 75-80°F (24-27°C) is ideal. Too hot and you'll kill the yeast; too cold and fermentation will be slow.
Yeast: The Rising Star
- Active Dry Yeast or Fresh Yeast: Both work well. Follow package instructions for activating your yeast. Ensure your yeast is fresh for optimal results.
Salt: The Flavor Enhancer
- Sea Salt or Kosher Salt: Salt controls yeast activity, strengthens gluten, and adds flavor. Don't skip it!
Step-by-Step Guide to Baking Perfect French Bread
This recipe focuses on a straightforward approach, suitable even for beginner bakers.
Step 1: Mixing the Dough
- Autolyse: Combine the flour and water and let it rest for 30 minutes. This allows the flour to fully hydrate, resulting in a smoother dough and better gluten development.
Step 2: Incorporating Yeast and Salt
- Gently add the yeast and salt to the autolysed dough. Mix thoroughly until a shaggy dough forms.
Step 3: Kneading the Dough: Developing Gluten
- Kneading Time: Knead for 8-10 minutes, until the dough is smooth and elastic. You can do this by hand or with a stand mixer.
Step 4: Bulk Fermentation: The Rise
- Warm Place: Place the dough in a lightly oiled bowl, cover, and let it rise in a warm place for 1-2 hours, or until doubled in size.
Step 5: Shaping the Dough: Achieving that Classic Look
- Gentle Handling: Gently deflate the dough and divide it into portions, typically 2-3 for baguettes. Shape each portion into a long oval.
Step 6: Proofing: The Final Rise
- Banneton Basket (Optional): Place the shaped loaves in a banneton basket (a proofing basket) seam-side up, or on a floured baking sheet. Let them proof for another 45 minutes to an hour.
Step 7: Baking: The Golden Crust
-
Preheat Oven: Preheat your oven to 450°F (232°C) with a baking stone or baking sheet inside. This is crucial for a crisp crust.
-
Scoring: Before baking, score the loaves with a sharp knife or lame (a special baking tool). This helps control oven spring and creates that signature baguette look.
-
Steam: Add a pan of hot water to the bottom of the oven to create steam, helping to develop a crispy crust.
-
Baking Time: Bake for 20-25 minutes, or until the crust is golden brown and the internal temperature reaches 200°F (93°C).
Tips and Tricks for French Bread Perfection
- Use a Kitchen Scale: Accurate measurements are key to successful baking.
- Don't Overknead: Overkneading can result in a tough loaf.
- Practice Makes Perfect: Don't be discouraged if your first attempt isn't perfect. Keep practicing, and you'll improve with each loaf.
Now go forth and bake! With a little patience and attention to detail, you'll be enjoying delicious homemade French bread in no time. Bon appétit!
