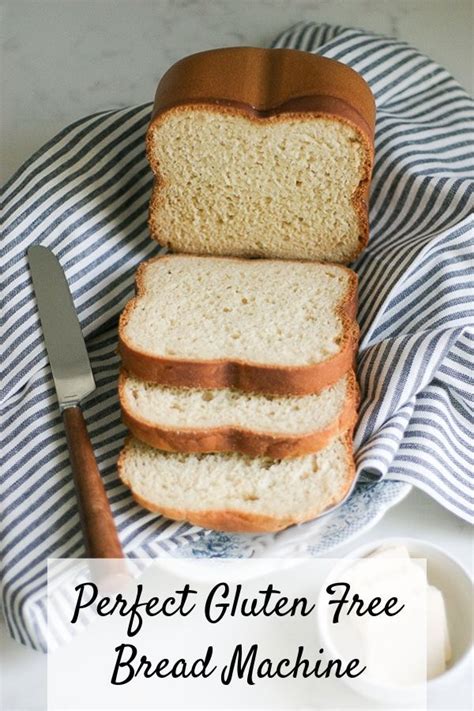
Gluten-Free Bread Machine Recipe: Effortless, Delicious, and Allergy-Friendly
Making gluten-free bread can often seem daunting, but with the right recipe and a bread machine, it's surprisingly simple! This recipe delivers a soft, delicious loaf perfect for sandwiches, toast, or simply enjoying on its own. Say goodbye to store-bought gluten-free bread and hello to homemade goodness!
Why Use a Bread Machine for Gluten-Free Bread?
Bread machines are a game-changer for gluten-free baking. They handle the kneading process, which is crucial for gluten-free doughs that tend to be more delicate. This automated process ensures even mixing and a consistent texture, resulting in a better rise and a more enjoyable final product. No more wrestling with sticky dough!
Ingredients You'll Need:
- 1 cup gluten-free all-purpose flour blend (ensure it contains xanthan gum)
- 1/2 cup tapioca starch (or potato starch)
- 1/4 cup brown rice flour
- 1 teaspoon salt
- 1 tablespoon sugar
- 2 teaspoons gluten-free baking powder
- 1 teaspoon gluten-free baking soda
- 1 cup warm water (around 105-115°F)
- 2 tablespoons olive oil
- 2 tablespoons apple cider vinegar
- 1 cup milk (dairy or non-dairy)
Instructions:
-
Prepare Your Bread Machine: Ensure your bread machine is clean and ready to go. Grease the pan lightly with oil or baking spray, especially if you're using a non-stick pan.
-
Add Ingredients: Add the dry ingredients (flour blend, tapioca starch, rice flour, salt, sugar, baking powder, and baking soda) to the bread machine pan in the order specified by your machine's manual. Many machines recommend adding liquids last.
-
Add Wet Ingredients: Pour in the warm water, olive oil, apple cider vinegar, and milk.
-
Select the Gluten-Free Setting: Most modern bread machines have a dedicated gluten-free setting. Select this setting. If your machine doesn't have a specific gluten-free setting, use the basic dough cycle.
-
Bake: Let the bread machine do its work! The baking time will vary depending on your machine, so refer to your machine’s manual for the specific time.
-
Cool and Enjoy: Once the baking cycle is complete, carefully remove the bread from the pan and let it cool completely on a wire rack before slicing and serving.
Tips for Success:
-
Flour Blend: Using a high-quality gluten-free all-purpose flour blend is essential. Make sure it contains xanthan gum, which acts as a binding agent in gluten-free baking.
-
Fresh Ingredients: Using fresh ingredients ensures the best results. Expired baking powder or soda can impact the rise of your bread.
-
Don't Overmix: Overmixing gluten-free dough can lead to a tough loaf. The bread machine handles this perfectly, but avoid manually kneading if the recipe doesn't call for it.
-
Experiment with Add-ins: Once you've mastered the basic recipe, feel free to experiment with add-ins like seeds, nuts, dried fruits, or herbs.
-
Storage: Store leftover bread in an airtight container at room temperature for up to three days, or freeze for longer storage.
Troubleshooting:
- Bread is too dense: This could be due to using old baking powder or soda, or not using enough liquid.
- Bread is crumbly: Try adding a tablespoon or two more of liquid next time.
This recipe is a great starting point for your gluten-free bread baking journey! Enjoy the delicious results of homemade, allergy-friendly bread. Remember to adjust the recipe based on your specific bread machine and preferred taste. Happy baking!
