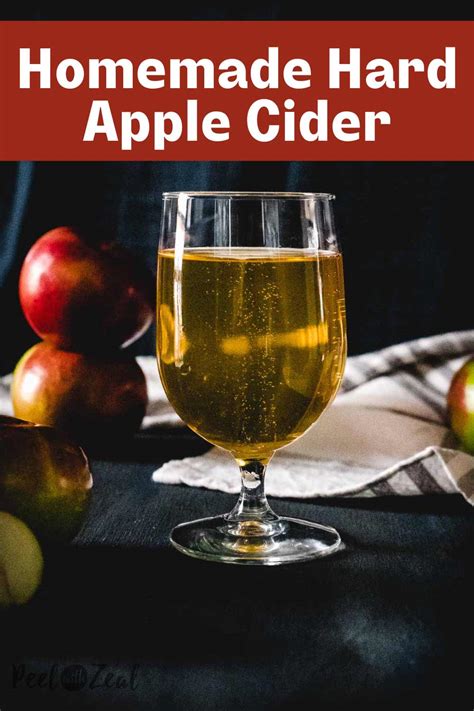
Hard Apple Cider Recipe: A Step-by-Step Guide to Brewing Your Own
Are you ready to embark on a delicious journey into the world of homemade alcoholic beverages? This comprehensive guide will walk you through a simple yet effective hard apple cider recipe, perfect for both beginners and experienced homebrewers. We'll cover everything from selecting the right apples to bottling your finished product. Get ready to impress your friends and family with your own handcrafted cider!
Choosing Your Apples: The Foundation of Great Cider
The key to exceptional hard apple cider lies in the quality of your apples. Avoid using overly sweet or mealy apples; instead, opt for a blend of sweet and tart varieties. A good mix will provide the perfect balance of sugar and acidity, crucial for fermentation and flavor development. Consider these options:
- Sweet Apples: Honeycrisp, Gala, Fuji
- Tart Apples: Granny Smith, Braeburn, Pink Lady
Aim for a combination of at least three different apple varieties for a more complex and nuanced flavor profile.
Gathering Your Supplies: What You'll Need
Before you begin, ensure you have all the necessary equipment. You'll need:
- Apples: Approximately 10-12 pounds (a mix of sweet and tart varieties)
- Food-grade bucket: For primary fermentation
- Airlock: To prevent unwanted bacteria and wild yeasts from entering
- Bottles: For bottling your finished cider
- Bottling bucket and tubing: For transferring cider to bottles
- Campden tablets (potassium metabisulfite): To sanitize equipment and kill wild yeasts
- Yeast: A cider yeast specifically designed for alcohol production (ensure it's appropriate for the expected alcohol content)
- Hydrometer: To measure the specific gravity (sugar content) of your cider
- Large pot or food processor: To crush the apples
The Brewing Process: A Step-by-Step Guide
Now for the fun part! Let's brew your hard apple cider. Follow these steps carefully:
Step 1: Preparing the Apples
Wash and thoroughly clean your apples. Crush them using a food processor or by hand, ensuring a consistent texture. You want a pulp-like consistency, not a completely smooth purée.
Step 2: Sanitizing Your Equipment
Thoroughly sanitize ALL your equipment using Campden tablets according to the package instructions. This is crucial to prevent off-flavors and spoilage.
Step 3: Adding the Apples to the Fermentation Bucket
Add the crushed apples to your food-grade bucket.
Step 4: Adding the Yeast
Once the apple mixture has cooled down to room temperature, add your chosen cider yeast, following the manufacturer's instructions.
Step 5: Fermentation
Seal the bucket with the airlock and allow the cider to ferment in a cool, dark place for several weeks. The fermentation process will typically take 4-6 weeks, but it may vary depending on the yeast and temperature.
Step 6: Racking and Bottling
Once fermentation is complete (check the hydrometer readings – they should be stable), carefully siphon the cider into your bottling bucket, leaving behind the sediment. Bottle the cider and store it in a cool, dark place for several weeks to allow the carbonation to develop.
Tips for Success
- Patience is key: Brewing cider takes time. Don't rush the process.
- Maintain proper hygiene: Sanitize everything thoroughly.
- Experiment with flavors: Once you've mastered the basics, try adding spices like cinnamon or cloves for a unique twist.
- Monitor fermentation: Regularly check the hydrometer readings to track the progress.
Enjoy Your Homemade Hard Apple Cider!
With a little patience and attention to detail, you can create a delicious and refreshing hard apple cider that’s perfect for sharing with friends and family. Cheers to your brewing success! Remember to drink responsibly.
