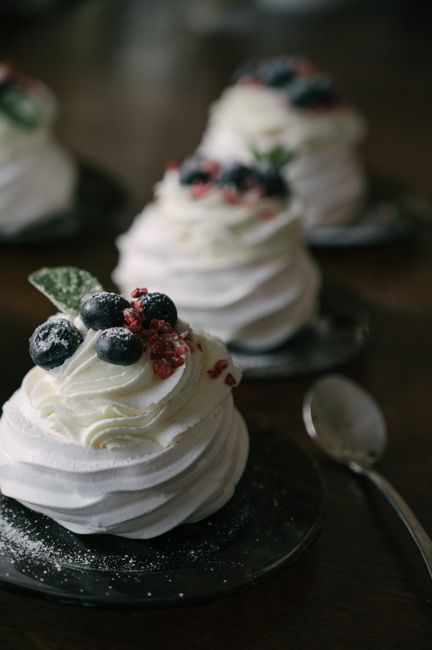
Introduction to Aesthetic Desserts
We eat with our eyes long before taking our first bite. The rise of visual-first food culture has transformed home baking, making aesthetic desserts a favorite focal point for dinner parties, weekend projects, and celebratory gatherings. Preparing eye-catching sweets isn’t just about social media photos, though; it’s about creating a sense of delight and anticipation at the dinner table. When color, shape, and texture align in harmony, even the simplest treat feels like an extraordinary experience.
Creating aesthetic desserts at home doesn’t require professional pastry training or specialized kitchen machinery. Instead, it relies on thoughtful composition, neat presentation, and an understanding of how distinct layers interact. This recipe for Layered Matcha Strawberry Panna Cotta brings together vivid natural hues: deep emerald matcha, creamy soft white, and vibrant ruby strawberry compote. Served in clean glass cups, these distinct layers create a striking contrast that looks like it came straight from a high-end patisserie while requiring minimal active cooking time.
Key Takeaways
- Visual Contrast: Layering distinct colors creates striking visual appeal without relying on artificial food dye.
- Temperature Control: Allowing each liquid layer to cool slightly before pouring prevents color bleed and preserves sharp lines.
- Texture Balance: Silky panna cotta paired with fresh, lightly textured fruit compote provides a satisfying mouthfeel.
- Make-Ahead Convenience: Individual glass desserts chill completely in advance, making them ideal for stress-free hosting.
- Minimal Equipment: You don’t need piping bags or complex molds—clear glassware and a steady hand are all it takes.
The Art of Crafting Aesthetic Desserts at Home
What transforms an ordinary sweet treat into a visual centerpiece? Beautiful food design relies on basic principles of contrast, proportion, and finish. When planning aesthetic desserts, consider how the natural colors of your ingredients play against one another. Pastel greens, rich berries, and pristine cream backgrounds automatically draw attention because they look fresh and vibrant.
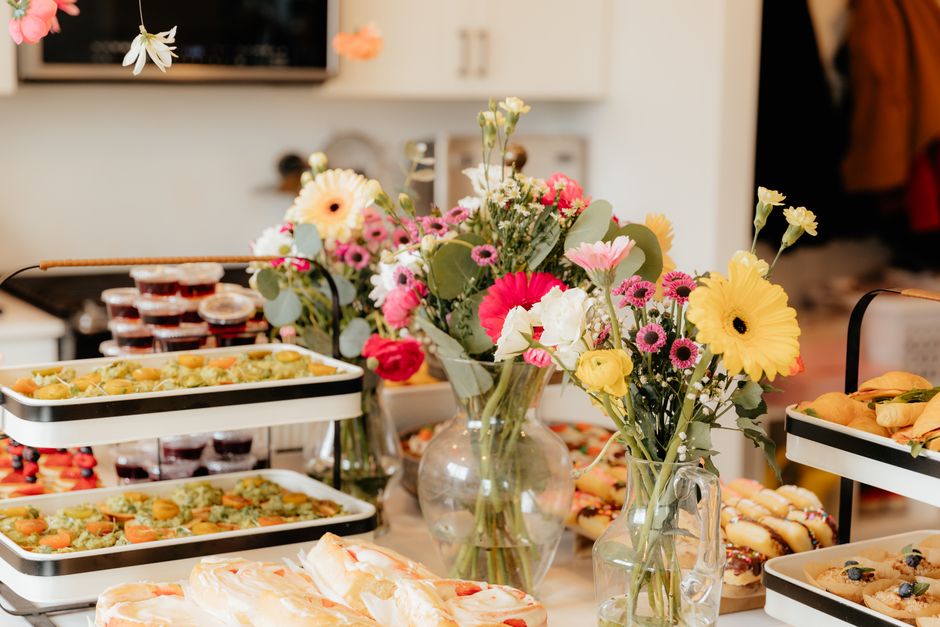
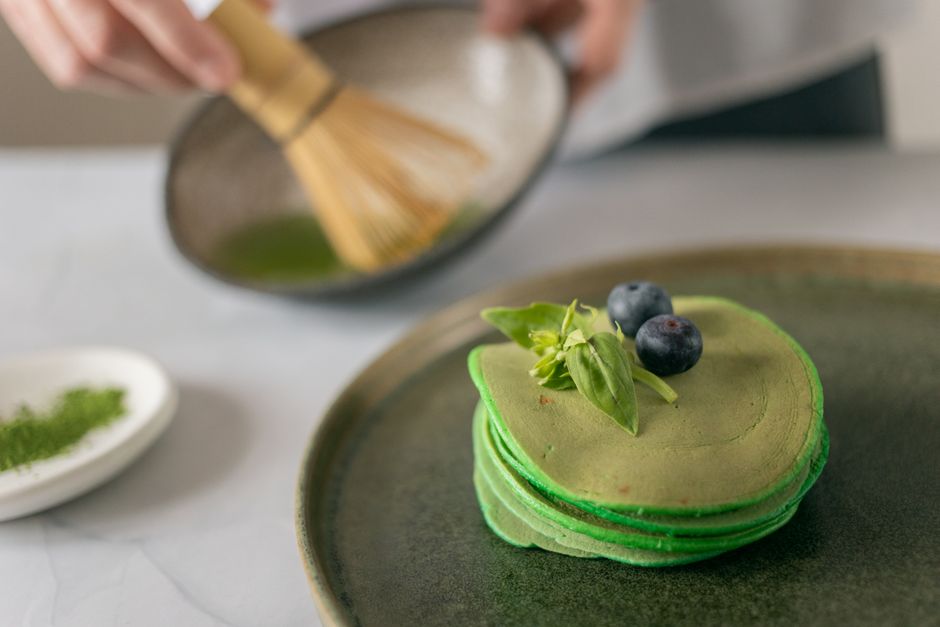
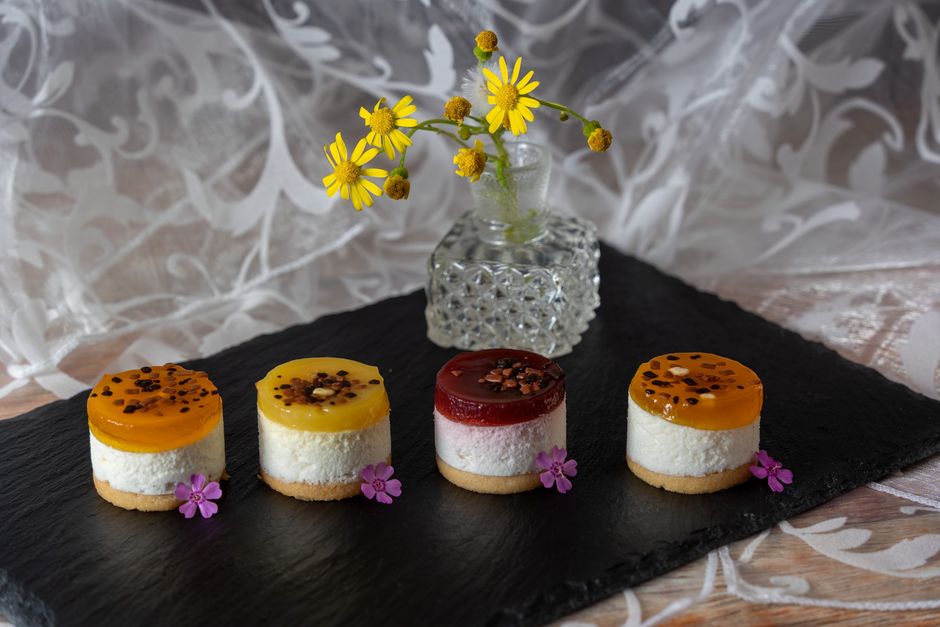
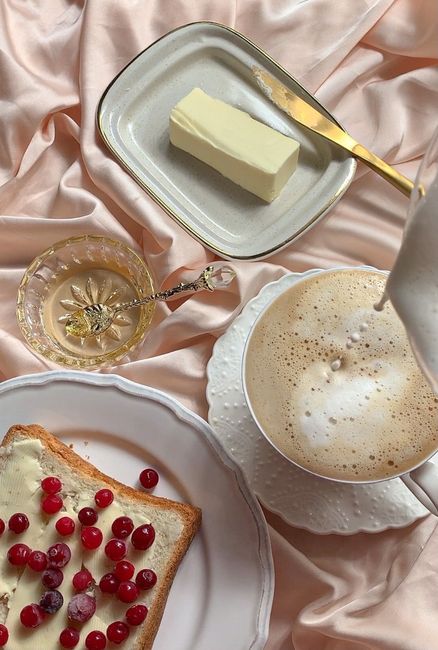
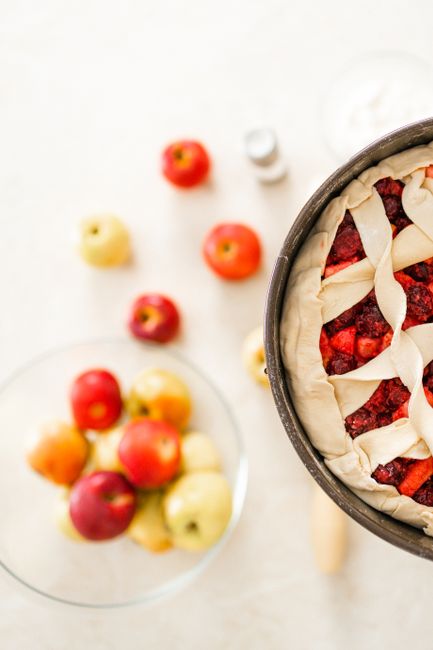
Glassware choice plays a major role in presenting layered desserts. Clear, straight-sided glasses allow the geometry of your layers to show through cleanly. Curved glasses offer a softer look, while angled tilt glasses add a modern twist. The key is to keep the rim of the glass completely clean during assembly so the focus remains on the crisp divisions between each component.
Comparing Aesthetic Dessert Styling Formats
Different styles of visual desserts offer unique advantages depending on your event and prep time. Here is how layered glass cups compare to other popular formats:
| Dessert Style | Visual Impact | Prep Complexity | Best Served For | Key Equipment Needed |
|---|---|---|---|---|
| Layered Glass Cups | High (Clean lines, clear view) | Beginner to Intermediate | Dinner parties, individual servings | Clear glassware, spoon |
| Fruit & Flower Tarts | Very High (Intricate toppings) | Advanced | Showcase celebrations, spring events | Tart pan, pastry brush |
| Glazed Entremets | High (Mirror reflection finish) | Professional | Special occasions, holidays | Silicone molds, candy thermometer |
| Deconstructed Plated Sweets | Moderate (Artistic smears and drops) | Intermediate | Casual dining, quick assembly | Plating spoons, squeeze bottles |
Recipe Overview: Layered Matcha Strawberry Panna Cotta
Panna cotta is an Italian cold dessert made of sweetened cream thickened with gelatin. Its naturally smooth surface and firm yet delicate set make it an ideal canvas for layered presentation. In this recipe, we split a classic vanilla panna cotta base into two distinct parts: one enriched with fine culinary matcha for a pastel green layer, and one kept pure white with real vanilla extract. A topping of freshly simmered strawberry compote adds bright red contrast and a splash of acidity that cuts through the rich cream.
The entire assembly process relies on simple thermal setting. You chill the first layer until it’s set enough to hold weight, then carefully add the next layer. By following simple timing guides, you’ll achieve straight, crisp lines every single time.
Ingredients and Selection Guide
Because this dessert relies on raw visual appeal and clean flavors, quality ingredients make a noticeable difference in both appearance and taste.
- Unflavored Gelatin Powder: Provides the structural support for clean layers. Make sure your gelatin is fresh so it sets predictably without becoming rubbery.
- Heavy Cream & Whole Milk: A balance of heavy cream (36% fat content) and whole milk creates a melt-in-your-mouth texture that holds structure while feeling light on the palate.
- Granulated Sugar: Dissolves cleanly without altering the translucent white color of the middle cream layer.
- Matcha Powder: Choose a bright green ceremonial or high-grade culinary matcha. Lower quality matcha can look dull or grayish brown, which lessens the visual punch.
- Fresh Strawberries: Ripe strawberries give the top compote layer a vivid natural red hue. If fresh berries aren’t in season, frozen strawberries work well too.
- Lemon Juice: A splash of fresh lemon juice brightens the strawberry compote flavor and helps preserve its vivid reddish-pink color.
- Pure Vanilla Extract: Adds aromatic warmth to the cream base. Vanilla bean paste can also be used if you want delicate black flecks throughout the white layer.
Step-by-Step Cooking Instructions
Phase 1: Prepare the Gelatin and Cream Base
- In a small bowl, sprinkle 2 1/4 teaspoons of unflavored gelatin over 3 tablespoons of cold water. Stir gently and set aside for 5 to 10 minutes to bloom.
- In a medium saucepan, combine 1 1/2 cups of heavy cream, 1 cup of whole milk, and 1/3 cup of granulated sugar. Set the pan over medium heat.
- Warm the liquid stirring occasionally until the sugar completely dissolves and tiny bubbles form around the edges of the pan (around 160°F or 70°C). Do not let the mixture come to a full boil.
- Remove the saucepan from the heat and whisk in the bloomed gelatin until completely dissolved and smooth. Whisk in 1 teaspoon of pure vanilla extract.
Phase 2: Create the Matcha Layer
- Measure out 1 cup of the warm cream mixture into a liquid measuring cup or bowl.
- In a small cup, whisk 1 1/2 teaspoons of matcha powder with 2 tablespoons of warm water until smooth and lump-free.
- Whisk the dissolved matcha paste into the 1 cup of warm cream mixture until uniform in color.
- Divide the green matcha mixture evenly among 4 clear dessert glasses (about 1/4 cup per glass).
- Carefully place the glasses in the refrigerator for 45 to 60 minutes, or until the top of the matcha layer is soft-set to the touch.
Phase 3: Add the Vanilla Cream Layer
- Keep the remaining vanilla cream base at room temperature while the first layer sets. If it cools too much and begins to thicken, warm it gently over low heat for a few seconds until fluid again.
- Once the matcha layer is firm enough, gently pour the room-temperature vanilla cream over the back of a spoon onto the matcha layer in each glass.
- Return the glasses to the refrigerator for another 60 minutes until set.
Phase 4: Make the Strawberry Compote Top Layer
- While the cream layers set, place 1 cup of finely chopped fresh strawberries, 2 tablespoons of granulated sugar, and 1 teaspoon of fresh lemon juice in a small saucepan over medium-low heat.
- Cook for 6 to 8 minutes, stirring regularly and crushing the fruit slightly with a wooden spoon, until the juices release and thicken into a light syrup.
- Remove from heat and allow the compote to cool completely to room temperature.
- Spoon the cooled strawberry compote evenly over the set vanilla layer in each glass. Chill for at least 1 hour before serving.
Pro Tips for Picture-Perfect Presentation
Pouring warm liquid directly onto a partially set layer will melt the surface, causing colors to bleed together. Always ensure your upper layer liquid has cooled down to room temperature before pouring, and use the back of a spoon to break the stream’s fall.
Achieving clean lines and smooth surfaces is what elevates these from simple puddings to true aesthetic desserts. Here are practical visual styling tips:
- Wipe the Rim: If any liquid splatters on the inner glass walls during pouring, use a damp cotton swab or twisted paper towel to wipe it clean immediately before it sets.
- Spoon Technique: Hold a metal tablespoon upside down inside the glass, just above the set layer. Pour the liquid gently over the curved back of the spoon to disperse the force.
- Bubbles Removal: If tiny air bubbles appear on top of a freshly poured layer, pop them gently with a toothpick or lightly pass a kitchen torch over the surface before chilling.
- Garnish Elevation: Top each finished cup just before serving with a tiny fresh mint leaf, a slice of fresh strawberry, or a dust of matcha powder for a professional touch.
Common Mistakes to Avoid
Even simple recipes can hit small snags. Avoid these common issues when making layered panna cotta:
- Pouring Hot Liquids: Adding hot liquid onto a chilled layer melts the bottom section, creating muddy, mixed lines instead of sharp borders.
- Over-Boiling Cream: Boiling heavy cream can break the fat solids, leading to a greasy film on top of your desserts. Keep heat gentle.
- Undissolved Matcha: Adding dry matcha straight to liquid creates unsightly green clumps. Always whisk matcha into a paste with warm liquid first.
- Insufficient Chilling Time: Rushing the chill time between layers will cause the weight of the new liquid to sink straight into the lower section.
Variations and Substitutions
You can adapt this base recipe to suit dietary needs or seasonal ingredient availability while maintaining beautiful visual layers:
- Dairy-Free Version: Replace heavy cream and milk with full-fat canned coconut milk and unsweetened almond milk. The natural coconut fat sets up smoothly.
- Vegetarian Alternative: Swap gelatin for agar-agar powder. Use 3/4 teaspoon of agar-agar powder, boiling the liquid base for 2 minutes to activate its gelling properties.
- Mango Passionfruit Layer: Swap the strawberry compote for a pureed mango and passionfruit layer for a vibrant yellow top layer.
- Berry Swaps: Fresh raspberries, blackberries, or blueberries can replace strawberries to change the color palette from bright red to deep purple or crimson.
Serving Suggestions
When presenting aesthetic desserts to guests, small details complete the experience. Place each glass cup on a small saucer with a thin dessert spoon. Pair these cups with light beverages that complement the subtle tea and berry flavors, such as iced jasmine green tea, sparking water with lemon, or a warm cup of sencha.
For afternoon tea or brunch spreads, arrange the glasses alongside light butter cookies, shortbread, or French macarons. The clear separation of colors makes these cups a natural centerpiece on any table setting.
Storage and Make-Ahead Instructions
These layered cups are excellent make-ahead options because the flavors deepen slightly after a few hours in the fridge.
- Refrigeration: Cover each glass tightly with plastic wrap once fully set. Store in the refrigerator for up to 4 days.
- Compote Timing: If storing for more than 2 days, keep the strawberry compote in a separate airtight container and spoon it over the panna cotta right before serving to keep the fruit layer looking fresh.
- Freezing: Freezing is not recommended for gelatin-based panna cotta, as the texture becomes watery and soft once thawed.
Nutrition Breakdown
Below is the estimated nutrition information for one individual serving (one glass cup out of four):
| Nutrient | Amount per Serving |
|---|---|
| Calories | Approx. 340 kcal |
| Total Fat | 24 g |
| Saturated Fat | 15 g |
| Cholesterol | 75 mg |
| Sodium | 60 mg |
| Carbohydrates | 27 g |
| Dietary Fiber | 1 g |
| Total Sugars | 24 g |
| Protein | 5 g |
Frequently Asked Questions
What makes a dessert considered ‘aesthetic’?
Aesthetic desserts focus heavily on visual balance, clean lines, vibrant natural colors, and thoughtful plating. They combine attractive textures and harmonious presentation with great flavor, creating a complete visual and taste experience.
Can I make aesthetic desserts ahead of time for a party?
Yes, individual glass desserts like layered panna cotta are ideal for parties because they must be made ahead. You can prepare them 1 to 2 days before your event and keep them covered in the fridge until ready to serve.
How do I get sharp, clean lines in layered desserts?
Sharp lines require two things: letting the first layer chill until firm enough to support weight, and letting the next liquid layer cool to room temperature before pouring it gently over the back of a spoon.
What are the best edible garnishes for aesthetic desserts?
Fresh micro mint leaves, small edible flowers (like pansies or violas), sliced fresh berries, edible gold leaf, or a light dusting of matcha or cocoa powder add elegant contrast without overwhelming the dish.
Can I use agar-agar instead of gelatin for a vegetarian option?
Yes. Substitute 3/4 teaspoon of agar-agar powder for the 2 1/4 teaspoons of gelatin. Unlike gelatin, agar-agar must be boiled in the liquid base for about 2 minutes to fully activate its setting properties.
Conclusion
Creating aesthetic desserts at home is a rewarding way to combine visual art with culinary flavor. By combining high-contrast natural ingredients like earthy matcha cream, rich vanilla, and bright red strawberries, you can serve simple yet striking treats that impress guests effortlessly. Remember to take your time between layers, control your temperatures, and pay attention to clean presentation details. With a little patience, you’ll produce glass desserts that look just as incredible as they taste.