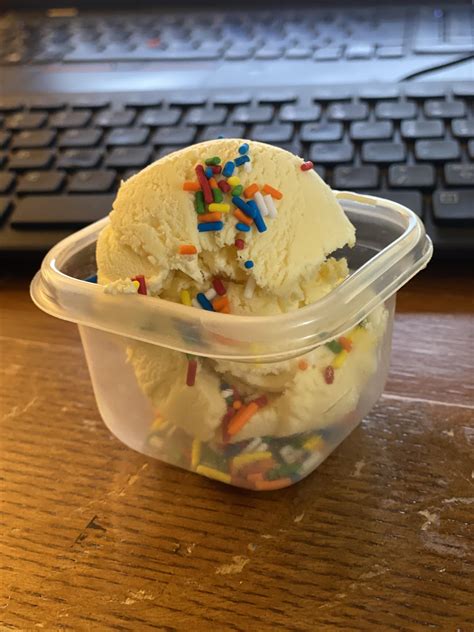
The Ultimate Guide to Making Your Own Delicious Ice Cream Base
Making your own ice cream base might seem daunting, but it's surprisingly simple and incredibly rewarding! This guide will walk you through creating a versatile base that can be customized to your heart's content, resulting in creamy, dreamy ice cream every time. We’ll cover everything from choosing the right ingredients to troubleshooting common problems, ensuring you become an ice cream artisan in your own kitchen.
Choosing Your Ingredients: The Foundation of Flavor
The quality of your ingredients directly impacts the final product. Don't skimp on these essentials:
1. Heavy Cream: The Creamy Heart
Heavy cream provides the richness and creaminess that makes ice cream, well, ice cream. Look for heavy cream with a high fat content (at least 36%) for the best results.
2. Whole Milk: Adding Body and Balance
Whole milk contributes to the overall texture and adds a subtle sweetness that complements the richness of the cream. Don't substitute with lower fat milk – you'll lose that luxurious mouthfeel.
3. Granulated Sugar: Sweetening the Deal
Granulated sugar is your primary sweetener. Adjust the amount to your preference, keeping in mind that some flavors will need more or less sugar depending on their natural sweetness.
4. Egg Yolks (Optional, but Recommended): For Silky Smoothness
While not strictly necessary, egg yolks are a game-changer. They add a velvety smooth texture and richness that elevates the ice cream to a whole new level. Just be sure to pasteurize them if you aren’t using commercially pasteurized eggs. This is a crucial step to avoid salmonella. There are many easy methods to pasteurize eggs at home.
The Classic Ice Cream Base Recipe
This recipe serves as a fantastic starting point. Feel free to experiment and adjust based on your taste!
Yields: Approximately 1 quart Prep time: 10 minutes Cook time: 10-15 minutes
Ingredients:
- 2 cups heavy cream
- 1 cup whole milk
- ¾ cup granulated sugar
- 4 large egg yolks (pasteurized)
Instructions:
- Combine: In a medium saucepan, whisk together the heavy cream, milk, and sugar.
- Heat: Heat the mixture over medium heat, stirring occasionally, until the sugar is completely dissolved and the mixture is steaming (do not boil).
- Temper the Egg Yolks: In a separate bowl, whisk the egg yolks slightly. Slowly drizzle a small amount of the hot cream mixture into the egg yolks, whisking constantly to temper them and prevent scrambling.
- Combine and Cook: Pour the tempered egg yolks back into the saucepan with the remaining cream mixture. Cook, stirring constantly with a spatula, until the mixture thickens enough to coat the back of the spoon (about 1-2 minutes). Do not boil.
- Cool: Remove from heat and pour the mixture through a fine-mesh sieve into a bowl. This removes any cooked egg bits for a smoother texture. Cover the bowl with plastic wrap, pressing it directly onto the surface of the custard to prevent a skin from forming.
- Chill: Refrigerate for at least 4 hours, or preferably overnight, to allow the flavors to meld and the mixture to chill thoroughly.
- Churn: Once chilled, churn in your ice cream maker according to the manufacturer’s instructions.
- Harden: Transfer the churned ice cream to an airtight container and freeze for at least 2-3 hours to harden further.
Flavor Variations: Endless Possibilities
This base is incredibly versatile! Here are a few ideas to get you started:
- Chocolate: Add cocoa powder or melted chocolate to the base.
- Vanilla: Add vanilla extract after cooling.
- Strawberry: Blend fresh or frozen strawberries into the cooled base before churning.
- Coffee: Add strong brewed coffee to the base.
Troubleshooting: Common Ice Cream Problems
- Icy Ice Cream: This often happens if the ice cream hasn't been chilled sufficiently before churning or if it hasn't been frozen long enough afterward.
- Grainy Ice Cream: This could be due to insufficiently cooked egg yolks or insufficient chilling time.
With a little practice and these tips, you'll be creating delicious homemade ice cream in no time! Enjoy the process and the delicious results. Remember to share your creations and tag us! Happy churning!
