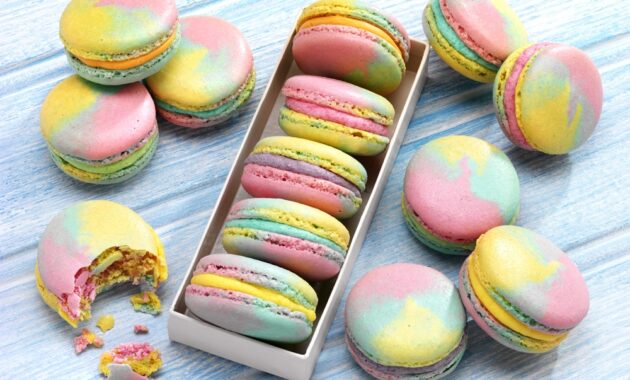
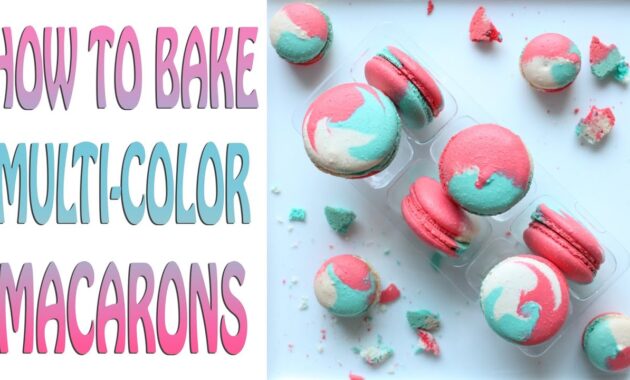
Macarons, those delicate and colorful meringue-based cookies, are the epitome of French pastry. Their smooth, glossy shells, chewy interiors, and delightful fillings make them a favorite treat worldwide. But let’s be honest, macarons have a reputation for being tricky to make. Fear not! This comprehensive guide will break down the process into manageable steps, ensuring you can create these beautiful and delicious treats in your own kitchen. We’ll explore the secrets to achieving perfect macaronage, preventing cracked shells, and creating vibrant, eye-catching colors. Get ready to impress your friends and family with your newfound macaron skills! This colorful macarons recipe is perfect for any occasion, from afternoon tea to special celebrations.

Recipe Overview
Before we dive into the recipe, let’s take a quick look at the key details:
| Category | Value |
|---|---|
| Preparation Time | 45 minutes |
| Resting Time | 30-60 minutes |
| Cooking Time | 12-15 minutes per batch |
| Servings | Approximately 24 macarons (48 shells) |
| Difficulty | Intermediate |
Nutrition Per Serving (approximate)
Please note that these values are estimates and may vary depending on the specific ingredients and filling used.
| Nutrient | Amount per Macaron |
|---|---|
| Calories | 80-120 |
| Fat | 5-8g |
| Saturated Fat | 2-4g |
| Cholesterol | 10-20mg |
| Sodium | 10-30mg |
| Carbohydrates | 8-12g |
| Sugar | 7-10g |
| Protein | 1-2g |
Ingredients
Here’s what you’ll need to create your own batch of colorful macarons. Remember to use high-quality ingredients for the best results!
| Ingredient | Quantity | Notes |
|---|---|---|
| Almond Flour | 125g (1 cup + 2 tablespoons) | Finely ground, blanched almond flour is essential. Sift before using. |
| Powdered Sugar | 125g (1 cup) | Also known as icing sugar. Sift before using. |
| Egg Whites | 100g (approximately 3 large egg whites) | Aged egg whites are recommended for a more stable meringue. Separate eggs 24-48 hours in advance and store in an airtight container in the refrigerator. Bring to room temperature before using. |
| Granulated Sugar | 50g (1/4 cup) | Caster sugar is ideal, but regular granulated sugar works too. |
| Gel Food Coloring | As needed | Gel food coloring is preferred over liquid as it won’t affect the consistency of the meringue. Use a variety of colors for colorful macarons! |
| Your choice of Filling | As needed | Buttercream, ganache, jam, or curd are all excellent options. See filling suggestions below. |
Cooking Instructions
- Prepare the Almond Flour Mixture: In a food processor, combine the almond flour and powdered sugar. Pulse until finely ground. This helps to break up any clumps and creates a smoother macaron shell. Sift the mixture through a fine-mesh sieve into a large bowl. Discard any large pieces that remain in the sieve. This step is crucial for achieving a smooth macaron surface.
- Prepare the Italian Meringue (Preferred Method): Place the granulated sugar and 30g of water in a small saucepan. Cook over medium heat, without stirring, until the mixture reaches 245°F (118°C) on a candy thermometer. While the sugar is cooking, begin whisking the aged egg whites in a stand mixer fitted with the whisk attachment on medium speed. Once soft peaks form, slowly drizzle the hot sugar syrup down the side of the bowl, being careful not to pour it directly onto the whisk. Increase the mixer speed to high and continue whisking until the meringue is stiff, glossy, and cooled. This process creates a stable and shiny meringue, crucial for successful macarons. If you have a stand mixer use it. It will make the process so much easier.
- Macaronage (The Key Step): Add half of the meringue to the almond flour mixture and mix with a spatula until combined. This initial mix will be thick and pasty. Then, add the remaining meringue and gently fold the mixture together using a spatula. This is where the macaronage technique comes in. The goal is to deflate the meringue slightly to achieve the correct batter consistency. Continue folding until the batter flows like lava and forms a ribbon that slowly disappears back into the mixture. To test the consistency, lift the spatula and let the batter fall back into the bowl. If the ribbon slowly melts back into the surface within 20-30 seconds, the macaronage is complete. Be careful not to overmix, as this will result in a runny batter and flat macarons. Undermixing will result in cracked shells.
- Color the Batter: Divide the macaron batter into separate bowls (one for each color you want to create). Add a small amount of gel food coloring to each bowl and gently fold until the color is evenly distributed. Remember, a little goes a long way with gel food coloring.
- Pipe the Macarons: Transfer each colored batter to a piping bag fitted with a round tip (approximately 1/2 inch in diameter). Line baking sheets with parchment paper or silicone baking mats. Pipe the macarons onto the prepared baking sheets, spacing them about 1 inch apart. Pipe circles about 1.5 inches in diameter.
- Tap the Baking Sheets: After piping, firmly tap the baking sheets on the counter several times. This helps to release any air bubbles trapped in the batter and creates a smooth surface.
- Rest the Macarons: This is a crucial step! Let the piped macarons sit at room temperature for 30-60 minutes, or until a skin forms on the surface. You should be able to gently touch the macarons without the batter sticking to your finger. This skin prevents the macarons from cracking during baking. The resting time can vary depending on the humidity in your kitchen.
- Bake the Macarons: Preheat oven to 300°F (150°C). Bake one baking sheet at a time for 12-15 minutes, or until the feet (the ruffled edge at the bottom of the macaron) have formed and the shells are set. Rotate the baking sheet halfway through baking for even browning.
- Cool the Macarons: Once baked, remove the baking sheet from the oven and let the macarons cool completely on the baking sheet before removing them. This prevents them from sticking and breaking.
- Match and Fill: Once the macarons are completely cool, gently peel them off the baking sheet. Match the shells by size and shape. Pipe your desired filling onto one shell and top with another shell to create a macaron sandwich.
- Mature the Macarons: Place the filled macarons in an airtight container and refrigerate for at least 24 hours. This allows the flavors to meld and the macarons to develop their signature chewy texture. The aging process is crucial for achieving the perfect macaron consistency.
Filling Suggestions
The possibilities for macaron fillings are endless! Here are a few ideas to get you started:
- Buttercream: A classic choice. Flavor it with vanilla, chocolate, coffee, or any extract you like.
- Ganache: A rich and decadent filling made with chocolate and cream. Experiment with different types of chocolate (dark, milk, white) and add flavorings like sea salt or espresso powder.
- Jam: A simple and fruity filling. Choose your favorite flavor, such as raspberry, strawberry, or apricot.
- Lemon Curd: A tart and refreshing filling that pairs perfectly with the sweetness of the macaron shell.
- Salted Caramel: A sweet and salty filling that is incredibly addictive.
- Nutella: The perfect filling for hazelnut lovers.
Remember, when making macarons the filling is the best part to experiment and get creative. Try mixing flavors and playing with textures to create delicious and unique macarons!
Serving Suggestions
These colorful macarons are a delightful treat on their own, but here are some ways to elevate your serving experience:
- Pair with Tea or Coffee: The delicate sweetness of macarons pairs perfectly with a warm cup of tea or coffee.
- Create a Macaron Tower: Arrange the macarons on a tiered stand for a stunning presentation.
- Gift Them: Package the macarons in a beautiful box or tin to give as a thoughtful gift.
- Serve at Parties: Macarons are always a hit at parties and special occasions.
- Use as Cake Decorations: Add mini macarons to a larger cake for that extra bit of elegance and finesse.
Tips and Tricks for Perfect Macarons
Making macarons can be challenging, but with a little practice and these helpful tips, you’ll be well on your way to macaron mastery:

- Use Aged Egg Whites: Aged egg whites are less likely to collapse and will create a more stable meringue. Separate the egg whites 24-48 hours in advance and store them in an airtight container in the refrigerator. Bring them to room temperature before using.
- Sift, Sift, Sift!: Sifting the almond flour and powdered sugar is crucial for removing any lumps and creating a smooth macaron surface.
- Measure Accurately: Macarons are a precise science. Use a kitchen scale to measure the ingredients accurately.
- Master the Macaronage: The macaronage is the key to achieving the correct batter consistency. Be patient and gently fold the batter until it flows like lava.
- Rest the Macarons Properly: Resting the macarons allows a skin to form, which prevents cracking during baking.
- Bake at the Right Temperature: Bake the macarons at a low temperature to prevent them from browning too quickly.
- Be Patient: Don’t get discouraged if your first batch isn’t perfect. Macarons take practice. Keep trying, and you’ll eventually get the hang of it.
- Invest in a Kitchen Scale: Baking macarons is all about accuracy. A digital kitchen scale will ensure that you’re using the correct proportions of each ingredient, leading to consistent and reliable results.
- Use Parchment Paper or Silicone Mats: This will prevent your macarons from sticking and making sure their feet are nice and smooth.
- Don’t Open the Oven Too Often: Opening the oven while baking can cause temperature fluctuations, which can lead to cracked shells.
These vibrant, colorful macarons are sure to bring joy to any occasion. These are the perfect treat for any dessert table or party. Share these delicious treats with family and friends. This colorful macarons recipe will quickly become a favorite.
Congratulations! You’ve made it through the colorful macarons recipe. With a little practice, you’ll be creating stunning macarons in no time. Remember to be patient, have fun, and don’t be afraid to experiment with different flavors and colors. Happy baking!


")


