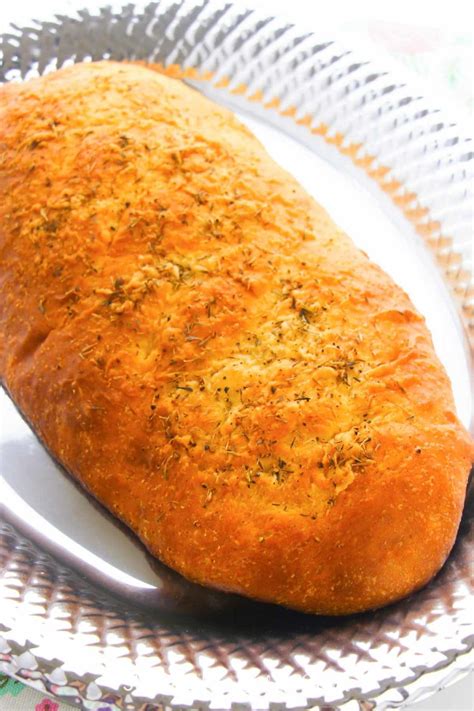
The Ultimate Guide to Baking Authentic Italian Bread
Baking bread can be a deeply satisfying experience, and Italian bread, with its crisp crust and airy interior, is a particularly rewarding challenge. This guide will walk you through creating this culinary masterpiece, from ingredient selection to achieving that perfect oven spring. Let's get started!
Essential Ingredients for Authentic Italian Bread
The magic of Italian bread lies in its simplicity. High-quality ingredients are key to achieving that authentic taste and texture.
Flour Power:
- Bread Flour: This high-protein flour is essential for developing the gluten structure needed for a chewy, substantial loaf. Look for bread flour with a protein content of 12-14%. Don't substitute all-purpose flour, as it will result in a denser, less satisfying loaf.
The Liquid Touch:
- Water: Lukewarm water activates the yeast and helps gluten development. The exact amount might vary slightly depending on the flour's absorption rate.
Yeast: The Rising Star:
- Active Dry Yeast: This is the most common type of yeast used in bread making. Make sure it's fresh; old yeast can result in a poor rise.
Salt: The Flavor Enhancer:
- Salt: Salt controls yeast activity, adds flavor, and strengthens the gluten structure. Don't skip it!
Optional Additions for Enhanced Flavor:
- Olive Oil: A teaspoon or two of olive oil adds richness and a subtle Mediterranean flavor.
- Sugar: A small amount of sugar feeds the yeast and helps with browning.
Step-by-Step Guide to Italian Bread Baking
This recipe uses the classic method of mixing, kneading, proofing, shaping and baking.
Step 1: Mixing the Dough
- In a large bowl, combine the lukewarm water, yeast, and a pinch of sugar. Let it stand for 5-10 minutes until foamy. This indicates the yeast is active.
- Add the flour and salt to the yeast mixture.
- Mix with a wooden spoon or your hands until a shaggy dough forms.
Step 2: Kneading the Dough
- Turn the dough out onto a lightly floured surface.
- Knead for 8-10 minutes, until the dough becomes smooth and elastic. This develops the gluten, resulting in a better texture. You should be able to stretch a small piece of dough without it tearing easily.
Step 3: First Proof (Bulk Fermentation)
- Place the dough in a lightly oiled bowl, turning to coat.
- Cover the bowl with plastic wrap and let it rise in a warm place for 1-1.5 hours, or until doubled in size.
Step 4: Shaping the Loaf
- Gently punch down the dough to release the air.
- Shape the dough into a round or oval loaf.
Step 5: Second Proof (Final Proof)
- Place the shaped loaf in a well-floured banneton basket (or a bowl lined with a floured cloth).
- Cover and let it rise for another 30-45 minutes. This gives the bread its final rise and enhances the flavor.
Step 6: Baking the Bread
- Preheat your oven to 450°F (232°C). If you have a baking stone, preheat it as well.
- Carefully place the loaf (in the banneton or on parchment paper) onto the hot baking stone or baking sheet.
- Bake for 30-35 minutes, or until the crust is golden brown and the internal temperature reaches 200-210°F (93-99°C). Use an instant-read thermometer to check the internal temperature.
Step 7: Cooling and Enjoying
- Let the bread cool completely on a wire rack before slicing. This allows the crust to crisp and the inside to set.
- Enjoy your freshly baked Italian bread! It's delicious on its own, with olive oil and balsamic vinegar, or as part of your favorite sandwich.
Tips for Baking the Perfect Italian Bread
- Use a thermometer: Accurate temperature checking is crucial for perfectly baked bread.
- Don't over-knead: Over-kneading can result in a tough loaf.
- Practice makes perfect: Don't get discouraged if your first loaf isn't perfect. Keep practicing, and you'll soon be baking amazing Italian bread.
This comprehensive guide should equip you to confidently bake authentic Italian bread. Remember, the key is patience, attention to detail, and a passion for good food. Happy baking!
