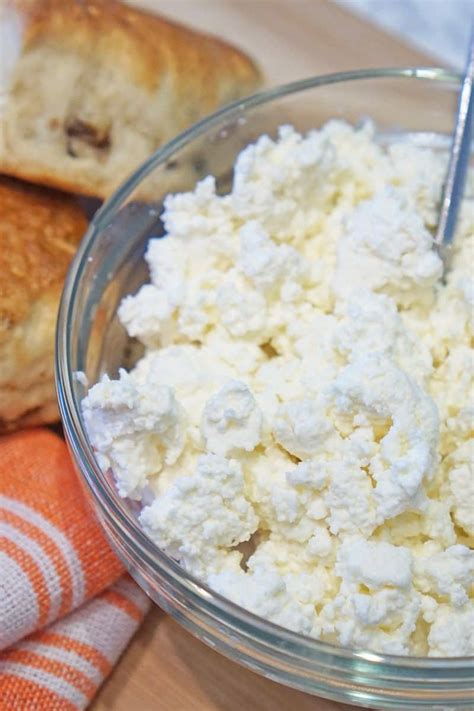
Homemade Ricotta Cheese: A Simple Recipe for Creamy Perfection
Making ricotta cheese at home might sound daunting, but it's surprisingly easy! This recipe provides a simple, step-by-step guide to crafting creamy, delicious ricotta that's perfect for pasta dishes, pastries, or simply spreading on bread. Forget the store-bought stuff – let's dive into the rewarding process of making your own!
Why Make Homemade Ricotta?
There are several compelling reasons to ditch the store-bought ricotta and make your own:
- Freshness: Homemade ricotta boasts unparalleled freshness. You control the ingredients, ensuring quality and avoiding any unwanted additives.
- Flavor: The taste is noticeably richer and more nuanced than store-bought versions. You can easily adjust the salt and sweetness to your preference.
- Control over Ingredients: You know exactly what's going into your cheese, making it perfect for those with dietary restrictions or preferences.
- Simplicity: It's easier than you think! This recipe requires minimal equipment and time.
- Cost-Effective: Once you get the hang of it, making your own ricotta can be more economical than consistently buying it from the store.
Ingredients You'll Need:
- Whole Milk: 4 cups (using whole milk yields a creamier ricotta). You can experiment with other milk types, but results might vary.
- White Vinegar or Lemon Juice: 2 tablespoons (this is the acid that helps the curds form).
- Salt: 1 teaspoon (adjust to taste).
Equipment:
- Large Saucepan: For heating the milk.
- Fine-Mesh Sieve: To separate the whey from the curds.
- Cheesecloth or a Clean Kitchen Towel: For straining the ricotta.
- Large Bowl: To catch the ricotta.
Step-by-Step Instructions:
-
Heat the Milk: Gently heat the milk in a large saucepan over medium heat. Stir occasionally to prevent scorching. You want the milk to reach a temperature of around 190-200°F (88-93°C). Don't let it boil! A thermometer is recommended for accuracy.
-
Add the Acid: Once the milk reaches the desired temperature, remove it from the heat. Slowly stir in the vinegar (or lemon juice). You’ll immediately see the milk begin to curdle.
-
Let it Rest: Let the mixture sit undisturbed for about 10-15 minutes. This allows the curds to fully separate from the whey.
-
Strain the Ricotta: Line a fine-mesh sieve with cheesecloth or a clean kitchen towel, placed over a large bowl. Carefully pour the curdled milk into the sieve. Let it drain for at least 30 minutes, or longer for a drier ricotta. The longer it drains, the firmer the cheese will be.
-
Season and Enjoy: Once drained, gently gather the cheesecloth and squeeze out any excess whey. Transfer the ricotta to a bowl, add salt (or other seasonings, if desired), and mix well. Your homemade ricotta is now ready to be enjoyed!
Tips and Variations:
- Salt Level: Adjust the amount of salt according to your preference.
- Creaminess: For a creamier ricotta, use whole milk. Skim milk will result in a less creamy texture.
- Sweet Ricotta: Add a touch of sugar for a sweeter ricotta, perfect for desserts.
- Herb Infusions: Experiment with adding fresh herbs like basil or oregano during the straining process for extra flavor.
Serving Suggestions:
Homemade ricotta is incredibly versatile:
- Pasta Dishes: Add it to your favorite pasta sauces for added creaminess and richness.
- Fillings: Use it as a filling for ravioli, manicotti, or cannoli.
- Spreads: Spread it on bread or crackers with a drizzle of honey.
- Savory Dishes: Incorporate it into frittatas, quiches, or lasagna.
Making your own ricotta is a rewarding experience, offering unparalleled freshness and flavor. Try this recipe and enjoy the delicious results! Let us know your experiences and variations in the comments below!
