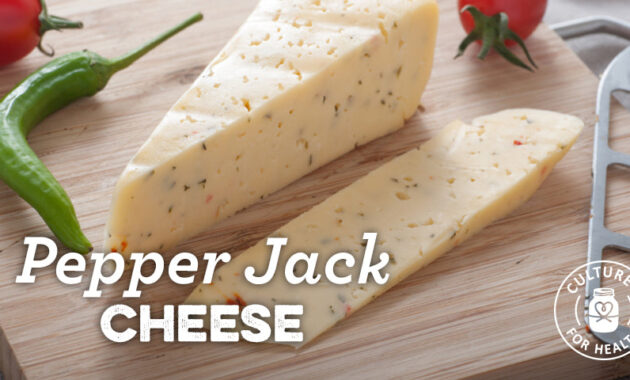
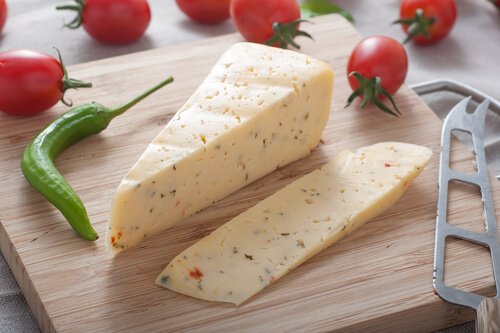
Craving a cheese that packs a punch? Look no further than Pepper Jack! This semi-soft cheese, infused with spicy peppers, is a flavor powerhouse that elevates everything it touches. From cheesy dips to gourmet sandwiches, a perfectly crafted Pepper Jack can transform ordinary dishes into culinary masterpieces. In this comprehensive guide, we’ll walk you through a simple yet sensational recipe, ensuring you can create your own delectable Pepper Jack right in your kitchen. Prepare to embark on a cheesy adventure that’s both rewarding and incredibly tasty. This Pepper Jack cheese recipe is a game changer!
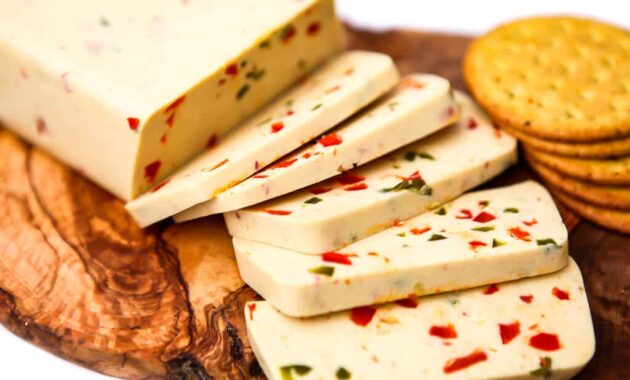
[Insert Image of beautiful homemade Pepper Jack Cheese here]
Pepper Jack Recipe Overview
Before we dive into the step-by-step instructions, let’s take a quick look at the recipe overview. This will give you a clear understanding of the time commitment, servings, and difficulty level.

| Category | Value |
|---|---|
| Preparation Time | 30 minutes |
| Resting Time | 2-4 hours |
| Pressing Time | 12-24 hours |
| Aging Time | 2-4 weeks |
| Yield | Approximately 2 pounds |
| Difficulty | Intermediate |
Nutrition per serving (approximate)
(Based on an estimated serving size of 1 ounce):
- Calories: Approximately 110-120
- Fat: 9-10 grams
- Protein: 6-7 grams
- Carbohydrates: 1-2 grams
- Sodium: Varies depending on salt content, but generally around 200mg
Please note that these values are estimates and can vary based on the specific ingredients and methods used.
Ingredients for Homemade Pepper Jack Cheese
Gathering the right ingredients is crucial for a successful cheesemaking endeavor. Here’s what you’ll need to create your own delicious Pepper Jack:

| Ingredient | Quantity | Notes |
|---|---|---|
| Pasteurized Whole Milk | 2 gallons | Avoid ultra-pasteurized milk for best results. |
| Mesophilic Starter Culture | 1/4 teaspoon | Choose a culture suitable for semi-hard cheeses. |
| Liquid Rennet | 1/2 teaspoon | Double strength is recommended, diluted in 1/4 cup cool, non-chlorinated water. |
| Non-iodized Salt | 2 tablespoons | For salting the curds. |
| Dried Jalapeño Peppers, finely diced | 2-4 tablespoons | Adjust to your preferred spice level. You can also use a mix of dried peppers like serrano or habanero for a more complex flavor. |
| Dried Poblano Peppers, finely diced | 2-4 tablespoons | This adds a slightly sweet and smoky flavor. |
| Calcium Chloride (optional) | 1/4 teaspoon diluted in 1/4 cup cool, non-chlorinated water. | If using pasteurized milk, this helps with curd firmness. |
| Annatto (optional) | Pinch (for color) | Dissolve in 1/4 cup warm water. |
Essential Equipment
You’ll also need the following equipment:
- Large stainless steel pot (at least 3 gallons)
- Dairy thermometer
- Long knife or curd cutter
- Slotted spoon
- Cheesecloth
- Cheese mold (approximately 4-inch diameter)
- Cheese press (or a system for applying weight)
- Draining mat
Cooking Instructions
Now for the fun part! Follow these step-by-step instructions to create your very own homemade Pepper Jack cheese.
- Sanitize Your Equipment: Begin by thoroughly sanitizing all your equipment. This is crucial to prevent unwanted bacteria from affecting your cheese. Use a food-grade sanitizer according to the manufacturer’s instructions.
- Heat the Milk: Pour the milk into your stainless steel pot and heat it gently over medium heat to 90°F (32°C). Stir occasionally to prevent scorching. If using annatto for color, add it now and stir well to distribute evenly.
- Add the Culture: Once the milk reaches 90°F (32°C), remove it from the heat. Sprinkle the mesophilic starter culture over the surface of the milk and let it rehydrate for 2-3 minutes. Then, gently stir it in using an up-and-down motion.
- Add Calcium Chloride (Optional): If you’re using calcium chloride (which is recommended for pasteurized milk), add it to the milk at this point. Stir gently to incorporate.
- Add the Rennet: Dilute the liquid rennet in 1/4 cup of cool, non-chlorinated water. Gently pour the diluted rennet into the milk, stirring with the same up-and-down motion for about 30 seconds to ensure even distribution.
- Let the Milk Set: Cover the pot and let it sit undisturbed for 45-60 minutes, or until you achieve a clean break. To check for a clean break, insert a knife at an angle into the curd. If the whey separates cleanly from the curd, it’s ready. If not, let it sit for another 15 minutes and check again.
- Cut the Curd: Once you’ve achieved a clean break, it’s time to cut the curd. Use a long knife or curd cutter to cut the curd into 1/2-inch cubes. Cut vertically, then horizontally, and finally at an angle to create uniform cubes.
- Gently Cook the Curd: Slowly increase the temperature to 102°F (39°C) over the next 30 minutes, stirring gently every 5-10 minutes to prevent the curds from matting together. The goal is to gently firm up the curds and expel whey.
- Remove Whey and Add Peppers: Once the curds have firmed up sufficiently (they should be slightly springy when pressed), remove the pot from the heat. Let the curds settle for about 5 minutes. Then, using a slotted spoon, remove about half of the whey from the pot. Now, add the diced jalapeño and poblano peppers to the curds and gently stir to distribute them evenly.
- Salt the Curds: Sprinkle the non-iodized salt over the curds and gently stir to incorporate. This helps to further expel whey and adds flavor to the cheese.
- Transfer to Mold: Line your cheese mold with cheesecloth. Using a slotted spoon, gently transfer the curds into the cheesecloth-lined mold. Try to distribute the curds evenly.
- Press the Cheese: Fold the cheesecloth over the curds. Place the follower (the lid of your cheese mold) on top and begin pressing. Start with a light weight (about 5 pounds) for the first 30 minutes. Then, increase the weight to 10 pounds for the next 2 hours, and finally to 25 pounds for the remaining 12-24 hours. The longer you press, the drier and more compact the cheese will be.
- Air Dry: After pressing, remove the cheese from the mold and cheesecloth. Place it on a draining mat in a cool, well-ventilated area to air dry for 2-4 days. Turn the cheese once or twice a day to ensure even drying. A rind will begin to form.
- Wax or Vacuum Seal (Optional): Once the cheese is dry to the touch, you can wax it or vacuum seal it to prevent mold growth and control moisture loss during aging. Waxing is more traditional, while vacuum sealing is more convenient.
- Age the Cheese: Place the cheese in a cheese cave or a refrigerator with a controlled temperature of 50-55°F (10-13°C) and a humidity of 80-85%. Age for at least 2-4 weeks, or longer for a more intense flavor. Turn the cheese regularly (every few days) to prevent mold growth.
- Enjoy Your Homemade Pepper Jack: After aging, your homemade Pepper Jack is ready to enjoy! Slice it, shred it, or melt it into your favorite dishes.
Serving Suggestions for your Pepper Jack
Pepper Jack’s versatility makes it a fantastic addition to a wide range of dishes. Here are some serving suggestions to tantalize your taste buds:
- Grilled Cheese Sandwich: Elevate your grilled cheese with a generous layer of Pepper Jack. The spicy kick adds a delightful twist to this classic comfort food.
- Quesadillas: Shredded Pepper Jack is the perfect filling for quesadillas. Combine it with grilled vegetables, black beans, and your favorite salsa for a flavorful and satisfying meal.
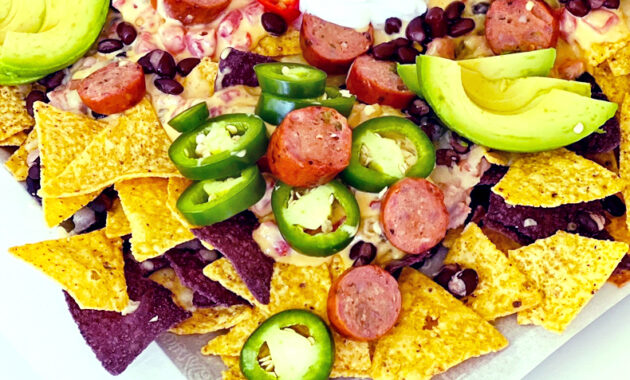
- Nachos: Spice up your nachos with a generous sprinkling of Pepper Jack. Its melting properties make it ideal for creating cheesy, gooey goodness.
- Omelets and Frittatas: Add diced Pepper Jack to your omelets or frittatas for a cheesy and spicy breakfast or brunch.
- Burgers: Top your burgers with a slice of Pepper Jack for a fiery and flavorful experience.
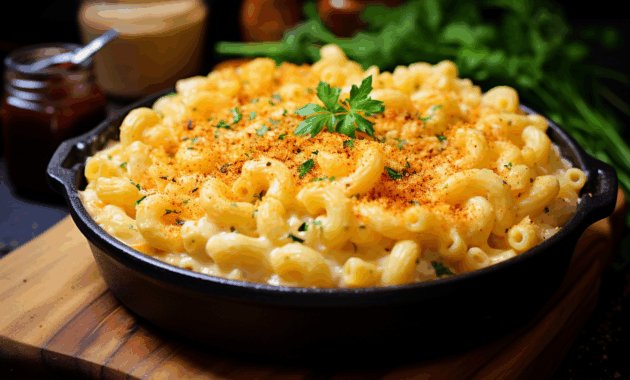
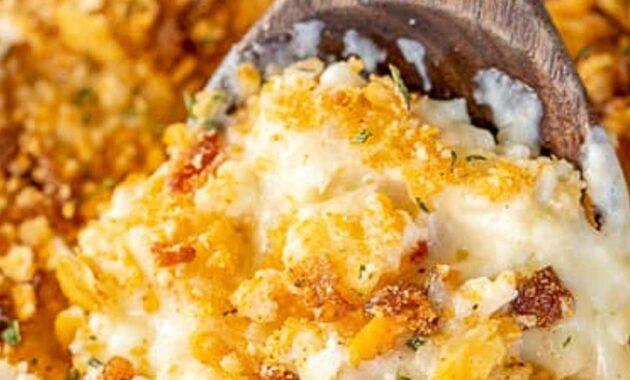
- Mac and Cheese: Add shredded Pepper Jack to your mac and cheese for a spicy twist on this classic dish.
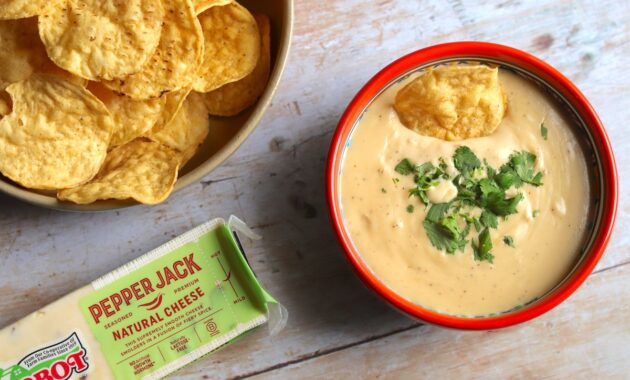
- Dips: Incorporate Pepper Jack into your favorite cheese dips for an extra layer of flavor and heat.
- Enchiladas: Use Pepper Jack as a filling for enchiladas, along with your choice of meat or vegetables.
- Pizza: Sprinkle shredded Pepper Jack over your homemade or store-bought pizza for a spicy and cheesy topping.
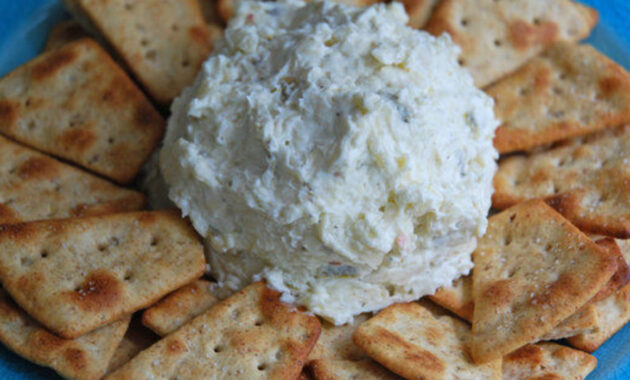
- Pepper Jack Cheese and Crackers: Simply enjoy slices of Pepper Jack with your favorite crackers for a quick and satisfying snack. Pair it with fruits like apples or pears for a delightful contrast of flavors.
Don’t be afraid to experiment! Pepper Jack’s bold flavor profile complements a wide variety of ingredients, so have fun and get creative in the kitchen. This Pepper Jack recipe is going to be your go to every time.
Tips and Notes for Perfect Pepper Jack
Here are a few tips and notes to ensure your Pepper Jack cheesemaking experience is a success:
- Milk Quality: The quality of your milk is crucial for cheesemaking. Use fresh, high-quality, pasteurized whole milk for best results. Avoid ultra-pasteurized milk, as it may not form a proper curd.
- Temperature Control: Precise temperature control is essential throughout the cheesemaking process. Use a reliable dairy thermometer and monitor the temperature carefully.
- Cleanliness: Maintaining a clean and sanitary environment is vital to prevent unwanted bacteria from affecting your cheese. Sanitize all your equipment thoroughly before you begin.
- Adjust the Spice Level: Feel free to adjust the amount and type of peppers to suit your taste. If you prefer a milder cheese, use less peppers or choose milder varieties. For a hotter cheese, use more peppers or add hotter varieties like habaneros.
- Aging Time: The aging time will affect the flavor and texture of your Pepper Jack. A shorter aging time will result in a milder, softer cheese, while a longer aging time will produce a more intense, firmer cheese.
- Mold Growth: Keep a close eye on your cheese during aging and wipe away any mold that appears with a clean cloth dampened with brine (salt water).
- Don’t Be Afraid to Experiment: Cheesemaking is a craft, and there’s always room for experimentation. Don’t be afraid to try different techniques or ingredients to create your own unique Pepper Jack cheese. You can add other spices such as garlic powder or onion powder to enhance the flavor, this Pepper Jack recipe is very versitile!
- Troubleshooting: If your curd doesn’t set properly, it could be due to issues with the milk, rennet, or temperature. Double-check your ingredients and make sure you’re following the instructions carefully. If you encounter any problems, don’t hesitate to consult online resources or experienced cheesemakers for guidance.
- Practice Makes Perfect: Cheesemaking can be challenging at first, but don’t get discouraged. With practice, you’ll become more confident and skilled. Keep experimenting and learning, and you’ll soon be creating delicious homemade cheeses that you can be proud of.
- Cheese Press: If you don’t have a cheese press, you can improvise by using a heavy pot filled with water or weights. Just make sure the weight is evenly distributed over the cheese.
With a little patience and attention to detail, you can create a truly exceptional Pepper Jack cheese that will impress your friends and family. Enjoy the process and savor the delicious results!
