Embark on a culinary journey to Armenia and discover the art of crafting authentic Armenian lavash bread, a thin, delicate flatbread that’s a cornerstone of Armenian cuisine. This homemade lavash recipe will guide you through each step, from preparing the dough to achieving that perfect, crispy texture. Get ready to experience the true taste of Armenia, one delicious lavash at a time! This recipe for Armenian lavash bread is surprisingly simple, even for beginners. You’ll be amazed at how easily you can create this incredibly versatile flatbread, perfect for wrapping meats, dipping in yogurt, or simply enjoying on its own.
Imagine the aroma of freshly baked Armenian lavash bread filling your kitchen – a testament to the rich culinary heritage of Armenia. This thin, crispy bread is more than just a staple; it’s a symbol of tradition, a canvas for countless culinary creations, and a taste of home for Armenians worldwide. Learn how to make this iconic flatbread today!

With this recipe for homemade Armenian lavash, you’ll be able to easily recreate this treasured bread in your own kitchen. This guide breaks down the process into manageable steps, perfect for even the most novice bakers. Don’t miss out on the opportunity to experience the authentic taste and feel of this incredible flatbread.
| Category | Value |
|---|---|
| Preparation Time | 20 minutes |
| Cooking Time | 5-7 minutes per lavash |
| Servings | 8-10 lavash |
| Difficulty | Easy |
Nutrition Information (per serving, approximate): Calories: 150-200, Fat: 2-3g, Carbohydrates: 30-35g, Protein: 5-7g. Note: Nutritional values will vary based on specific ingredients used.
| Ingredient | Quantity |
|---|---|
| All-purpose flour | 4 cups |
| Warm water | 1 3/4 – 2 cups |
| Salt | 1 teaspoon |
| Olive oil (optional) | 1 tablespoon |
Cooking Instructions
- In a large bowl, combine the flour and salt. Gradually add warm water, mixing until a soft, slightly sticky dough forms. If using, add olive oil at this stage.
- Knead the dough for 5-7 minutes until smooth and elastic. Add a little more flour if the dough is too sticky, or a little more water if it’s too dry. The dough should be soft but not sticky. This is a crucial step in achieving that perfect Armenian lavash texture.
- Form the dough into a ball, cover with a damp cloth, and let it rest for at least 30 minutes. This resting period allows the gluten to relax, resulting in a more tender lavash.
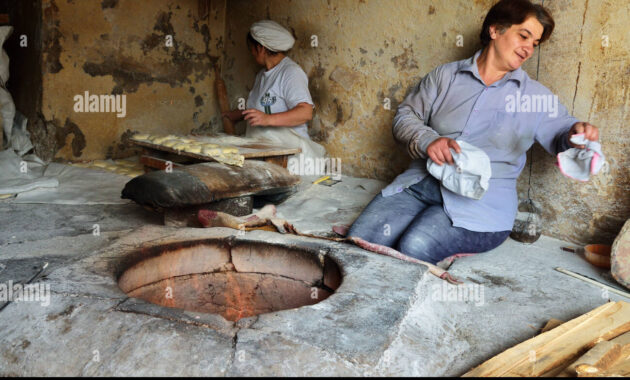
- Preheat a large, heavy skillet or griddle over medium-high heat. You want the surface hot enough to cook the lavash quickly, creating that signature crispiness.
- Divide the dough into 8-10 equal portions. On a lightly floured surface, roll each portion into a very thin circle (about 12-14 inches in diameter). The thinner you roll it, the crispier your lavash will be!
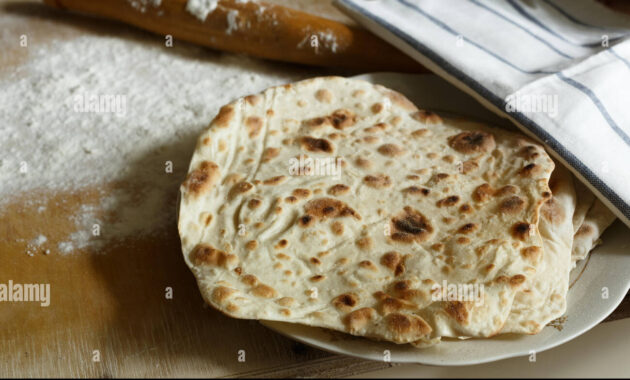
- Carefully place each rolled-out lavash onto the hot skillet or griddle. Cook for 1-2 minutes per side, or until lightly browned and cooked through. The Armenian lavash should puff up slightly while cooking.
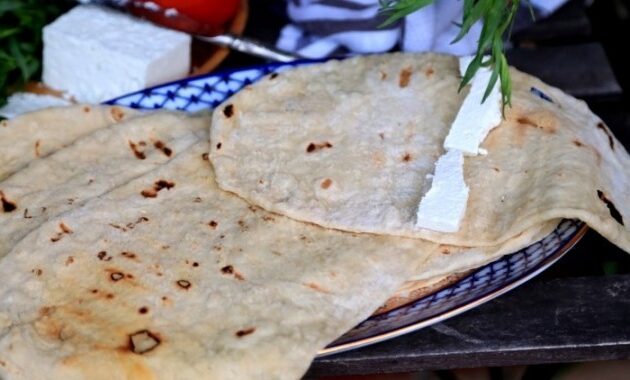
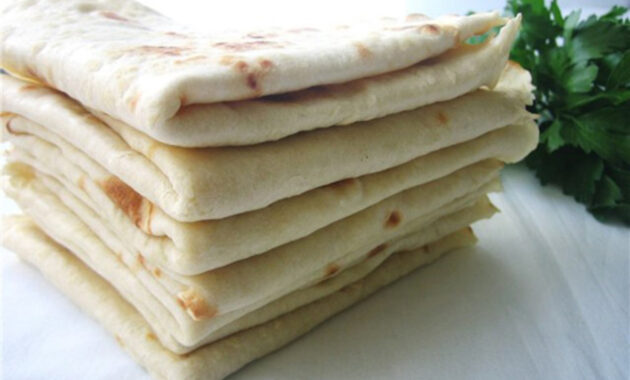
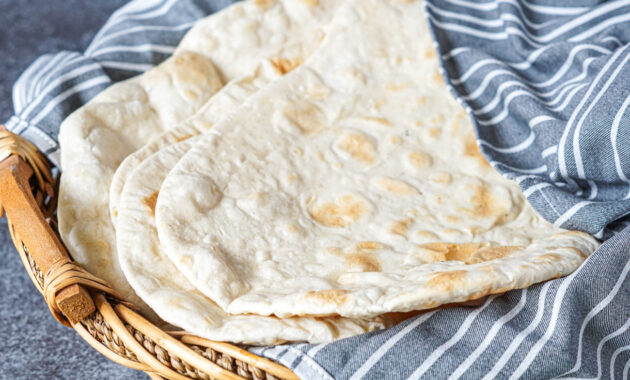
- Remove the cooked lavash from the skillet and stack them on a plate. Cover with a clean kitchen towel to keep them warm and soft. The freshly baked Armenian lavash is best served immediately.
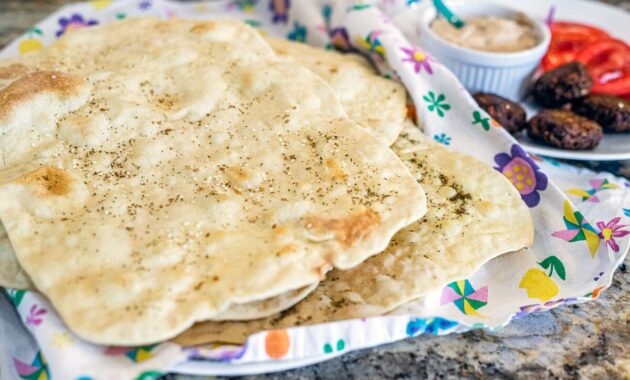
The beauty of Armenian lavash lies in its versatility. Its subtle flavor and delicate texture make it a perfect accompaniment to various dishes. Serve this homemade lavash warm, alongside grilled meats, dips, salads, or cheeses.
Serving Suggestions:
- Serve with grilled kebabs and various dips like hummus or tzatziki.
- Use as wraps for shawarma or other fillings.
- Serve alongside Armenian soups and stews.
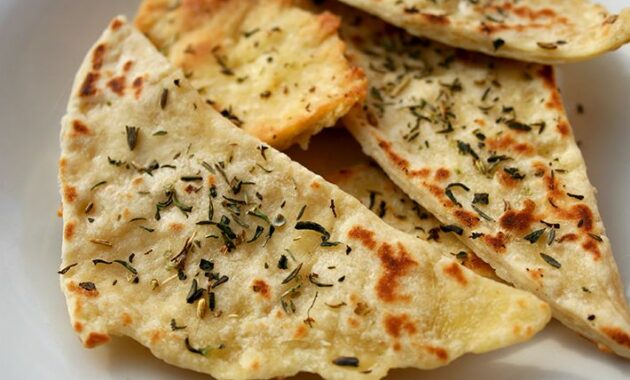
- Use as a base for Armenian pizzas or flatbreads with toppings.
- Enjoy it simply with butter or olive oil.
Tips and Notes:
- For a more authentic taste, use whole wheat flour or a blend of whole wheat and all-purpose flour.
- If your dough is too sticky, add a little more flour, a tablespoon at a time. If it’s too dry, add a teaspoon of water at a time.
- Don’t overcrowd the skillet or griddle; cook the lavash in batches to ensure even cooking.
- The cooked lavash can be stored in an airtight container at room temperature for a few days or frozen for longer storage.
- The success of this recipe hinges on using the right amount of water and achieving a dough with the proper consistency. Don’t rush the kneading process!
- Experiment with different flours. Some cooks use a small amount of semolina flour for extra texture.
- If you don’t have a skillet or griddle, you can try cooking the Armenian lavash bread on a baking sheet in a hot oven (around 400°F/200°C) for a few minutes per side. Remember that direct heat on a skillet or griddle produces the most authentic and crispy lavash.
Making homemade Armenian lavash bread is a rewarding experience. It allows you to connect with the rich culinary heritage of Armenia and create a delicious flatbread that will impress your friends and family. With a little practice, you’ll be mastering the art of creating this thin, crispy, and utterly delicious flatbread. So gather your ingredients, follow the steps, and get ready to savor the authentic taste of Armenia in your own kitchen!