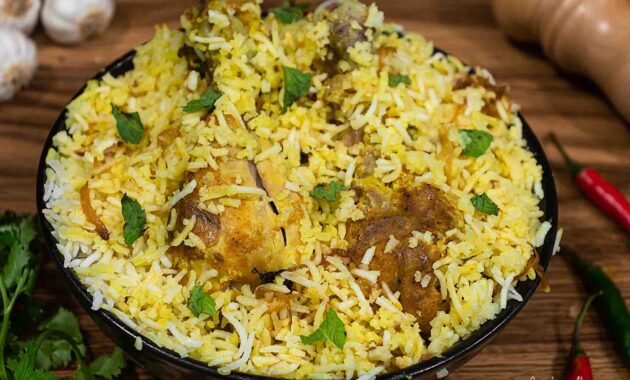
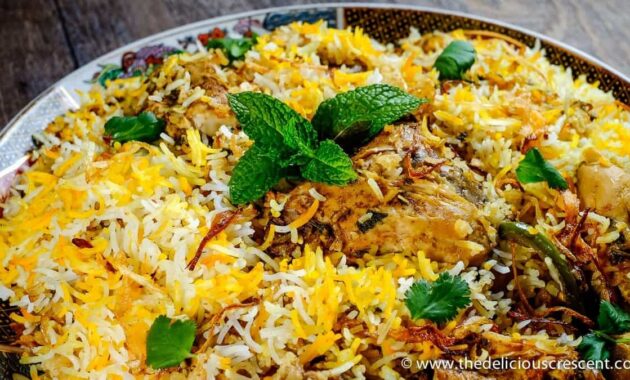
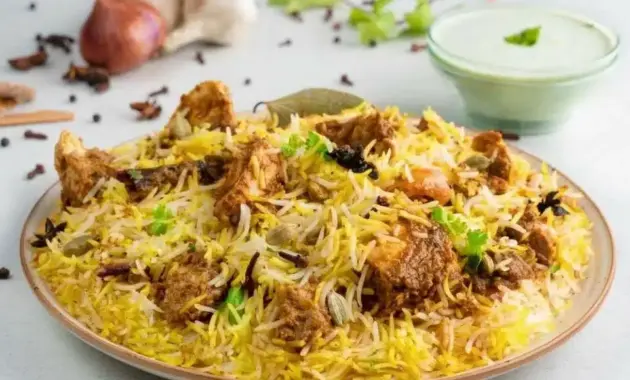
Hyderabadi Biryani, a culinary jewel of India, is more than just a rice dish; it’s an experience. This aromatic and flavorful masterpiece, originating from the kitchens of the Nizams of Hyderabad, is a celebration of spices, fragrant basmati rice, and succulent meat (or vegetables, for a vegetarian rendition). The magic of Hyderabadi Biryani lies in its unique ‘dum’ cooking technique, where the ingredients are layered and slow-cooked under a sealed pot, allowing the flavors to meld together beautifully. Forget bland and ordinary – this recipe is your passport to creating a truly authentic Hyderabadi Biryani right in your own kitchen. This comprehensive guide will walk you through each step, from marinating the meat to achieving that perfect ‘dum,’ ensuring a biryani that will tantalize your taste buds and impress your guests. Whether you’re a seasoned cook or a kitchen novice, this recipe is designed to be easy to follow and guarantees a delicious outcome. So, gather your ingredients, sharpen your culinary skills, and prepare to embark on a flavorful journey into the heart of Hyderabadi cuisine. Learn the secrets to making the most aromatic and flavorful Hyderabadi Biryani at home.

Before we dive into the aromatic world of spices and flavors, let’s take a quick look at the recipe overview to give you a clear understanding of the preparation and cooking process.
| Category | Value |
|---|---|
| Preparation Time | 45 minutes (plus 2-4 hours marination) |
| Cooking Time | 60-75 minutes |
| Servings | 6-8 servings |
| Difficulty | Medium |
Nutrition Information (per serving, approximate)
Please note that the following nutritional information is an estimate and can vary depending on the specific ingredients used and portion sizes.
| Nutrient | Amount (Approximate) |
|---|---|
| Calories | 450-550 kcal |
| Protein | 25-35g |
| Fat | 20-30g |
| Carbohydrates | 40-60g |
Ingredients for Authentic Hyderabadi Biryani
Now, let’s gather the stars of our show: the ingredients that will transform into a fragrant and unforgettable Hyderabadi Biryani. The quality of your ingredients directly impacts the final flavor, so choose fresh and high-quality options whenever possible. We will divide the ingredients into three sections: for the meat marinade, for the rice, and for layering and garnishing. This breakdown makes it easier to organize and prepare for each stage of the recipe. Remember, a well-prepared ingredient list is half the battle won in creating a perfect Hyderabadi Biryani.
| Ingredients | Quantity |
|---|---|
| For the Meat Marinade: | |
| Bone-in Mutton or Chicken (cut into medium pieces) | 1 kg |
| Yogurt (plain, full-fat) | 1 cup |
| Ginger-Garlic Paste | 2 tablespoons |
| Red Chili Powder | 2-3 teaspoons (adjust to taste) |
| Turmeric Powder | 1 teaspoon |
| Coriander Powder | 2 teaspoons |
| Garam Masala | 1 teaspoon |
| Biryani Masala Powder | 2 teaspoons |
| Lemon Juice | 2 tablespoons |
| Salt | To taste |
| Fried Onions (Birista) | 1 cup, crushed |
| Fresh Mint Leaves | 1/4 cup, chopped |
| Fresh Coriander Leaves | 1/4 cup, chopped |
| For the Rice: | |
| Basmati Rice | 750g (soaked for at least 30 minutes) |
| Water | Approximately 6 cups |
| Salt | 2 tablespoons (for rice water) |
| Whole Spices (Bay leaves, Cinnamon sticks, Cardamom pods, Cloves) | 2-3 each |
| Oil or Ghee | 2 tablespoons |
| For Layering and Garnishing: | |
| Saffron Strands | A pinch (soaked in 2 tablespoons of warm milk) |
| Fried Onions (Birista) | 1/2 cup, for garnish |
| Fresh Mint Leaves | 1/4 cup, chopped, for garnish |
| Fresh Coriander Leaves | 1/4 cup, chopped, for garnish |
| Ghee | 2 tablespoons, for drizzling |
| Edible Food Color (Orange/Yellow – optional) | A pinch dissolved in 1 tbsp water |
| Atta Dough/Aluminum Foil | For sealing the pot (Dum) |
Cooking Instructions: Mastering the Art of Hyderabadi Biryani
Now for the exciting part: bringing all these ingredients together to create the masterpiece that is Hyderabadi Biryani! These step-by-step instructions are designed to be clear and concise, ensuring that even a novice cook can achieve delicious results. Remember to read through the entire recipe before you begin, and don’t be afraid to adjust the spice levels to your liking. The key to a truly great Hyderabadi Biryani is patience and attention to detail. Let’s begin!
- Marinating the Meat: In a large bowl, combine the mutton or chicken with yogurt, ginger-garlic paste, red chili powder, turmeric powder, coriander powder, garam masala, biryani masala, lemon juice, salt, crushed fried onions, chopped mint leaves, and chopped coriander leaves. Mix well to ensure the meat is evenly coated. Cover the bowl and refrigerate for at least 2-4 hours, or preferably overnight. The longer the marination, the more tender and flavorful the meat will be. This step is crucial for infusing the meat with all the aromatic spices that define Hyderabadi Biryani.
- Preparing the Rice: Wash the basmati rice thoroughly until the water runs clear. Soak the rice in water for at least 30 minutes. This helps the rice cook evenly and become fluffy. After soaking, drain the rice completely. In a large pot, bring approximately 6 cups of water to a boil. Add salt, bay leaves, cinnamon sticks, cardamom pods, and cloves. Once the water is boiling rapidly, gently add the drained rice. Cook the rice until it is about 70-80% cooked. The grains should be slightly firm to the touch. Drain the rice immediately and spread it out on a large tray to prevent it from sticking together.
- Layering the Biryani: In a heavy-bottomed pot or Dutch oven, heat oil or ghee over medium heat. Add a layer of the marinated meat at the bottom of the pot. Spread it evenly. Now, add a layer of the partially cooked rice over the meat. Sprinkle some fried onions, chopped mint leaves, chopped coriander leaves, and saffron milk over the rice layer. Repeat the layering process with the remaining meat and rice, ending with a layer of rice on top. Drizzle ghee over the top layer of rice. Sprinkle a pinch of edible food color (optional) dissolved in water over the rice for a vibrant appearance.
- Sealing the Pot (Dum): This is the most important step for achieving the authentic ‘dum’ flavor. Seal the pot tightly to prevent steam from escaping. You can do this by kneading atta dough into a long rope and pressing it around the rim of the pot, then covering it with a lid. Alternatively, you can use aluminum foil to create a tight seal. Ensure there are no gaps for steam to escape.
- Cooking on Dum: Place the sealed pot on a low flame (or use a heavy griddle/tawa underneath the pot to prevent burning). Cook for 60-75 minutes. The cooking time may vary depending on the thickness of your pot and the intensity of the flame. The key is to cook it slowly and gently to allow the flavors to meld together and the meat to become tender. After 60-75 minutes, turn off the heat and let the biryani rest for at least 15-20 minutes without opening the lid. This allows the flavors to further develop and the rice to absorb any remaining moisture.
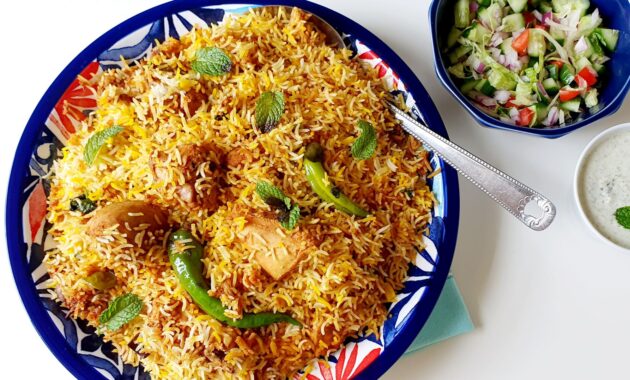
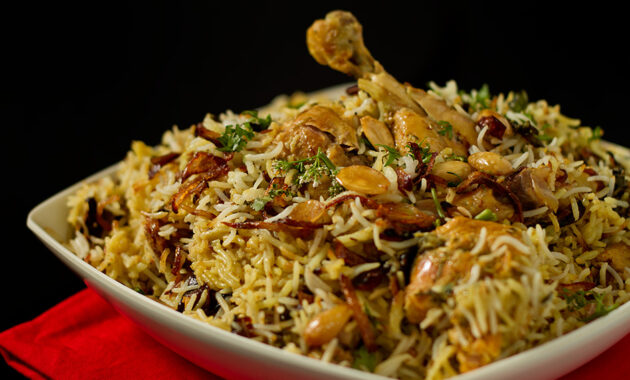
- Serving: Carefully open the pot, being mindful of the steam. Gently fluff the biryani with a fork, taking care not to break the rice grains. Serve hot, garnished with more fried onions, fresh mint leaves, and fresh coriander leaves. Hyderabadi Biryani is traditionally served with raita (yogurt dip) and mirchi ka salan (chili curry).
Serving Suggestions for Hyderabadi Biryani
Hyderabadi Biryani is a complete meal in itself, but pairing it with the right accompaniments can elevate the dining experience to a whole new level. Here are a few serving suggestions to make your Hyderabadi Biryani feast even more memorable:
- Raita: A cooling yogurt dip is a must-have with Hyderabadi Biryani. Choose from plain raita, onion raita, cucumber raita, or even a mint raita. The coolness of the raita balances the richness and spiciness of the biryani.
- Mirchi ka Salan: This traditional Hyderabadi chili curry is the perfect spicy counterpart to the biryani. The tangy and spicy flavors of the salan complement the aromatic flavors of the biryani beautifully.
- Salad: A simple onion and tomato salad with a squeeze of lemon juice adds a refreshing element to the meal.
- Pickles: Indian pickles, such as mango pickle or lime pickle, can add a burst of tangy and spicy flavor to each bite.
- Dessert: End your Hyderabadi feast with a traditional Indian dessert like double ka meetha (bread pudding) or qubani ka meetha (apricot dessert).
Tips and Tricks for Perfect Hyderabadi Biryani
Creating the perfect Hyderabadi Biryani is an art, and like any art, it requires practice and attention to detail. Here are some additional tips and tricks to help you achieve biryani perfection:
- Use High-Quality Basmati Rice: The quality of the rice significantly impacts the final result. Choose aged basmati rice for the best flavor and texture.
- Don’t Overcook the Rice: The rice should be 70-80% cooked before layering. Overcooked rice will become mushy during the ‘dum’ cooking process.
- Marinate the Meat for Longer: The longer the meat marinates, the more tender and flavorful it will be. Overnight marination is highly recommended.
- Seal the Pot Tightly: A tight seal is crucial for the ‘dum’ cooking process. Ensure there are no gaps for steam to escape.
- Cook on Low Heat: Cooking the biryani on low heat allows the flavors to meld together and the meat to become tender without burning the bottom.
- Let it Rest: After cooking, let the biryani rest for at least 15-20 minutes before opening the lid. This allows the flavors to further develop.
- Adjust Spice Levels to Your Liking: Don’t be afraid to adjust the amount of red chili powder to suit your taste preferences.
- Use Fresh Ingredients: Freshly ground spices and fresh herbs will enhance the flavor of your biryani.
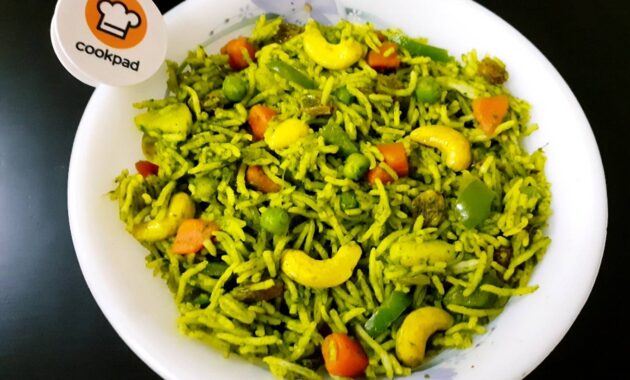
- Don’t be Afraid to Experiment: Once you master the basic recipe, feel free to experiment with different variations, such as adding vegetables or different types of meat.
Hyderabadi Biryani is a dish that truly reflects the rich culinary heritage of India. With its aromatic spices, fragrant rice, and tender meat, it’s a feast for the senses. This recipe provides a comprehensive guide to creating an authentic Hyderabadi Biryani in your own kitchen. Follow these steps, and you’ll be well on your way to mastering this iconic dish. So, gather your ingredients, embrace the process, and prepare to enjoy a truly unforgettable culinary experience. Remember, the key to a great Hyderabadi Biryani is patience, attention to detail, and a love for good food. Happy cooking!
The authentic flavors of Hyderabadi Biryani are now within your reach. This step-by-step guide ensures that you can recreate this culinary masterpiece in your own kitchen. Enjoy the process and savor the delicious results!
With the perfect blend of spices and slow-cooking techniques, this Hyderabadi Biryani recipe guarantees a flavorful and aromatic experience. Make it today and impress your friends and family!

From marinating the meat to layering the rice, every step in this Hyderabadi Biryani recipe is designed to bring out the best flavors. Follow the instructions carefully and enjoy a truly authentic dish.

This Hyderabadi Biryani is not just a meal; it’s a celebration of flavors. Experience the rich culinary heritage of Hyderabad with this easy-to-follow recipe.