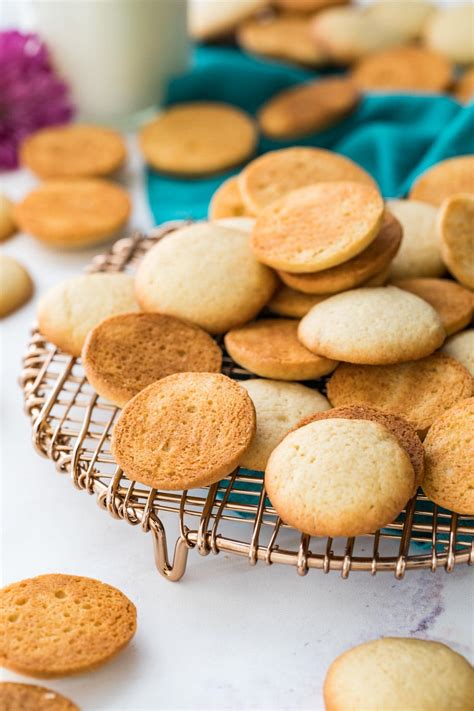
Easy Homemade Vanilla Wafers: A Simple Recipe for Delicious Treats
Are you craving the delicate crunch of a vanilla wafer, but don't want to buy store-bought ones? This recipe will show you how easy it is to make your own homemade vanilla wafers, right in your own kitchen! These buttery, melt-in-your-mouth cookies are perfect for enjoying on their own, with a cup of coffee or tea, or as a base for desserts like ice cream sandwiches or parfaits. Let's get started!
Ingredients You'll Need:
This recipe uses readily available ingredients, making it perfect for even beginner bakers.
- 1 cup (2 sticks) unsalted butter, softened: Softened butter is crucial for achieving a smooth and creamy dough.
- 1 cup granulated sugar: This provides sweetness and helps to bind the ingredients together.
- 2 large eggs: Eggs add richness and structure to the wafers.
- 1 teaspoon pure vanilla extract: The star of the show! Pure vanilla extract delivers the most intense and authentic flavor. Consider using a high-quality vanilla extract for best results.
- 2 1/2 cups all-purpose flour: This is the main structural component of your wafers.
- 1/2 teaspoon baking powder: A little baking powder helps the wafers rise slightly, giving them a lovely texture.
- Pinch of salt: Enhances the overall flavor profile.
Instructions for Making Perfect Vanilla Wafers:
Follow these simple steps to achieve perfectly crisp and delightful vanilla wafers.
Step 1: Cream Together Butter and Sugar
In a large bowl, cream together the softened butter and granulated sugar until the mixture is light and fluffy. This is best accomplished using an electric mixer.
Step 2: Add Eggs and Vanilla
Beat in the eggs one at a time, followed by the vanilla extract. Mix well to combine all ingredients thoroughly.
Step 3: Combine Dry Ingredients
In a separate bowl, whisk together the all-purpose flour, baking powder, and salt.
Step 4: Gradually Add Dry Ingredients to Wet Ingredients
Gradually add the dry ingredients to the wet ingredients, mixing on low speed until just combined. Be careful not to overmix; overmixing can result in tough cookies.
Step 5: Prepare the Baking Sheet
Line a baking sheet with parchment paper. This will prevent the wafers from sticking.
Step 6: Bake the Wafers
Using a teaspoon or small cookie scoop, drop rounded teaspoons of dough onto the prepared baking sheet, leaving some space between each wafer. Bake at 375°F (190°C) for 8-10 minutes, or until the edges are lightly golden brown.
Step 7: Cool and Enjoy!
Remove the baking sheet from the oven and let the wafers cool on the baking sheet for a few minutes before transferring them to a wire rack to cool completely. Once cool, store your delicious homemade vanilla wafers in an airtight container at room temperature for up to a week.
Tips for Success:
- Don't overmix the dough: Overmixing can lead to tough wafers.
- Use high-quality vanilla extract: The flavor of your vanilla wafers will depend greatly on the quality of your vanilla extract.
- Watch them carefully while baking: Baking times may vary slightly depending on your oven.
- Experiment with variations: Add a pinch of cinnamon or nutmeg for a warm spice twist.
Serving Suggestions:
These versatile wafers are delicious enjoyed in many ways:
- On their own: A simple pleasure!
- With coffee or tea: The perfect accompaniment to a hot beverage.
- In ice cream sandwiches: A classic combination.
- Crushed as a topping: Add a crunchy texture to puddings, parfaits, or ice cream.
- As a base for cheesecakes: Create a unique and flavorful base for your cheesecake.
Enjoy your homemade vanilla wafers! They're a delightful treat that's sure to impress friends and family. Let us know in the comments how you enjoy your homemade wafers!
