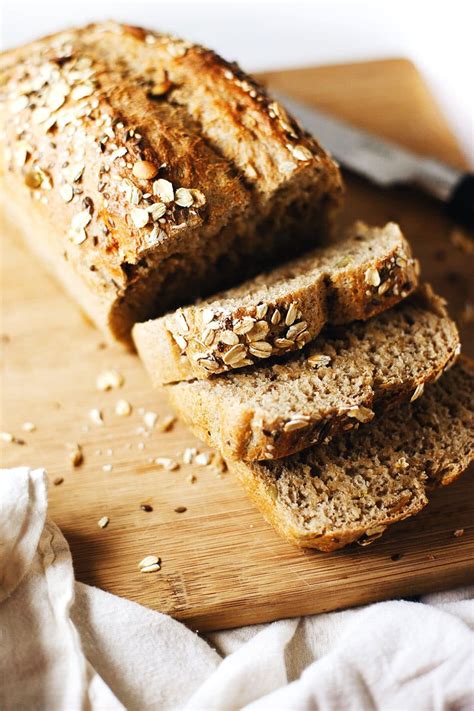
Homemade Bread: A Baker's Delight
Baking bread at home can be a deeply satisfying experience, connecting you to a culinary tradition that spans millennia. This guide provides a foundational recipe for a simple yet delicious loaf, perfect for beginners and seasoned bakers alike. We'll explore the process step-by-step, highlighting key techniques to ensure a successful bake every time.
Ingredients: The Foundation of Flavor
Before we begin kneading and shaping, let's gather the essential ingredients for our homemade bread:
- 3 cups (375g) all-purpose flour: This provides the structure of your bread. You can experiment with different types of flour later, but all-purpose is a great starting point.
- 1 ½ cups (355ml) warm water: The warmth activates the yeast. Aim for around 105-115°F (40-46°C). Too hot will kill the yeast; too cold will slow down the rising process.
- 1 ½ teaspoons (7g) active dry yeast: This is the leavening agent, responsible for the bread's rise. Make sure your yeast is fresh; check the expiration date.
- 1 ½ teaspoons (9g) salt: Salt controls the yeast activity and enhances the flavor.
- 2 tablespoons (30ml) olive oil (optional): This adds richness and flavor; you can also use other oils like sunflower or canola.
Step-by-Step Baking Guide: From Dough to Delight
Follow these steps for a perfect loaf:
Step 1: Activating the Yeast
In a large bowl, combine the warm water and yeast. Let it sit for 5-10 minutes until foamy. This confirms your yeast is alive and active.
Step 2: Combining Ingredients
Add the flour and salt to the yeast mixture. Stir with a wooden spoon or spatula until a shaggy dough forms.
Step 3: Kneading the Dough
Lightly flour a clean surface and turn the dough out onto it. Knead for 8-10 minutes, or until the dough becomes smooth and elastic. If using a stand mixer, use the dough hook attachment for this step.
Step 4: First Rise (Bulk Fermentation)
Lightly oil a large bowl. Place the dough in the bowl, turning to coat it with oil. Cover the bowl with plastic wrap or a clean kitchen towel and let it rise in a warm place for 1-1.5 hours, or until doubled in size.
Step 5: Shaping the Loaf
Gently punch down the dough to release the air. Shape it into a round or oval loaf.
Step 6: Second Rise (Proofing)
Place the shaped loaf in a lightly oiled bread pan or on a baking sheet lined with parchment paper. Cover and let it rise for another 30-45 minutes, or until almost doubled in size.
Step 7: Baking
Preheat your oven to 375°F (190°C). Bake for 30-35 minutes, or until the bread is golden brown and sounds hollow when tapped on the bottom.
Step 8: Cooling
Remove the bread from the oven and let it cool completely on a wire rack before slicing and serving. This allows the crumb to set properly.
Tips for Bread Baking Success
- Flour Power: Different flours produce different results. Experiment with whole wheat, rye, or bread flour for variations in texture and flavor.
- Yeast Matters: Use fresh yeast for the best results. Expired yeast will likely not activate properly.
- Water Temperature: Warm water is key for yeast activation. Too hot kills the yeast; too cold slows down the process.
- Kneading is Key: Proper kneading develops the gluten in the flour, resulting in a better texture.
- Patience is a Virtue: Allow adequate time for rising; rushing the process will result in a denser loaf.
Variations and Beyond
This basic recipe provides a solid foundation for countless variations. Experiment with adding herbs, seeds, nuts, or even cheese to customize your bread. Try different baking techniques, such as no-knead bread or sourdough, to further expand your baking repertoire. Enjoy the journey of baking your own delicious, homemade bread!
