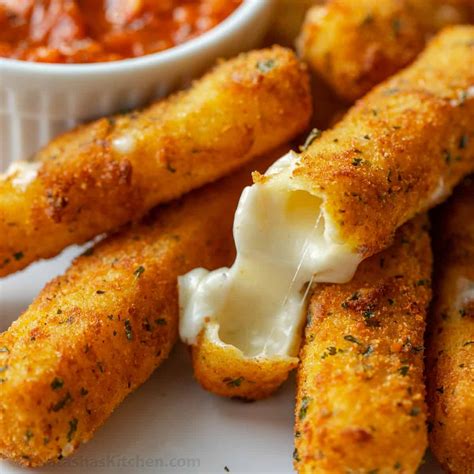
Homemade Cheese Sticks: A Simple and Delicious Recipe
Are you craving a tasty and satisfying snack? Look no further than homemade cheese sticks! This recipe is incredibly easy to follow, requiring minimal ingredients and time. Perfect for a quick appetizer, party snack, or even a fun kids' activity, these cheese sticks are sure to be a crowd-pleaser. Let's dive into the cheesy goodness!
Ingredients You'll Need:
This recipe uses readily available ingredients, making it perfect for a spontaneous snack attack.
- 1 cup (2 sticks) unsalted butter, softened: Softened butter is key for easy mixing and a smooth dough.
- 16 ounces cream cheese, softened: Make sure your cream cheese is at room temperature for optimal blending.
- 2 cups all-purpose flour: You can substitute with gluten-free flour blend for a gluten-free option.
- 1 teaspoon salt: Enhances the cheesy flavor.
- 1/2 teaspoon garlic powder (optional): Adds a savory depth of flavor.
- 1/2 cup grated Parmesan cheese: For that extra cheesy kick.
- 1/2 cup shredded cheddar cheese: A classic choice, feel free to experiment with other cheeses like mozzarella or Monterey Jack.
Step-by-Step Instructions:
Follow these simple steps to create irresistibly delicious cheese sticks.
Step 1: Combine the Wet Ingredients
In a large bowl, cream together the softened butter and cream cheese until smooth and fluffy. A stand mixer or electric hand mixer works best for this step.
Step 2: Add the Dry Ingredients
Gradually add the flour, salt, and garlic powder (if using) to the butter and cream cheese mixture. Mix until just combined – be careful not to overmix.
Step 3: Stir in the Cheeses
Fold in the Parmesan and cheddar cheese until evenly distributed throughout the dough.
Step 4: Shape and Bake
Preheat your oven to 350°F (175°C). Roll the dough out on a lightly floured surface to about 1/4 inch thickness. Use a knife or pizza cutter to cut the dough into long sticks.
Place the cheese sticks onto a baking sheet lined with parchment paper. Bake for 12-15 minutes, or until golden brown and slightly crispy.
Step 5: Cool and Enjoy!
Let the cheese sticks cool slightly on the baking sheet before serving. Enjoy them warm or at room temperature – they are delicious either way!
Tips and Variations:
- Experiment with cheeses: Try different cheese combinations to find your favorite flavor profile.
- Add herbs and spices: Rosemary, thyme, or onion powder can add interesting flavors.
- Make them mini: Cut the dough into smaller pieces for bite-sized appetizers.
- Dip it: Serve with your favorite dipping sauce, like marinara sauce, ranch dressing, or honey mustard.
Frequently Asked Questions (FAQ)
Q: Can I freeze these cheese sticks?
A: Yes! Once cooled completely, you can freeze the cheese sticks in a freezer-safe bag or container for up to 3 months. Reheat them in the oven or air fryer before serving.
Q: How can I make them crispier?
A: For extra crispy cheese sticks, bake them for a few extra minutes, or consider brushing them with an egg wash before baking.
This recipe provides a simple yet delicious way to enjoy homemade cheese sticks. So gather your ingredients, follow the steps, and prepare for a cheesy treat that will surely impress your family and friends! Remember to share your culinary creations using #HomemadeCheeseSticks on social media!
