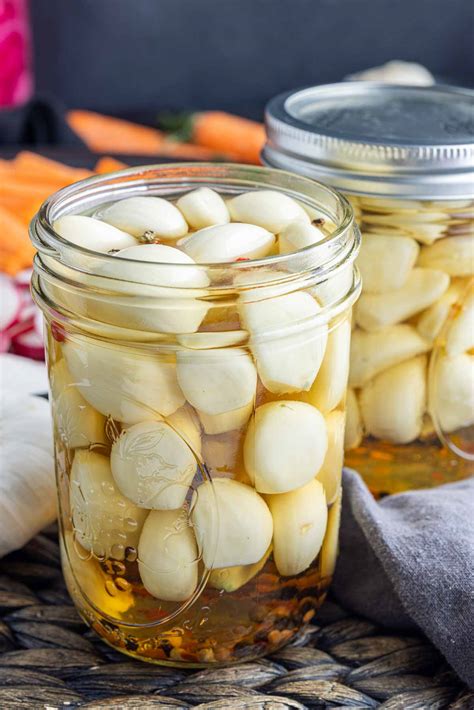
The Ultimate Pickled Garlic Recipe: Flavorful, Easy, and Perfect for Everything
Pickled garlic. The name alone conjures images of vibrant flavor, a satisfying crunch, and endless culinary possibilities. This isn't your grandma's pickled garlic (though she might love it too!). This recipe is designed for maximum flavor, minimal fuss, and guaranteed deliciousness. Get ready to elevate your dishes and impress your friends with this simple yet stunning condiment.
Why Make Pickled Garlic?
Before we dive into the recipe, let's talk about why you should bother pickling garlic. Beyond its incredible taste, pickled garlic offers numerous benefits:
- Flavor Explosion: The pickling process transforms pungent raw garlic into a tangy, mellow, and surprisingly sweet treat. The vinegar mellows the garlic's harshness, while the spices add layers of complexity.
- Long Shelf Life: Properly pickled garlic can last for months in the refrigerator, providing you with a ready-to-use flavor booster whenever you need it.
- Versatile Ingredient: This isn't just a garnish; pickled garlic elevates everything from salads and sandwiches to pasta dishes and pizzas. It's a pantry staple waiting to happen.
- Health Benefits: Garlic is known for its numerous health benefits, and pickling doesn't diminish them! You're getting all the goodness with a delicious twist.
The Easy Pickled Garlic Recipe:
This recipe is incredibly straightforward and adaptable to your taste. Feel free to experiment with different spices and vinegars to create your signature pickled garlic.
Ingredients:
- 1 head of garlic, separated into cloves
- 1 cup white vinegar (or apple cider vinegar for a milder taste)
- 1/2 cup water
- 1 tablespoon salt (sea salt preferred)
- 1 teaspoon black peppercorns
- 1 teaspoon red pepper flakes (optional, for a spicy kick)
- 2 bay leaves
Instructions:
- Prepare the Garlic: Gently peel the garlic cloves. A little bruising is okay; it won't affect the flavor.
- Combine Ingredients: In a small saucepan, combine the vinegar, water, salt, peppercorns, red pepper flakes (if using), and bay leaves. Bring to a boil over medium heat.
- Pack the Jars: While the brine simmers, sterilize your jars (small mason jars work perfectly). Tightly pack the garlic cloves into the jars.
- Pour the Brine: Carefully pour the hot brine over the garlic cloves, leaving about half an inch of headspace.
- Seal and Cool: Seal the jars tightly. Let them cool to room temperature, then refrigerate for at least 24 hours before enjoying. The longer they sit, the more the flavors develop (up to several months).
Tips and Variations for Pickled Garlic Perfection:
- Spice it Up: Experiment with different spices! Try adding mustard seeds, coriander seeds, dill seeds, or even a few juniper berries.
- Sweet and Sour: Add a touch of honey or maple syrup to the brine for a sweet and sour pickled garlic.
- Herby Delight: Incorporate fresh herbs like thyme or rosemary for a more aromatic pickled garlic.
- Different Vinegars: Experiment with different vinegars like rice vinegar or sherry vinegar for unique flavor profiles.
Serving Suggestions:
Your homemade pickled garlic is incredibly versatile:
- Topping for Pizza: Add a burst of flavor and a satisfying crunch to your pizza.
- Salad Dressing Addition: Elevate your salad dressings with its tangy punch.
- Sandwich Spread: Use it as a flavorful spread on sandwiches and wraps.
- Pasta Sauce Enhancer: Add a complex dimension to your pasta sauce.
- Garnish: Use it as a vibrant garnish for countless dishes.
This pickled garlic recipe is your key to unlocking a world of flavor. So, grab your garlic and get pickling! You won't regret it. Let us know in the comments how you enjoy your homemade pickled garlic!
