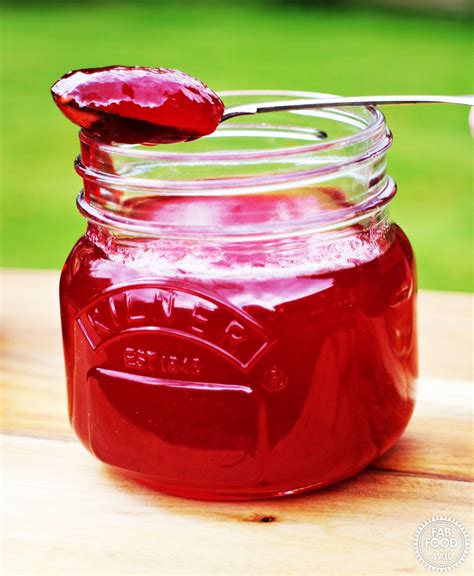
Raspberry Jelly Jam Recipe: A Sweet and Simple Guide
Are you ready to embark on a culinary adventure? Let's craft a delightful raspberry jelly jam, bursting with the vibrant flavor of fresh raspberries and boasting a beautiful, jewel-toned consistency. This recipe is perfect for beginners and experienced jam-makers alike, guaranteeing a delicious homemade treat that's sure to impress.
Ingredients You'll Need:
This recipe yields approximately 6-8 half-pint jars of raspberry jelly jam. Adjust quantities as needed.
- 4 cups (1kg) ripe raspberries: Choose raspberries that are plump, juicy, and deeply colored for the best flavor and setting.
- 4 cups (800ml) water: Use filtered or spring water for the purest taste.
- 7 cups (1.4 kg) granulated sugar: Using high-quality sugar ensures optimal texture and sweetness.
- 1 box (1.75 oz or 50g) powdered pectin: Pectin is crucial for achieving the perfect jelly-like consistency. Follow package instructions carefully for best results.
Equipment Checklist:
Before you begin, gather your essential tools for a smooth jam-making process:
- Large, heavy-bottomed saucepan: A sturdy pot is crucial for even heating and preventing scorching.
- Wooden spoon or spatula: These are gentle on the pot's surface and ideal for stirring.
- Ladle: For transferring the hot jam into jars.
- Canning jars and lids: Sterilize these thoroughly before use. Follow recommended canning procedures for safety.
- Jar lifter: A jar lifter will make transferring hot jars much safer.
- Wide-mouthed funnel: This will help prevent spills when filling the jars.
- Cheesecloth or fine-mesh strainer (optional): For a smoother jam, you can strain out seeds.
Step-by-Step Instructions:
Prepare the Raspberries:
- Gently wash and inspect your raspberries, removing any bruised or damaged ones.
Make the Raspberry Mixture:
- Combine the raspberries and water in your saucepan. Bring to a gentle boil, then reduce heat and simmer for about 10 minutes, or until the raspberries have softened.
- If desired, use a potato masher to lightly crush the raspberries for a slightly chunkier jam.
Strain (Optional):
- If you prefer a seedless raspberry jelly, carefully pour the raspberry mixture through a cheesecloth-lined strainer into a clean bowl, pressing gently to extract the maximum amount of juice.
Create the Jelly:
- Return the raspberry mixture (or strained juice) to the saucepan. Add the powdered pectin, following the instructions on the pectin package. Stir continuously over medium heat until the pectin dissolves completely.
- Stir in the sugar gradually, ensuring it dissolves fully. Bring the mixture to a rolling boil that cannot be stirred down, maintaining the boil for exactly 1 minute. This is critical for proper setting.
Canning and Preservation:
- Carefully ladle the hot jelly jam into your sterilized jars, leaving about ¼ inch of headspace at the top. Wipe the rims clean, then seal with sterilized lids and rings.
- Follow proper canning procedures for water bath processing to ensure your jelly jam remains safe for consumption.
Tips for Success:
- Use ripe raspberries: The flavor and color of your jam will be significantly enhanced by using ripe, high-quality raspberries.
- Sterilize your equipment: This crucial step prevents spoilage and ensures safe preservation.
- Follow pectin instructions: Pay close attention to the instructions on your pectin package for optimal results.
- Test for setting: You can test for the proper set by placing a small spoonful of jam on a chilled plate. If it wrinkles when pushed with a finger, it’s ready.
Enjoy Your Homemade Raspberry Jelly Jam!
Your homemade raspberry jelly jam is now ready to enjoy! Spread it on toast, biscuits, or use it as a delicious filling for cakes and pastries. It also makes a fantastic gift for friends and family. Remember to label your jars with the date to track freshness. Enjoy the fruits of your labor!
