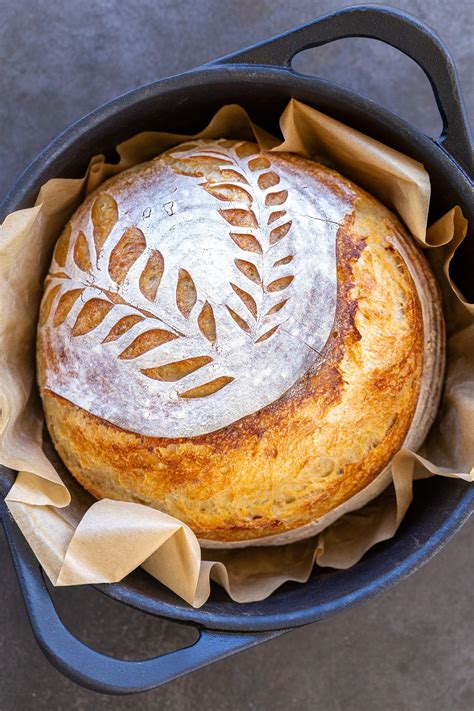
The Ultimate Guide to Baking Sourdough Bread at Home
Are you ready to embark on a delicious journey into the world of sourdough bread baking? This comprehensive guide will walk you through every step, from creating your starter to achieving that perfect crusty loaf. Let's get started!
Building Your Sourdough Starter: The Foundation of Flavor
The heart of any great sourdough bread lies in its starter. This is a living culture of wild yeasts and bacteria that will leaven your bread, giving it its characteristic tang and flavor.
Creating Your Starter: A Step-by-Step Process
- Day 1: Combine 50g of unbleached all-purpose flour and 50g of non-chlorinated water in a clean jar. Stir well to form a smooth paste. Cover loosely with a lid or plastic wrap.
- Day 2-7: Observe your starter. It might not show much activity initially. Once or twice a day, stir it and observe for bubbles. The process is slow, and your patience will be rewarded.
- Feeding Your Starter: Once you see consistent bubbling (this can take several days), it's time to start "feeding" your starter. Discard about half the starter, then add 50g of flour and 50g of water. Repeat this feeding process every 12-24 hours.
- Knowing When It's Ready: Your starter is ready when it consistently doubles in size within 4-6 hours after feeding and has a pleasant, slightly sour aroma.
Pro Tip: A warm environment (around 70-75°F) will encourage faster starter development.
The Sourdough Bread Recipe: From Starter to Loaf
Now that your starter is thriving, let's bake! This recipe yields one large loaf.
Ingredients:
- 500g strong bread flour
- 375g water (adjust based on flour absorption)
- 100g active sourdough starter (fed 4-6 hours prior)
- 10g salt
Instructions:
- Autolyse: Combine the flour and water in a large bowl and mix until just combined. Cover and let rest for 30-60 minutes. This allows the flour to fully hydrate.
- Mixing: Add the starter and salt to the autolysed dough. Mix thoroughly using the stretch and fold method for several minutes until a shaggy dough forms.
- Bulk Fermentation: Cover the bowl and let the dough rise at room temperature for 4-6 hours, performing stretch and folds every 30 minutes during the first 2 hours. The dough should almost double in size.
- Shaping: Gently turn the dough out onto a lightly floured surface. Shape it into a round or oval boule.
- Proofing: Place the shaped dough in a well-floured banneton basket (or a bowl lined with a floured cloth). Cover and refrigerate for 12-18 hours. This slow, cold proof develops flavor and improves the crumb structure.
- Baking: Preheat your oven to 450°F (232°C) with a Dutch oven inside for at least 30 minutes. Carefully remove the hot Dutch oven and place the dough inside. Cover and bake for 20 minutes.
- Crust Development: Remove the lid and bake for another 25-30 minutes, or until the crust is deeply golden brown and the internal temperature reaches 205-210°F (96-99°C).
- Cooling: Let the bread cool completely on a wire rack before slicing and enjoying.
Tips for Sourdough Success
- Flour Quality: Using high-quality bread flour is crucial for achieving the best results.
- Water Temperature: The temperature of your water will affect the fermentation process. Aim for around 70-75°F (21-24°C).
- Room Temperature: A consistent room temperature is essential for even fermentation.
- Patience is Key: Sourdough baking takes time. Don't rush the process!
This guide provides a foundation for your sourdough journey. Experiment with different flours, hydration levels, and baking times to find what works best for you. Happy baking!
