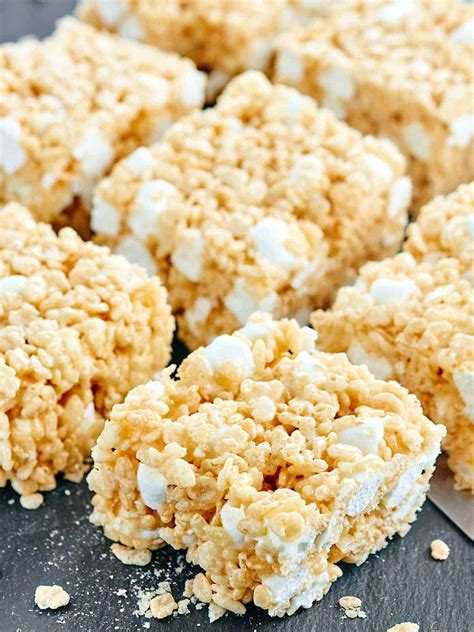
Rice Krispies Treats Recipe: The Ultimate Guide to Gooey Goodness
Are you ready to unleash your inner chef and create a batch of irresistible Rice Krispies Treats? This recipe isn't just about following instructions; it's about mastering the art of gooey, crispy perfection. We'll cover everything from ingredient selection to achieving that perfect texture, ensuring your treats are the talk of the town (or at least, the family gathering!).
Ingredients: The Foundation of Deliciousness
Before we dive into the method, let's gather our essential ingredients. The beauty of Rice Krispies Treats lies in their simplicity, but using quality ingredients makes all the difference:
- 6 cups Rice Krispies cereal: This is the star of the show! Look for a fresh bag for optimal crispiness.
- 1/2 cup (1 stick) unsalted butter: Unsalted butter allows you to control the sweetness. Salted butter can be used, but adjust the sugar accordingly.
- 10 ounces marshmallows (about 4 cups mini marshmallows): Mini marshmallows melt more evenly, resulting in a smoother, less lumpy treat. Marshmallow fluff can also be used for a creamier texture.
- 1/4 teaspoon salt (optional): A pinch of salt enhances the sweetness of the marshmallows.
Equipment: Your Culinary Arsenal
Having the right tools makes the process smoother and more efficient. Here’s what you’ll need:
- Large saucepan: For melting the butter and marshmallows.
- Wooden spoon or spatula: For stirring the mixture. Avoid using metal utensils, as they can scratch your pan.
- 9x13 inch baking pan: This is the standard size for Rice Krispies Treats, but you can adjust based on your desired treat size.
- Parchment paper (optional): Lining your pan with parchment paper makes cleanup a breeze.
- Butter or cooking spray: To grease the pan and prevent sticking.
Step-by-Step Instructions: Achieving Rice Krispies Treats Perfection
Now for the fun part – let's make those treats! Follow these steps carefully to achieve that perfect balance of gooey and crispy:
1. Prepare the Pan:
Lightly grease your 9x13 inch baking pan with butter or cooking spray. Lining it with parchment paper is highly recommended for easy removal and cleanup.
2. Melt the Butter and Marshmallows:
In your large saucepan, melt the butter over medium-low heat. Add the marshmallows and stir constantly until completely melted and smooth. Be patient and avoid burning the marshmallows.
3. Incorporate the Cereal:
Remove the saucepan from the heat and gently stir in the Rice Krispies cereal until evenly coated. Work quickly, as the mixture will start to cool and harden.
4. Press and Shape:
Transfer the mixture to your prepared baking pan and firmly press it into an even layer using a spatula or your hands (lightly greased).
5. Cool and Cut:
Let the treats cool completely before cutting into squares. This prevents them from crumbling.
Tips and Variations: Elevate Your Rice Krispies Treats Game
Ready to take your Rice Krispies Treats to the next level? Here are some fun variations:
- Add-ins: Get creative! Chocolate chips, sprinkles, peanut butter, pretzels, dried fruit – the possibilities are endless!
- Different Shapes: Use cookie cutters to create fun shapes.
- Flavored Marshmallows: Use different flavored marshmallows for a unique twist.
- Butterscotch Chips: Substitute butterscotch chips for some or all of the marshmallows for a delightful caramel flavor.
Frequently Asked Questions (FAQs): Troubleshooting Common Issues
- My treats are too sticky: This usually means the marshmallows weren't fully melted. Ensure you melt them completely over low heat and stir constantly.
- My treats are too hard: This could be due to over-cooking the marshmallows. Make sure to remove from heat as soon as they’re completely melted.
- My treats are crumbly: This might be because they weren’t pressed firmly enough into the pan. Ensure you press them down evenly.
With this comprehensive guide, you’re well on your way to crafting the most delicious Rice Krispies Treats. Happy baking!
