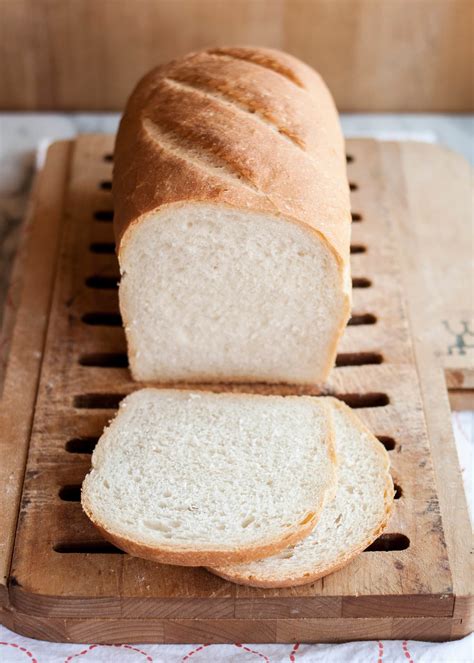
Sourdough Sandwich Loaf: A Recipe for Perfectly Tangy Bread
Are you ready to elevate your sandwich game? Forget store-bought bread – this recipe will guide you through making a delicious, tangy sourdough sandwich loaf that's perfect for any occasion. From simple lunchtime sandwiches to gourmet creations, this bread will be your new go-to. This recipe focuses on achieving that perfect balance of sourdough flavor and a soft, airy crumb. Let's get baking!
Ingredients You'll Need
This recipe uses simple ingredients, focusing on quality over quantity. The magic is in the sourdough starter, so make sure yours is active and bubbly!
- Sourdough Starter (fed 4-6 hours prior): 200g (approximately 1 cup) – A lively starter is crucial for a good rise.
- Water (lukewarm): 300g (approximately 1 1/4 cups) – Adjust slightly based on your flour's absorption.
- Bread Flour: 500g (approximately 4 cups) – Bread flour provides the strength needed for a good structure.
- Salt: 10g (approximately 2 teaspoons) – Enhances flavor and strengthens the dough.
Step-by-Step Instructions: Crafting Your Perfect Loaf
This detailed guide breaks down the process, perfect for bakers of all levels. Take your time and enjoy the process!
Stage 1: Autolyse (Mixing the Flour and Water)
- In a large mixing bowl, combine the bread flour and lukewarm water. Mix gently until just combined, avoiding overmixing.
- Cover the bowl with a damp cloth or plastic wrap and let it rest for 30-60 minutes. This allows the flour to fully hydrate, resulting in a smoother, more elastic dough.
Stage 2: Bulk Fermentation (Adding Starter and Salt)
- Add the active sourdough starter and salt to the autolysed mixture.
- Gently fold the ingredients together using a folding technique (stretching and folding the dough over itself). Do this 4-5 times, ensuring even distribution of ingredients.
- Cover the bowl and let the dough bulk ferment for 4-6 hours at room temperature (70-75°F or 21-24°C), or until doubled in size. The fermentation time may vary depending on the temperature and activity of your starter.
Stage 3: Shaping and Proofing
- Gently turn the dough out onto a lightly floured surface. Shape it into a round or oval loaf.
- Place the shaped loaf in a well-floured banneton basket (or a bowl lined with a floured cloth). Cover it and let it proof in the refrigerator for 12-18 hours. This slow cold proof develops flavor and improves texture.
Stage 4: Baking Your Sourdough Sandwich Loaf
- Preheat your oven to 450°F (232°C) with a Dutch oven inside for at least 30 minutes.
- Carefully remove the hot Dutch oven from the oven. Gently place the proofed loaf into the Dutch oven.
- Cover the Dutch oven and bake for 20 minutes.
- Remove the lid and bake for another 25-30 minutes, or until the crust is deeply golden brown and the internal temperature reaches 205-210°F (96-99°C).
- Remove the loaf from the Dutch oven and let it cool completely on a wire rack before slicing and enjoying.
Tips for Sourdough Success
- Starter Activity: A strong, active starter is essential for a good rise. Make sure it's bubbly and has doubled in size before using it.
- Flour Type: Bread flour's high protein content contributes to the structure and chewiness of the bread.
- Hydration: The water amount can be adjusted slightly depending on your flour and environment.
- Baking Time: Oven temperatures can vary, so keep an eye on your loaf and adjust baking time as needed.
Enjoy Your Homemade Sourdough Sandwich Loaf!
This sourdough sandwich loaf recipe is a rewarding experience, resulting in a delicious and satisfying bread that's perfect for sandwiches, toast, or simply enjoyed on its own. Experiment with different flours, add-ins, or shaping techniques to create your own unique sourdough masterpiece. Happy baking!
