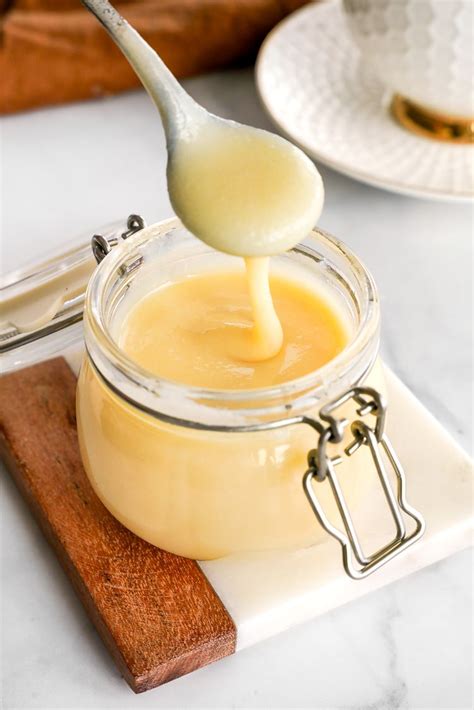
Sweetened Condensed Milk Recipe: A Homemade Delight
Making your own sweetened condensed milk might seem daunting, but it's surprisingly simple and incredibly rewarding! This homemade version allows you to control the sweetness and ensure the highest quality ingredients. This recipe is perfect for those who love baking, crafting delicious desserts, or simply enjoying a sweeter take on regular milk.
Why Make Your Own Sweetened Condensed Milk?
- Control over Ingredients: You know exactly what's going into your milk, avoiding preservatives and artificial ingredients often found in store-bought versions.
- Fresh and Flavorful: Homemade sweetened condensed milk boasts a richer, fresher flavor compared to commercially produced options.
- Cost-Effective (in the long run): While the initial ingredients might seem pricey, making it at home can be cheaper over time, especially if you use it frequently.
- Satisfying DIY Project: It's a fun and fulfilling cooking project that allows you to impress friends and family with your culinary skills.
Ingredients You'll Need:
- 2 cups whole milk: The higher the fat content, the richer your condensed milk will be. You can experiment with other milk types, but whole milk delivers the best results.
- 1 cup granulated sugar: Adjust this to your preference. For a less sweet version, reduce to ¾ cup.
- ⅛ teaspoon salt (optional): A pinch of salt enhances the sweetness and balances the flavor profile.
Step-by-Step Instructions:
1. Combining Ingredients:
In a medium saucepan, combine the whole milk, granulated sugar, and salt (if using). Stir well to ensure the sugar is evenly distributed.
2. Simmering the Mixture:
Place the saucepan over medium-low heat. This is crucial! High heat will cause the milk to burn and scorch. Stir frequently to prevent sticking and burning on the bottom of the pan.
3. The Reduction Process:
The mixture will gradually thicken as the water evaporates. This process takes time—around 45-60 minutes—and requires patience. Continue stirring frequently to prevent scorching.
4. Achieving the Desired Consistency:
You'll know your sweetened condensed milk is ready when it reaches a thick, syrupy consistency that coats the back of a spoon. The mixture should be noticeably thicker than regular milk.
5. Cooling and Storage:
Remove the saucepan from the heat and let the sweetened condensed milk cool completely. Transfer it to an airtight container and store it in the refrigerator. It should last for several weeks.
Tips for Success:
- Low and Slow is Key: Patience is vital! Avoid high heat at all costs to prevent burning.
- Stir Regularly: Constant stirring is the secret to preventing sticking and achieving a smooth consistency.
- Adjust Sweetness: Feel free to adjust the sugar amount to suit your taste preference.
- Experiment with Flavors: Once you master the basic recipe, try adding vanilla extract, cinnamon, or other spices for unique flavor variations.
Uses for Your Homemade Sweetened Condensed Milk:
- Desserts: Use it in cakes, cookies, pies, and other baked goods.
- Sweet Treats: Create your own dulce de leche, creamy candies, or delicious sauces.
- Coffee and Drinks: Add a touch of sweetness and creaminess to your coffee or other beverages.
Making your own sweetened condensed milk is a rewarding culinary adventure. With a little patience and the right technique, you'll be enjoying this delicious homemade treat in no time! Now go ahead and try this recipe – you won't regret it!
