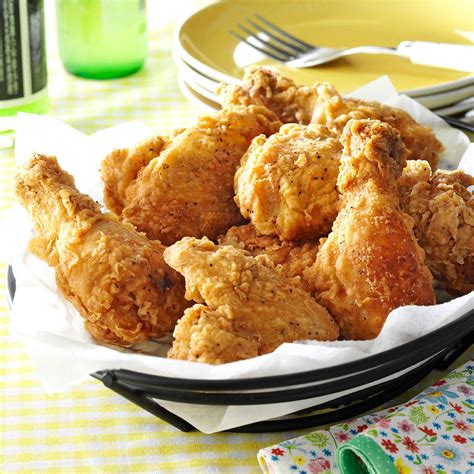
The Ultimate Guide to Crispy, Juicy Fried Chicken
Want to learn the secret to making crispy, juicy fried chicken that will leave everyone begging for more? You've come to the right place! This comprehensive guide will walk you through each step, from brining to frying, ensuring your fried chicken is the star of any meal.
Getting Started: Choosing Your Chicken
The quality of your chicken directly impacts the final result. Opt for bone-in, skin-on chicken pieces. These retain moisture better during frying, resulting in incredibly juicy meat. Chicken thighs and drumsticks are particularly good choices because they're more forgiving and less likely to dry out.
The Brine: The Secret to Juicy Chicken
Brining is a crucial step often overlooked. It involves soaking the chicken in a saltwater solution, which helps to season the meat deeply and retain moisture, leading to incredibly juicy fried chicken.
How to Brine Your Chicken:
- Ingredients: 4 cups water, 1/2 cup kosher salt, 1/4 cup brown sugar, 2 tablespoons black peppercorns, 2 bay leaves.
- Instructions: Combine all ingredients in a large container. Submerge the chicken pieces completely, cover, and refrigerate for at least 4 hours, or preferably overnight.
The Dredging Process: Achieving that Perfect Crisp
The dredging process is key to achieving that signature crispy exterior. It involves coating the chicken in a series of mixtures that create multiple layers of flavor and texture.
Step-by-Step Dredging:
- Dry the Chicken: Thoroughly pat the chicken dry with paper towels after brining. Excess moisture will prevent proper crisping.
- Flour Coating: Coat the chicken pieces generously in seasoned flour. A simple mixture of all-purpose flour, salt, black pepper, paprika, and garlic powder works wonders.
- Egg Wash: Dip the floured chicken in a mixture of beaten eggs and a splash of milk or buttermilk. This helps the breading adhere.
- Final Flour Coating: Return the chicken to the seasoned flour, ensuring it's fully coated. Gently press the flour into the egg wash to create a thick, even layer.
Frying to Perfection: Achieving that Golden Brown Crisp
Now comes the exciting part – frying! This process requires careful attention to temperature and time.
Frying Instructions:
- Oil Temperature: Heat about 2 inches of your chosen oil (vegetable, peanut, or canola are all good options) in a large, heavy-bottomed pot or Dutch oven to 300°F (150°C). Use a thermometer to ensure accuracy.
- Frying Time: Fry the chicken in batches, ensuring not to overcrowd the pot. Fry for about 12-15 minutes, turning occasionally, until golden brown and cooked through (internal temperature should reach 165°F (74°C)).
- Drain and Rest: Once cooked, remove the chicken and place it on a wire rack to drain excess oil. Allow the chicken to rest for at least 5 minutes before serving. This allows the juices to redistribute, resulting in even more tender meat.
Serving Suggestions:
Your perfectly fried chicken is ready! Serve it with your favorite sides, such as:
- Classic Mashed Potatoes: Creamy and comforting, the perfect complement to crispy chicken.
- Coleslaw: A refreshing and tangy counterpoint to the richness of the fried chicken.
- Biscuits: Fluffy and buttery, ideal for soaking up any delicious juices.
Tips for Success:
- Don't overcrowd the pot: Overcrowding lowers the oil temperature, resulting in greasy chicken.
- Use a thermometer: Monitoring the oil temperature ensures even cooking.
- Let the chicken rest: This crucial step allows the juices to redistribute, leading to more tender meat.
With this comprehensive guide, you’re well on your way to making incredibly delicious fried chicken. Enjoy the process, and most importantly, savor the results! Remember to share your fried chicken creations and tag us – we can’t wait to see them!
