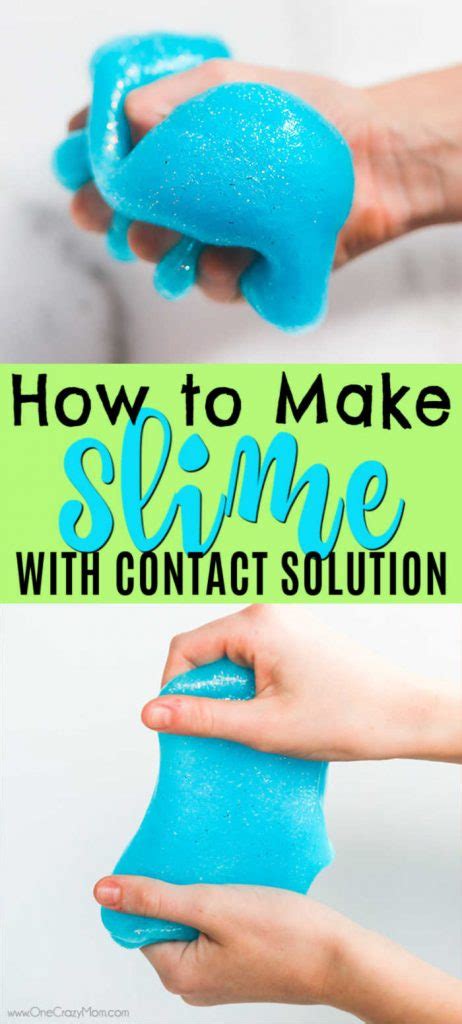
Making Slime with Contact Solution: A Comprehensive Guide
Many people are interested in making slime, and one popular method involves using contact solution. This guide will walk you through the process, highlighting safety precautions and tips for creating the perfect slime. Remember, always prioritize safety!
Understanding the Science Behind Contact Solution Slime
Contact lens solution often contains boric acid or sodium borate (borax), which acts as a cross-linking agent. This means it connects the polyvinyl alcohol (PVA) molecules in glue, creating the long chains that give slime its stretchy texture. The reaction between the borate ions and the PVA is what creates the slime's characteristic properties.
Essential Ingredients for Contact Solution Slime
Before you begin, gather the necessary ingredients:
- School glue: Clear glue works best for transparent slime, while white glue will result in a more opaque slime. The type of glue can affect the slime's final consistency.
- Contact lens solution: Ensure your solution contains boric acid or sodium borate. Check the label carefully. Avoid using solutions containing preservatives or other additives as they can affect the slime's texture and longevity.
- Mixing bowl: A bowl large enough to comfortably mix all the ingredients.
- Spoon or spatula: For stirring the mixture.
- Optional ingredients: Food coloring, glitter, small charms, or scented oils can be added to customize your slime.
Safety First! Always Supervise Children
Adult supervision is crucial, especially when children are involved. Contact lens solution, while generally safe when used as intended, should be handled with care. Avoid contact with eyes and mouth, and wash hands thoroughly after handling all ingredients. Always supervise young children during the entire process.
Step-by-Step Slime Recipe
Follow these steps for a successful slime creation:
- Pour the glue: Pour the desired amount of glue into your mixing bowl. The ratio of glue to contact solution will affect the slime's consistency; start with equal parts and adjust as needed.
- Add the contact solution: Gradually add the contact lens solution to the glue, stirring continuously with your spoon or spatula.
- Mix thoroughly: Continue mixing until the slime starts to pull away from the sides of the bowl and form a cohesive mass. This may take several minutes of consistent stirring.
- Knead the slime: Once the slime pulls away from the bowl, take it out and knead it with your hands for several minutes. This helps to distribute the ingredients evenly and develop the slime's texture. If it's too sticky, add a bit more contact solution; if it's too firm, add a tiny amount of glue.
- Add optional ingredients: Now is the time to incorporate your chosen add-ins (glitter, food coloring, etc.). Thoroughly mix them into the slime.
- Store properly: Once you're happy with your slime's consistency and appearance, store it in an airtight container to prevent it from drying out.
Troubleshooting Common Slime Problems
- Too sticky: Add a small amount of contact solution.
- Too firm: Add a small amount of glue.
- Doesn't form a cohesive mass: Ensure you are using the correct type of glue and contact lens solution (containing boric acid or borax). Increase the amount of contact solution gradually until it forms.
Variations and Experimentation
Don't be afraid to experiment! Try different ratios of glue and contact solution to achieve your desired consistency. Experiment with various colors, scents, and additives to create unique and personalized slimes. The key is to have fun and get creative!
This comprehensive guide provides a thorough understanding of how to make slime using contact solution. Remember to always prioritize safety and enjoy the creative process!
